With the recent release of Windows 11, it has become apparent that Windows 11 will not be officially supported on any Intel-based Mac. This is because in the specs for Windows 11 support, the new Microsoft OS requires motherboard support for TPM2.0 (Trusted Platform Module) and it is likely that this will never happen on any Intel Macs. However, there does appear to be an unsupported workaround and we have the details.
The Trusted Platform Module or TPM is a security check which has been made a necessity and has similarities to Apple T1 and T2 chips. David Weston, director of Enterprise and OS security at Microsoft explains…
“The Trusted Platform Modules (TPM) is a chip that is either integrated into your PC’s motherboard or added separately into the CPU. Its purpose is to protect encryption keys, user credentials, and other sensitive data behind a hardware barrier so that malware and attackers can’t access or tamper with that data.”
TPMs work by offering hardware-level protection instead of software only. It can be used to encrypt disks using Windows features like BitLocker or to prevent dictionary attacks against passwords. TPM 1.2 chips have existed since 2011, but they’ve typically only been used widely in IT-managed business laptops and desktops. Microsoft’s aim is to bring that same level of protection to everyone using Windows, even if it’s not always perfect.
Minimum System Requirements For Windows 11
Regardless of workarounds used, Microsoft has set the minimum specs to run Windows 11…
What Microsoft describe as a "modern 64-bit processor"
1GHz clock speed
2 cores
64GB storage
4GB RAM
UEFI, Secure Book capable & TPM 2.0
9-inch display with 1366x768 resolution
DirectX 12 compatible graphics / WDDM 2.x
These minimum requirements, effectively limit Windows 11 support to computers 6 years old or less, which doesn’t seem that unreasonable. What is interesting is that Apple’s lineup of Intel-powered Macs meet most of these requirements, with all these Macs, also supporting TPM 2.0 in the CPU…
MacBook (Retina, 12-inch, 2017)
MacBook Air (13-inch, 2017)
MacBook Pro (15-inch, 2016)
MacBook Pro (13-inch, 2016, Four Thunderbolt 3 ports)
MacBook Pro (13-inch, 2016, Two Thunderbolt 3 ports)
Mac mini (2018)
iMac Pro (2017)
iMac (Retina 5K, 27-inch, 2017)
iMac (Retina 4K, 21.5-inch, 2017)
iMac (21.5-inch, 2017)
Mac Pro (2019)
However, the problem is the form that support for TPM 2.0 takes. All the Intel-based Macs support TPM 2.0 in the CPU, but what Windows 11 requires is support for TPM 2.0 on the motherboard, not in the CPU. It is this difference that means it is very unlikely that any Intel Mac will ever be officially supported with Windows 11.
A Possible Workaround
But there is a workaround that will enable Intel Mac owners to bypass the TPM 2.0 requirement and so with the workaround, Windows 11 should work on any Mac capable of running Windows 10 that meets the other minimum specs listed above. It’s not for all, please read the final paragraph. Thanks to AppleInsider for finding this workaround…
How To Install Windows 11 On A Mac Using A Custom ISO File
What You Need
A Mac that meets the minimum system requirements for Windows 11
Windows 10 ISO
Windows 11 ISO
Any ISO file maker app
Note that the Mac must meet the minimum system requirements to run Windows 11 like 64GB of storage and a dual-core processor as listed earlier in this article, with the exception of the motherboard TPM2.0 support as this workaround bypasses the TPM 2.0 requirement.
How to create a custom ISO file to bypass the Windows 11 TPM 2.0 requirement
Mount the Windows 11 ISO file using DiskImageMounter
Copy contents of the install media into a new folder on the desktop
Unmount the Windows 11 image file
Open the Windows 10 install image using DiskImageMounter
Open the "sources" folder
Copy "Install.wim" onto the desktop
Unmount the Windows 10 ISO file
Edit the "Install.wim" file extension using "Get Info" in the right-click menu
Select "Name & Extension" and rename the file to "Install.esd"
Open the new folder containing the Windows 11 ISO contents from earlier
Open the "sources" folder
Delete the "Install.esd" file located there
Move the new "Install.esd" file you modified into the "source" folder
Use an ISO file maker app to convert the Windows 11 folder into an ISO file
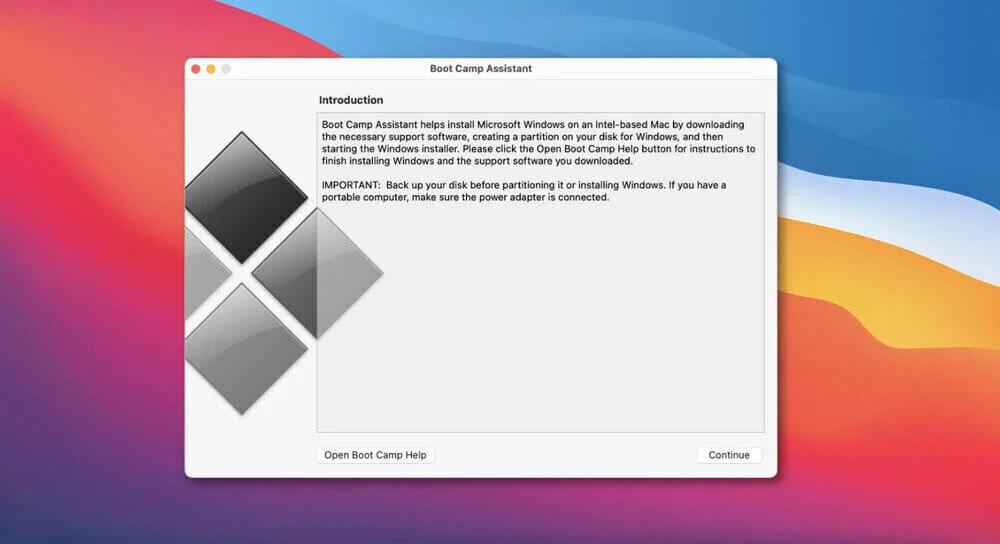
Install Windows 11 from a custom ISO file in Boot Camp
Open Boot Camp
Choose the custom ISO file for the "ISO Image"
Click "Install"
The Windows 11 installer should run via Boot Camp from here and you should be able to follow the on-screen prompts to get Windows 11 up and running.
The Windows 11 Boot Camp installer will be open when the operating system boots for the first time. Follow the prompts to get the compatibility drivers installed and finish the installation.
Caveat - Please Read
We cannot recommend this procedure for most users. There are no guarantees that the updates will not break the installation, and it remains to be seen if Microsoft will implement more robust TPM 2.0 checks in the future.
We cannot accept any responsibility for the consequences of anyone attempting to implement this workaround.