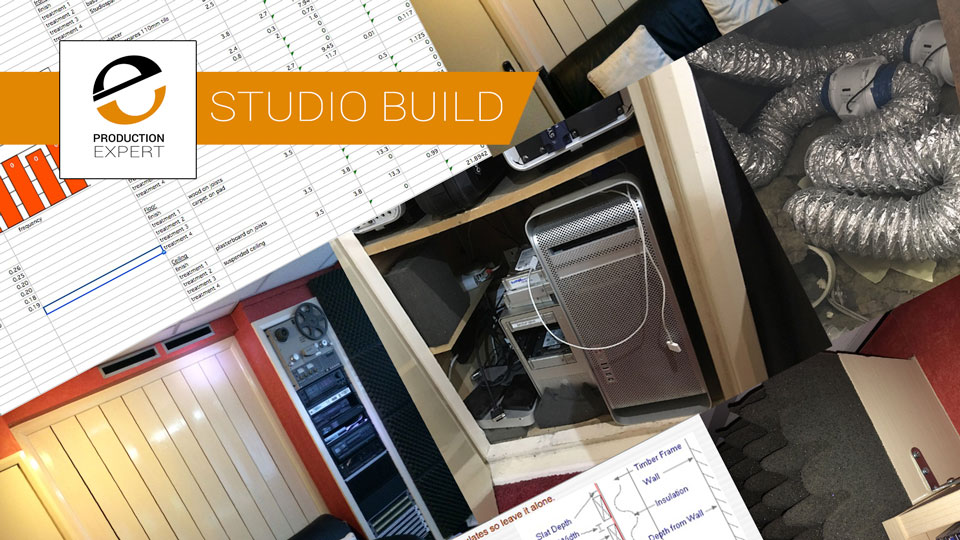
Dan wrote a brilliant article outlining the basics of acoustic treatment and sharing his story and experiences with his various studios. Following on from Dan's article, I am going to share my experiences and the techniques I have used for my current studio.
When I built this studio back in 2001, we were also moving house and we had the luxury of having the new house for several weeks whilst still living in the old house a couple of miles away. So whilst other work was taking place in the new house I had the opportunity to build a new studio from scratch whilst also learning from my mistakes of the old studio. I am the first person to hold my hand up and say I am not an acoustics specialist and I don't guarantee that all my solutions are perfect but they have worked for me.
DIY Solution

At that time, my time was cheaper than employing a specialist, so I decided to go down the DIY route, but I wanted to do it as well as I could. You can't just choose a range of products and throw it into your room and hope for the best. Its a bit like a good cake, you need all the ingredients in the right proportions, put together in the correct way and baked to perfection. Get any bit wrong and the cake will be a flop, sometimes literally.
What To Do About the Floor?
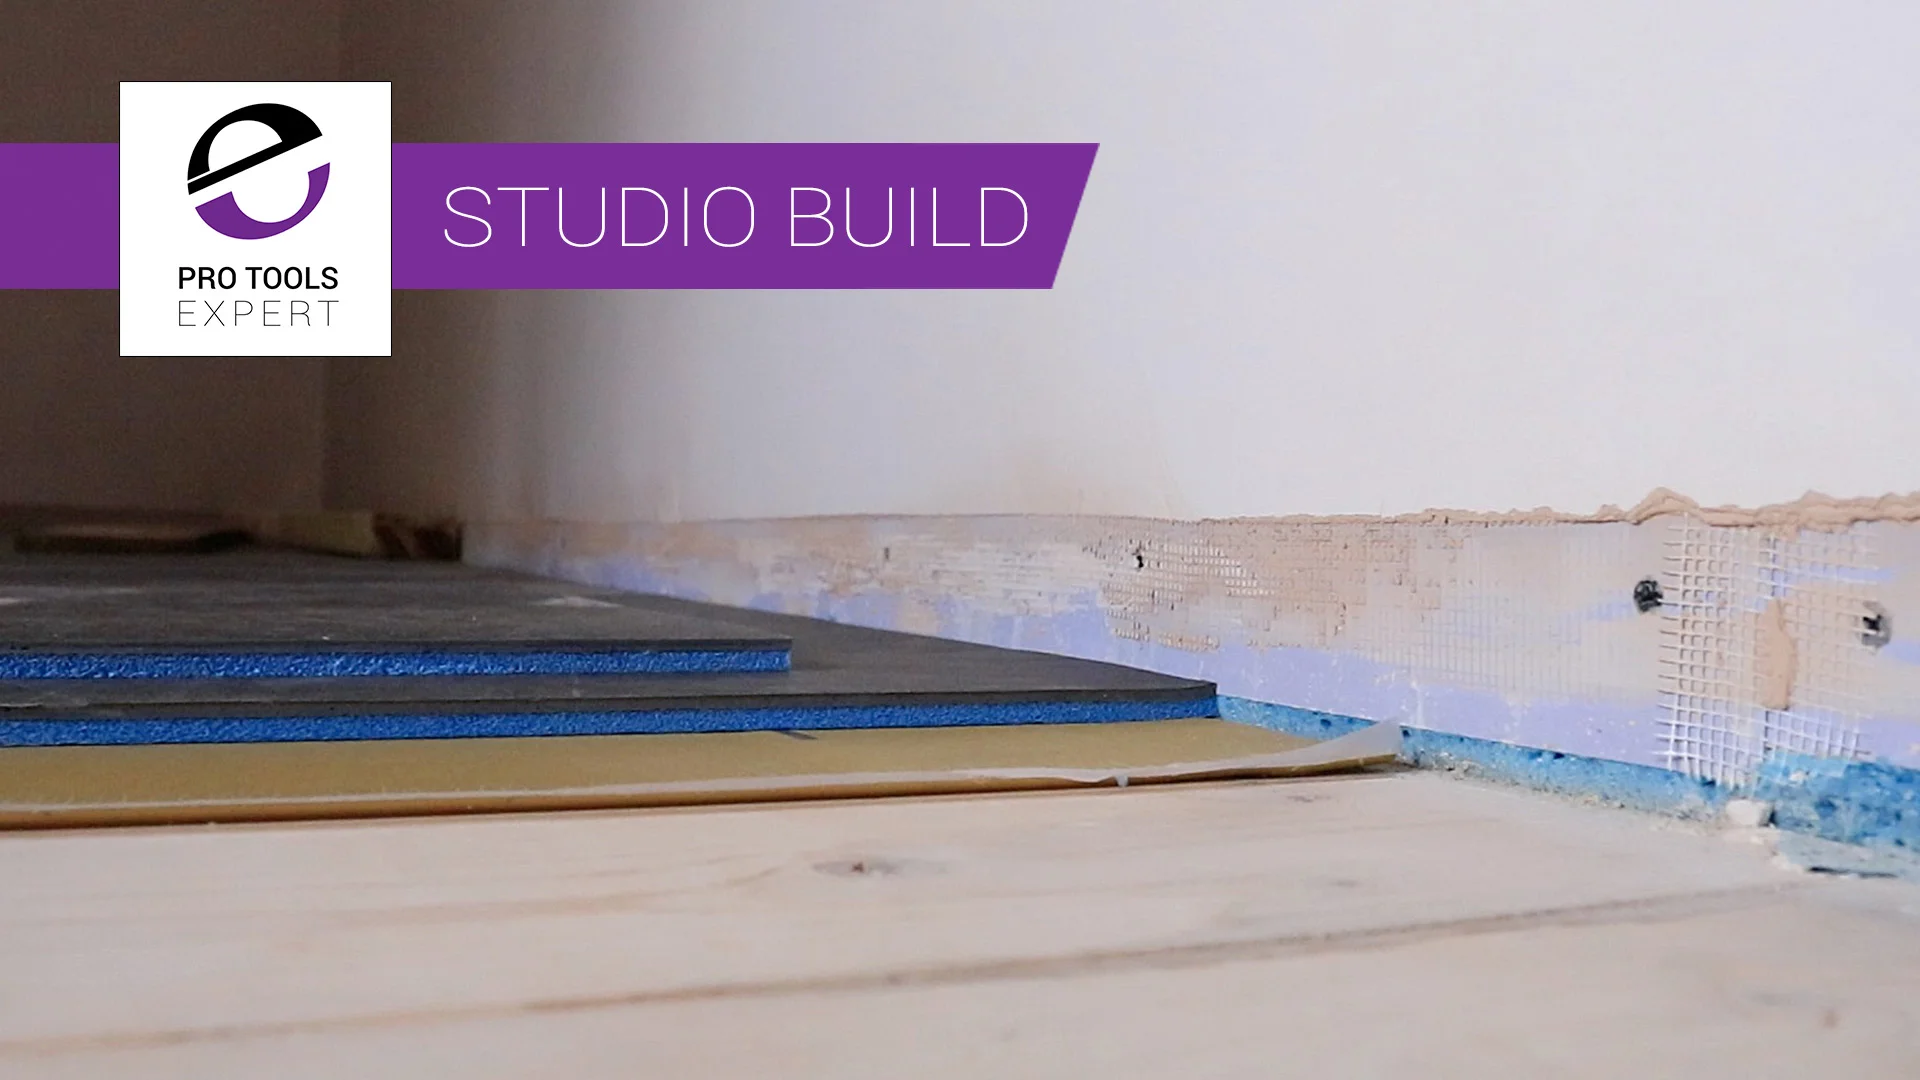
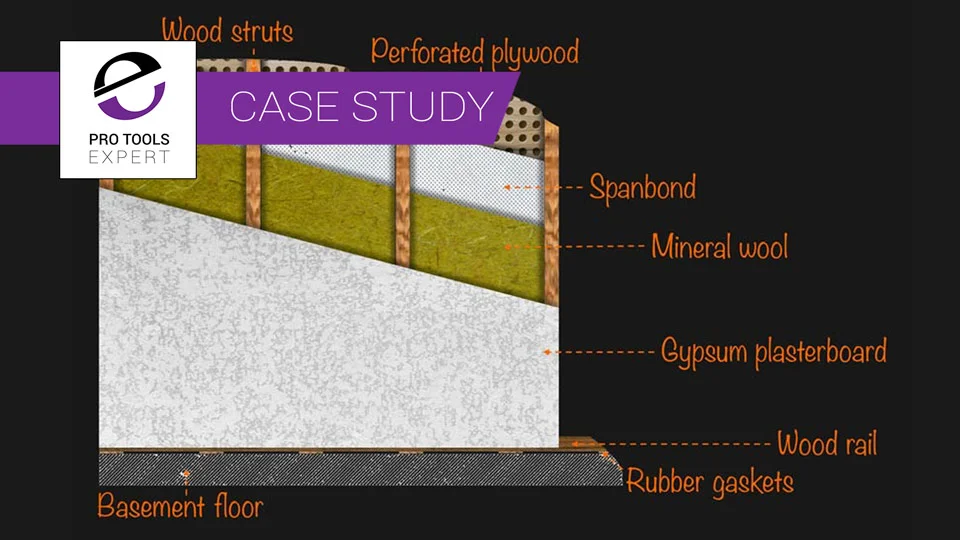
In the old studio I followed the advice to lay mineral wool insulation on the floor and then build a raft with a new floor that would 'float' on the rock wool. The fatal flaw in that idea, as I quickly found out, all be it too late, is that the weight of everything compressed the rock wool so much that it became fairly useless and the low frequencies would leak through to the room under my studio. As the new studio was going to be in a room above the main living space, I wanted to make sure I got it right this time. After some research I came across a product which was designed to provide the acoustic isolation I was looking for, without the flaws in my old system. The product is called Fermacell and they produce a Gypsum based acoustic flooring which has two overlapping layers of gypsum based boards bonded together and then bonded to them, a layer of rock wool with the key difference being that the fibres are arranged end on, so at 90 degrees to the floor, which means they don't compress like my DIY solution had done in the old studio.
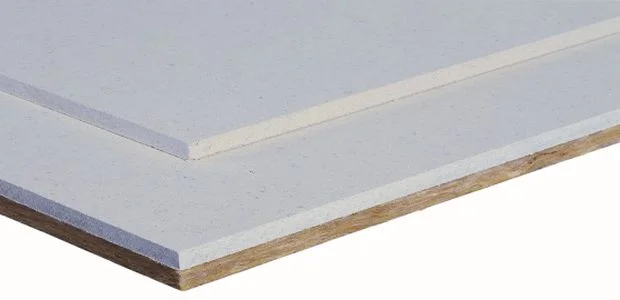
The Fermacell came with the special adhesive to glue the boards together as well as foam to put round the edge, so that the floor didn't make contact with the wall at any point. Although Fermacell is designed for domestic applications to reduce the noise transfer from adjacent flats etc, it has proved to be very successful in containing the noise leakage downstairs. Fermacell are not the only manufacturers of this kind of product, others make similar products that you should be able to source locally.
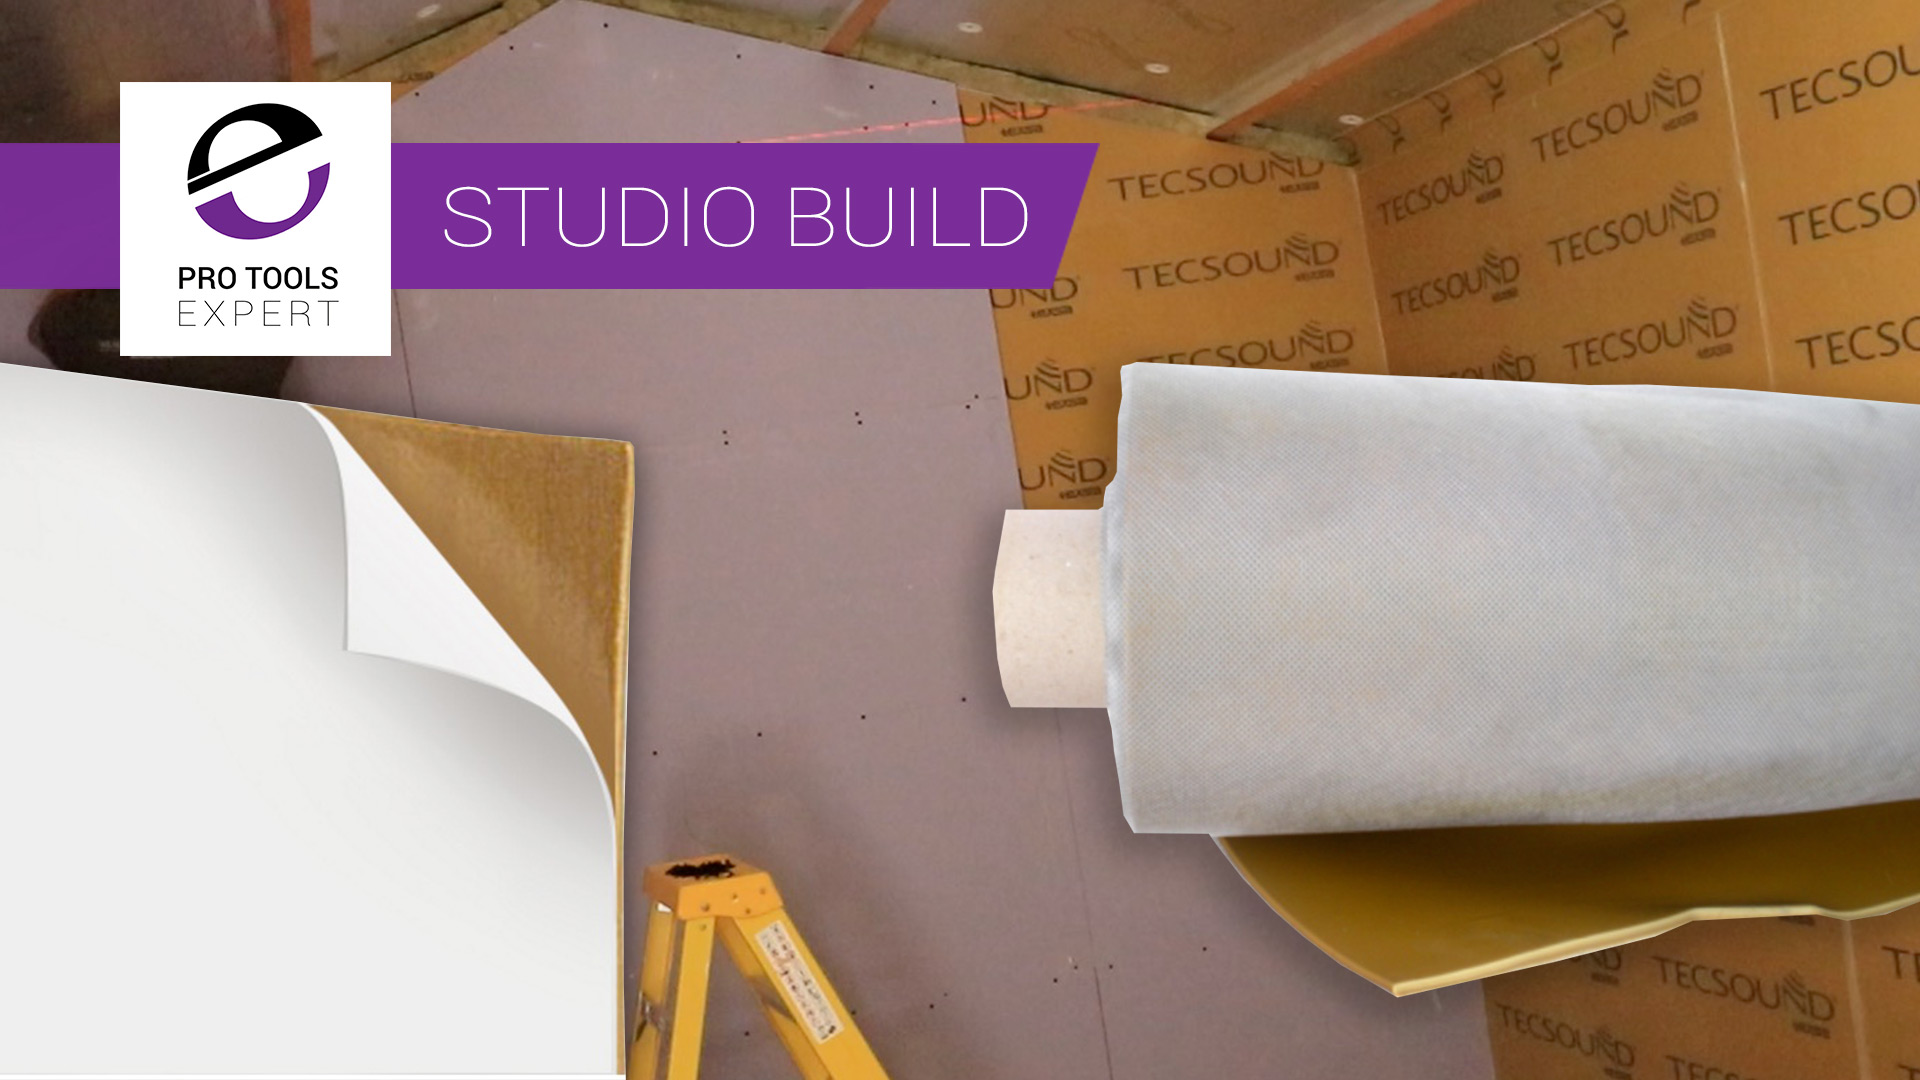
What About The Ceiling?
I had the idea of using a conventional suspended ceiling made of acoustic tiles, 300mm down from the ceiling but the key difference is laying with 150mm of mineral wool on the top of the tiles. If you can get absorbing material away from the wall or ceiling you increase the low frequencies at which it is effective. I was fortunate that I had the ceiling height to do this, and when I came to calculate the reverb time for my studio it proved to be a very efficient way to handle a lot of the broadband absorption in my studio and I will reveal more about how in the next part of this series.