As this series continues no studio installation would be of any use with electrics and cabling so in this post I'm going to talk about the challenges I faced and how a professional electrician was worth their weight in gold.
The Power Supply
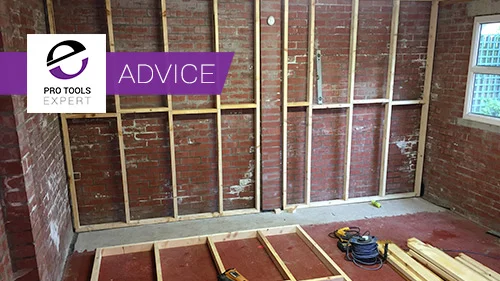
The building we were converting into the studio, already had power and lights to it which had been helpfully installed by the previous owner. It was essential that the studio would have enough current to run the equipment, lights and air-con and also that the supply was clean and not prone to interference.
When electrical contractor arrived on site for an inspection before the first fix it became apparent that the electrical supply was less than adequate. It was a simple domestic supply of about 3 amps running underground and eventually traced as a spur off the back of one of the kitchen power outlets 20 meters away. As you can imagine this is less than ideal as it was unable to supply enough current, unable to be isolated and would possibly add noise to the supply.
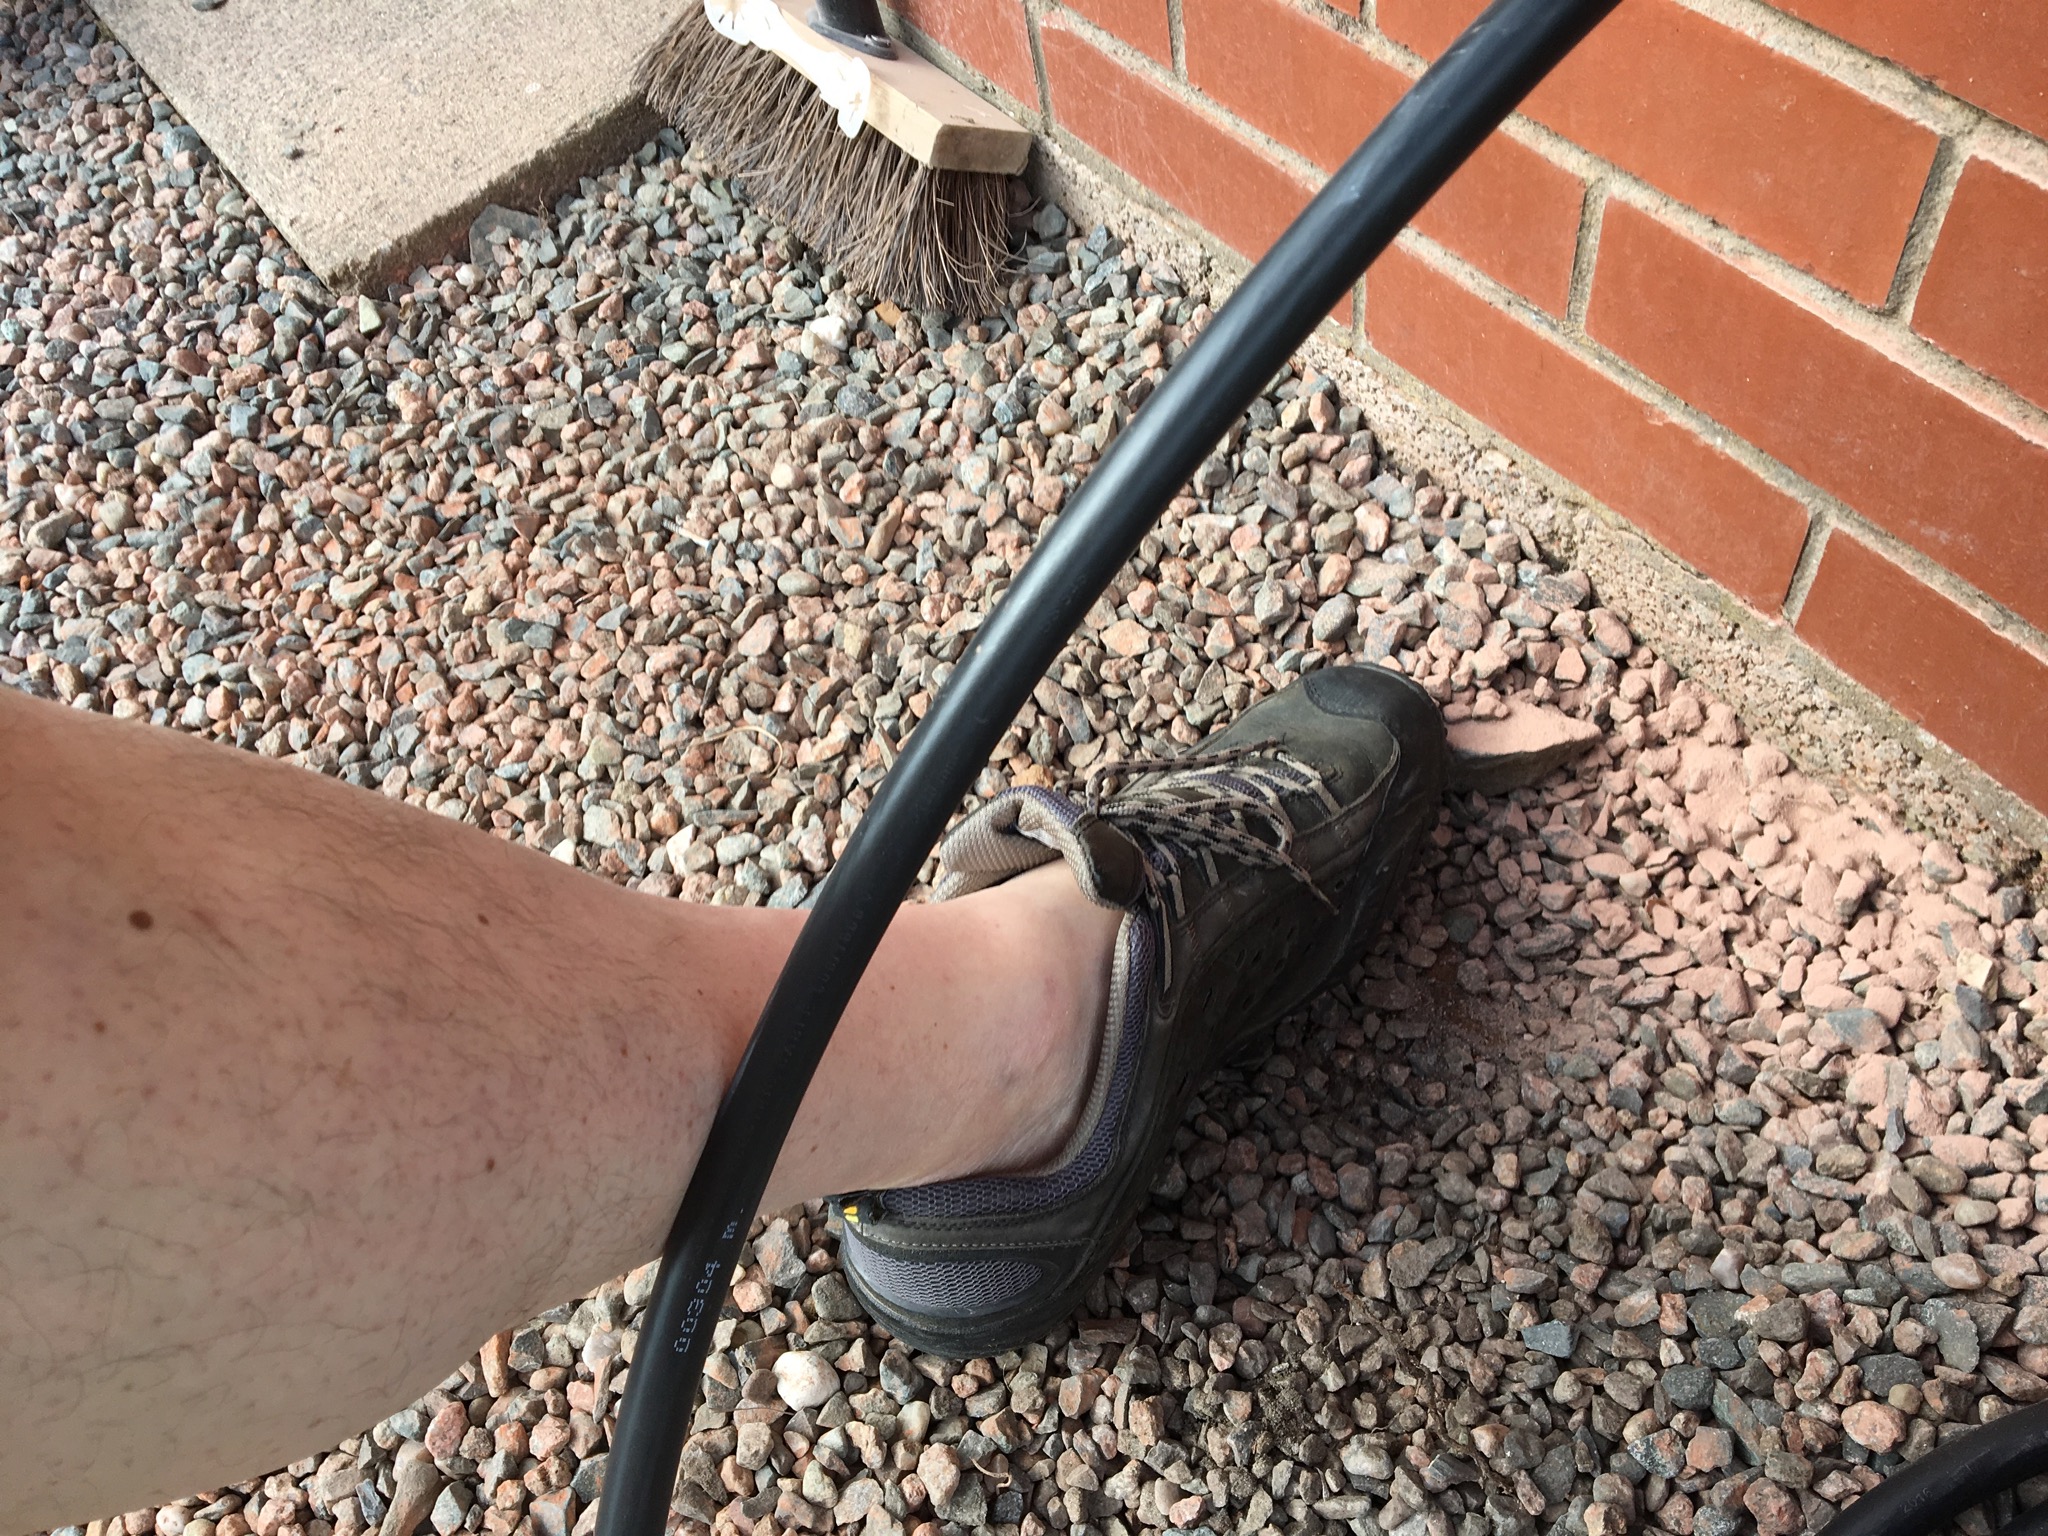
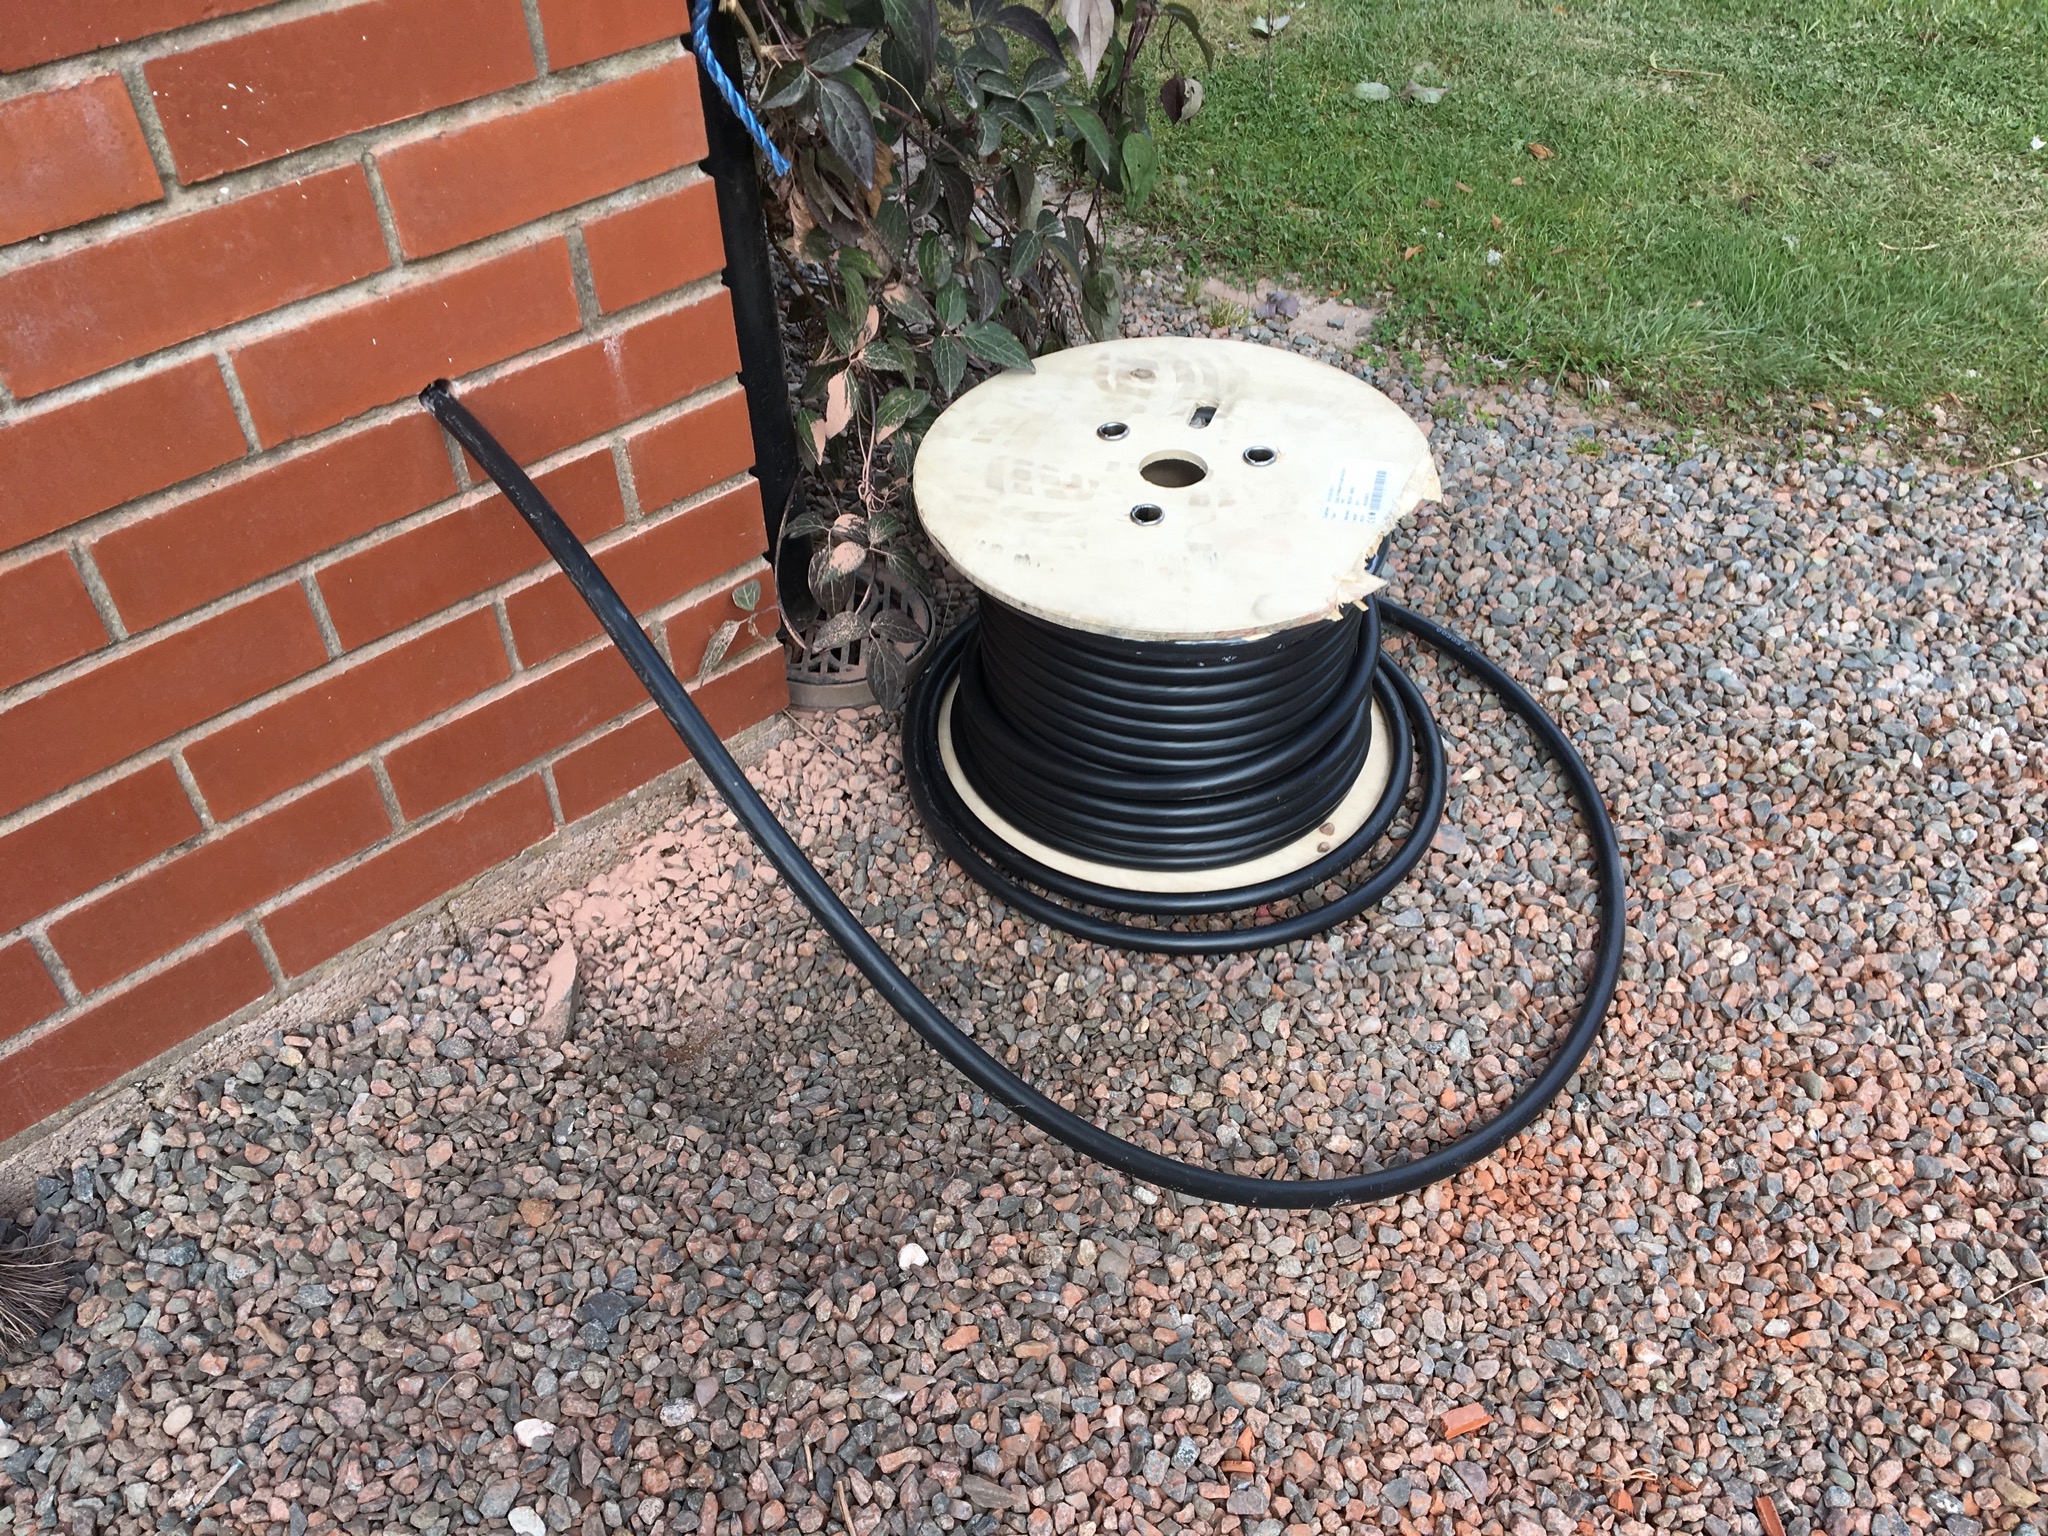
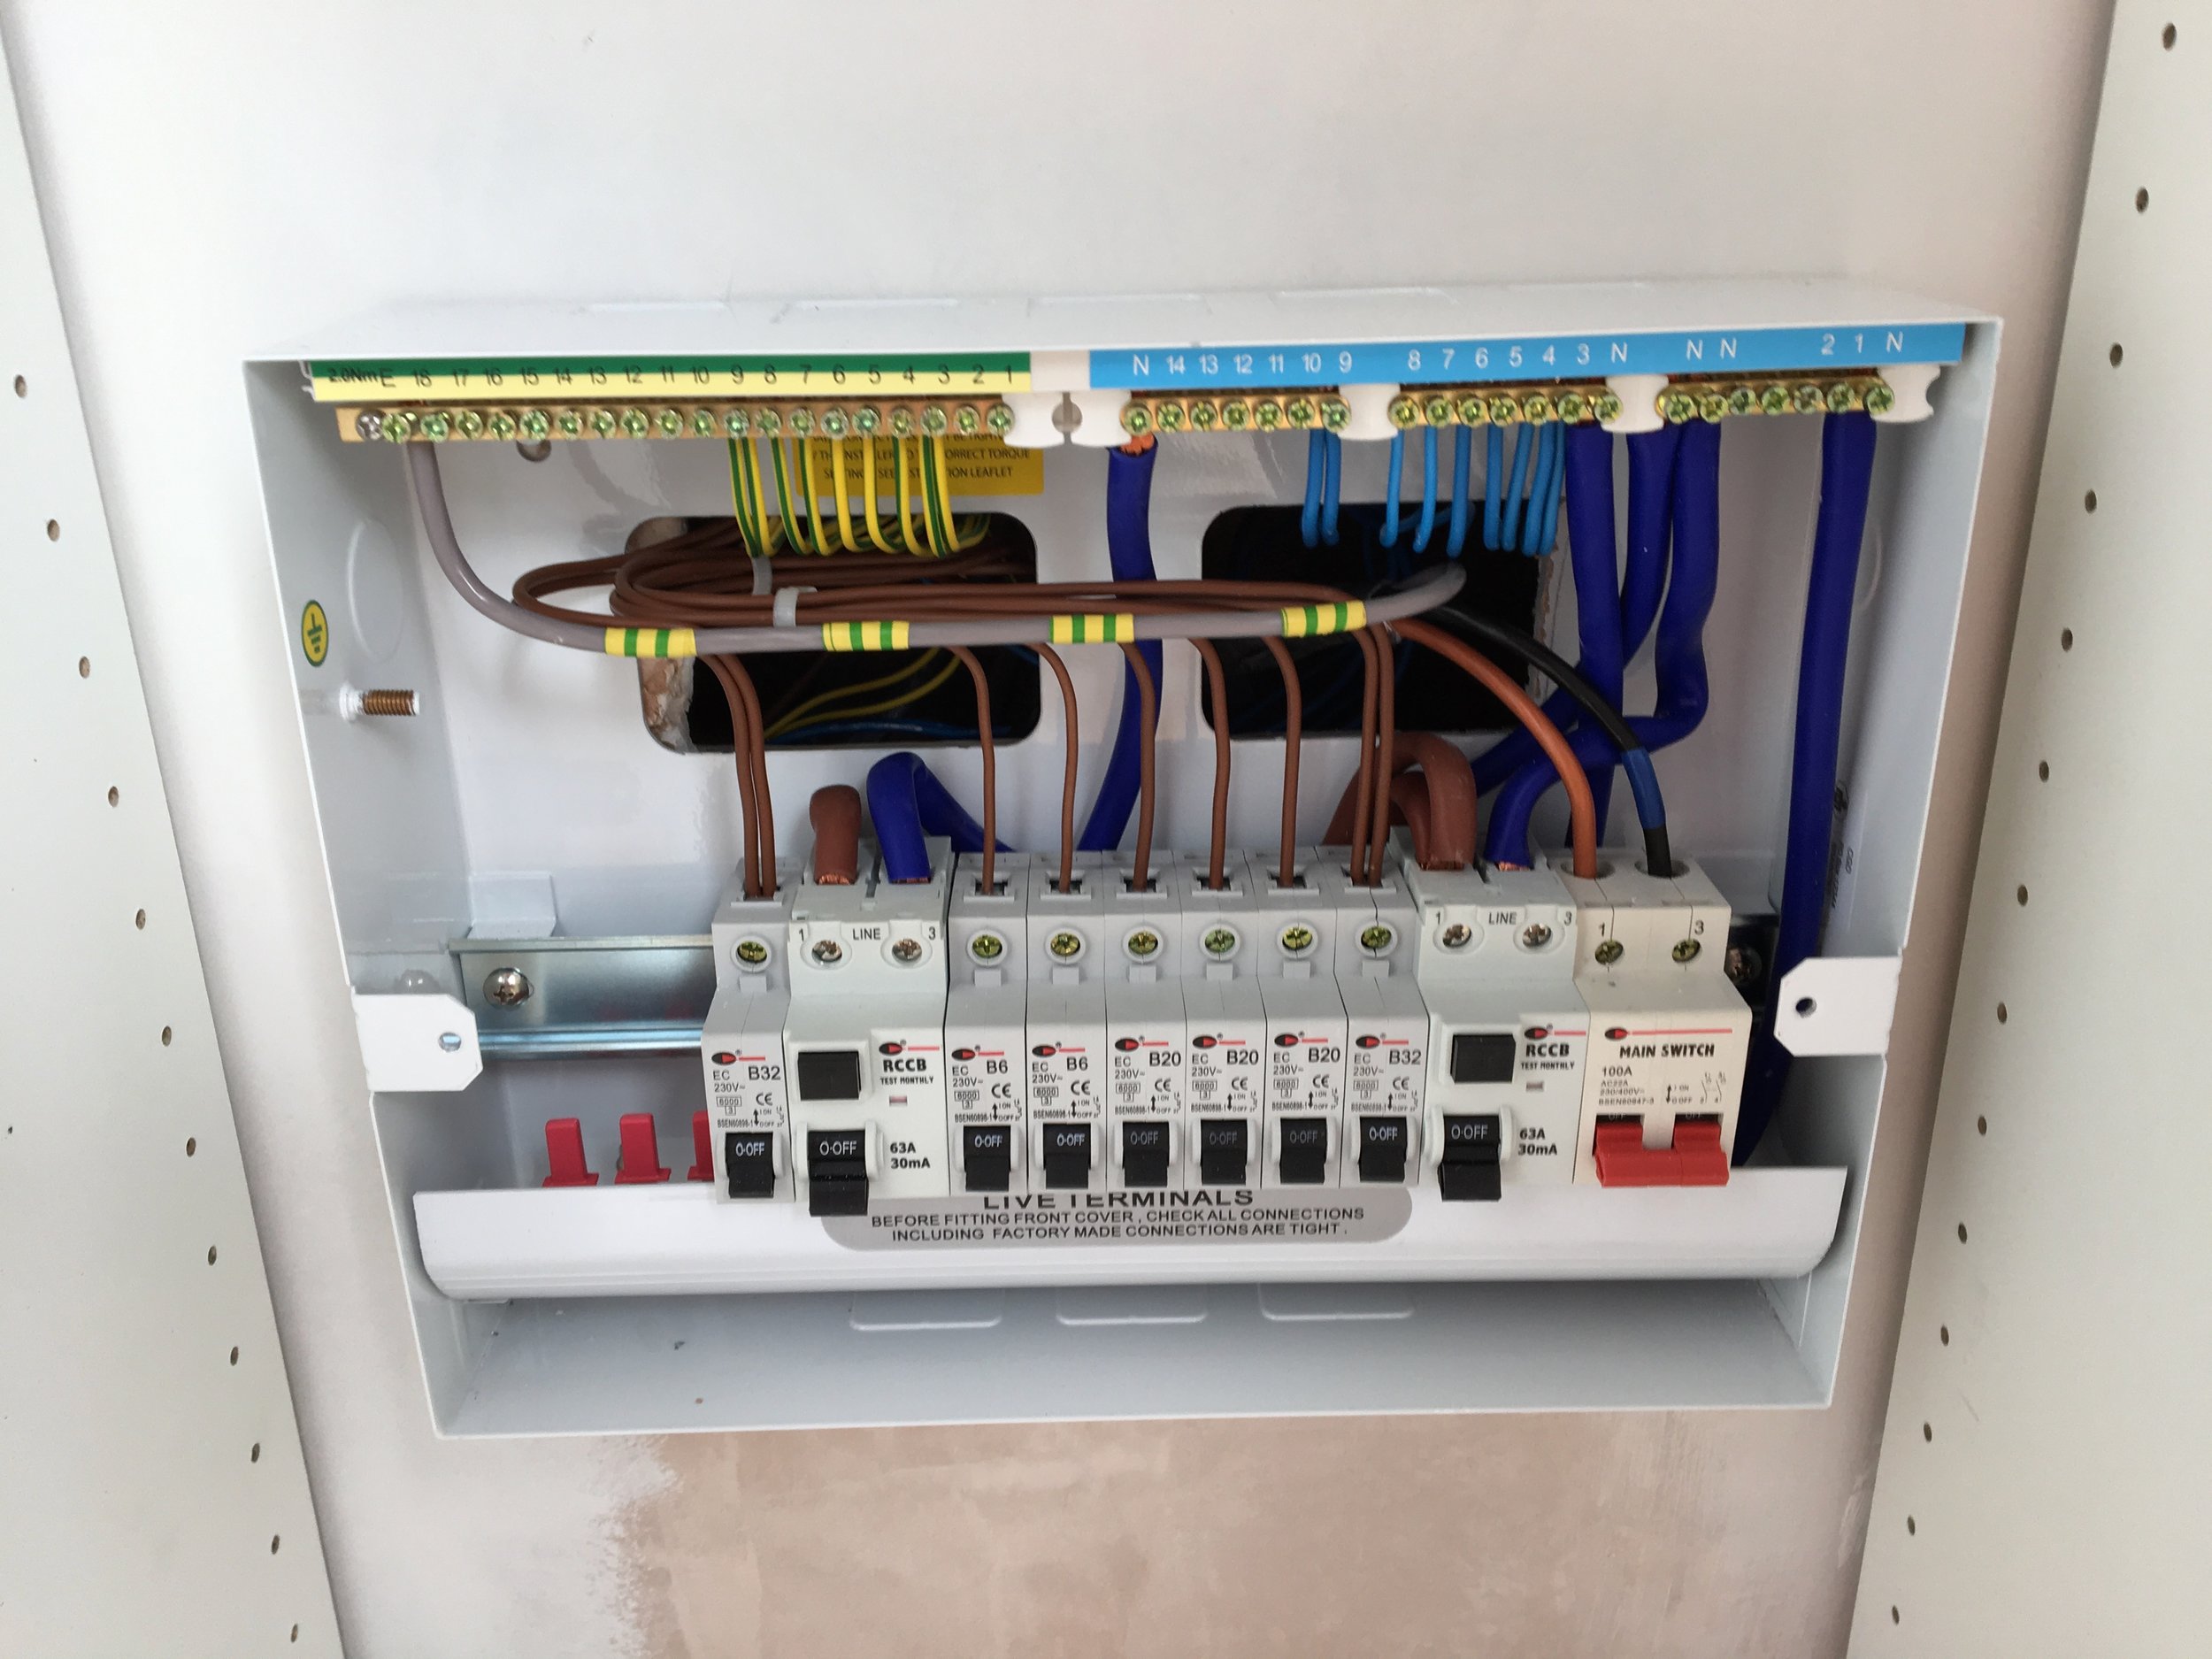
It was at this point we made the decision to run a 10mm armoured cable with a 85 amp capacity 40 meters back to the main fusebox. This was both costly to buy (about £300 worth of cable) we then had to dig a trench to span from the studio to the main house and then had to run a 10mm cable under the house. However it was clear that unless we did this we were compromising a fundamental part of the studio build. In hindsight it was a no-brianer and although it probably added about £500 to the budget I'm glad I did it.
Electrical Fix
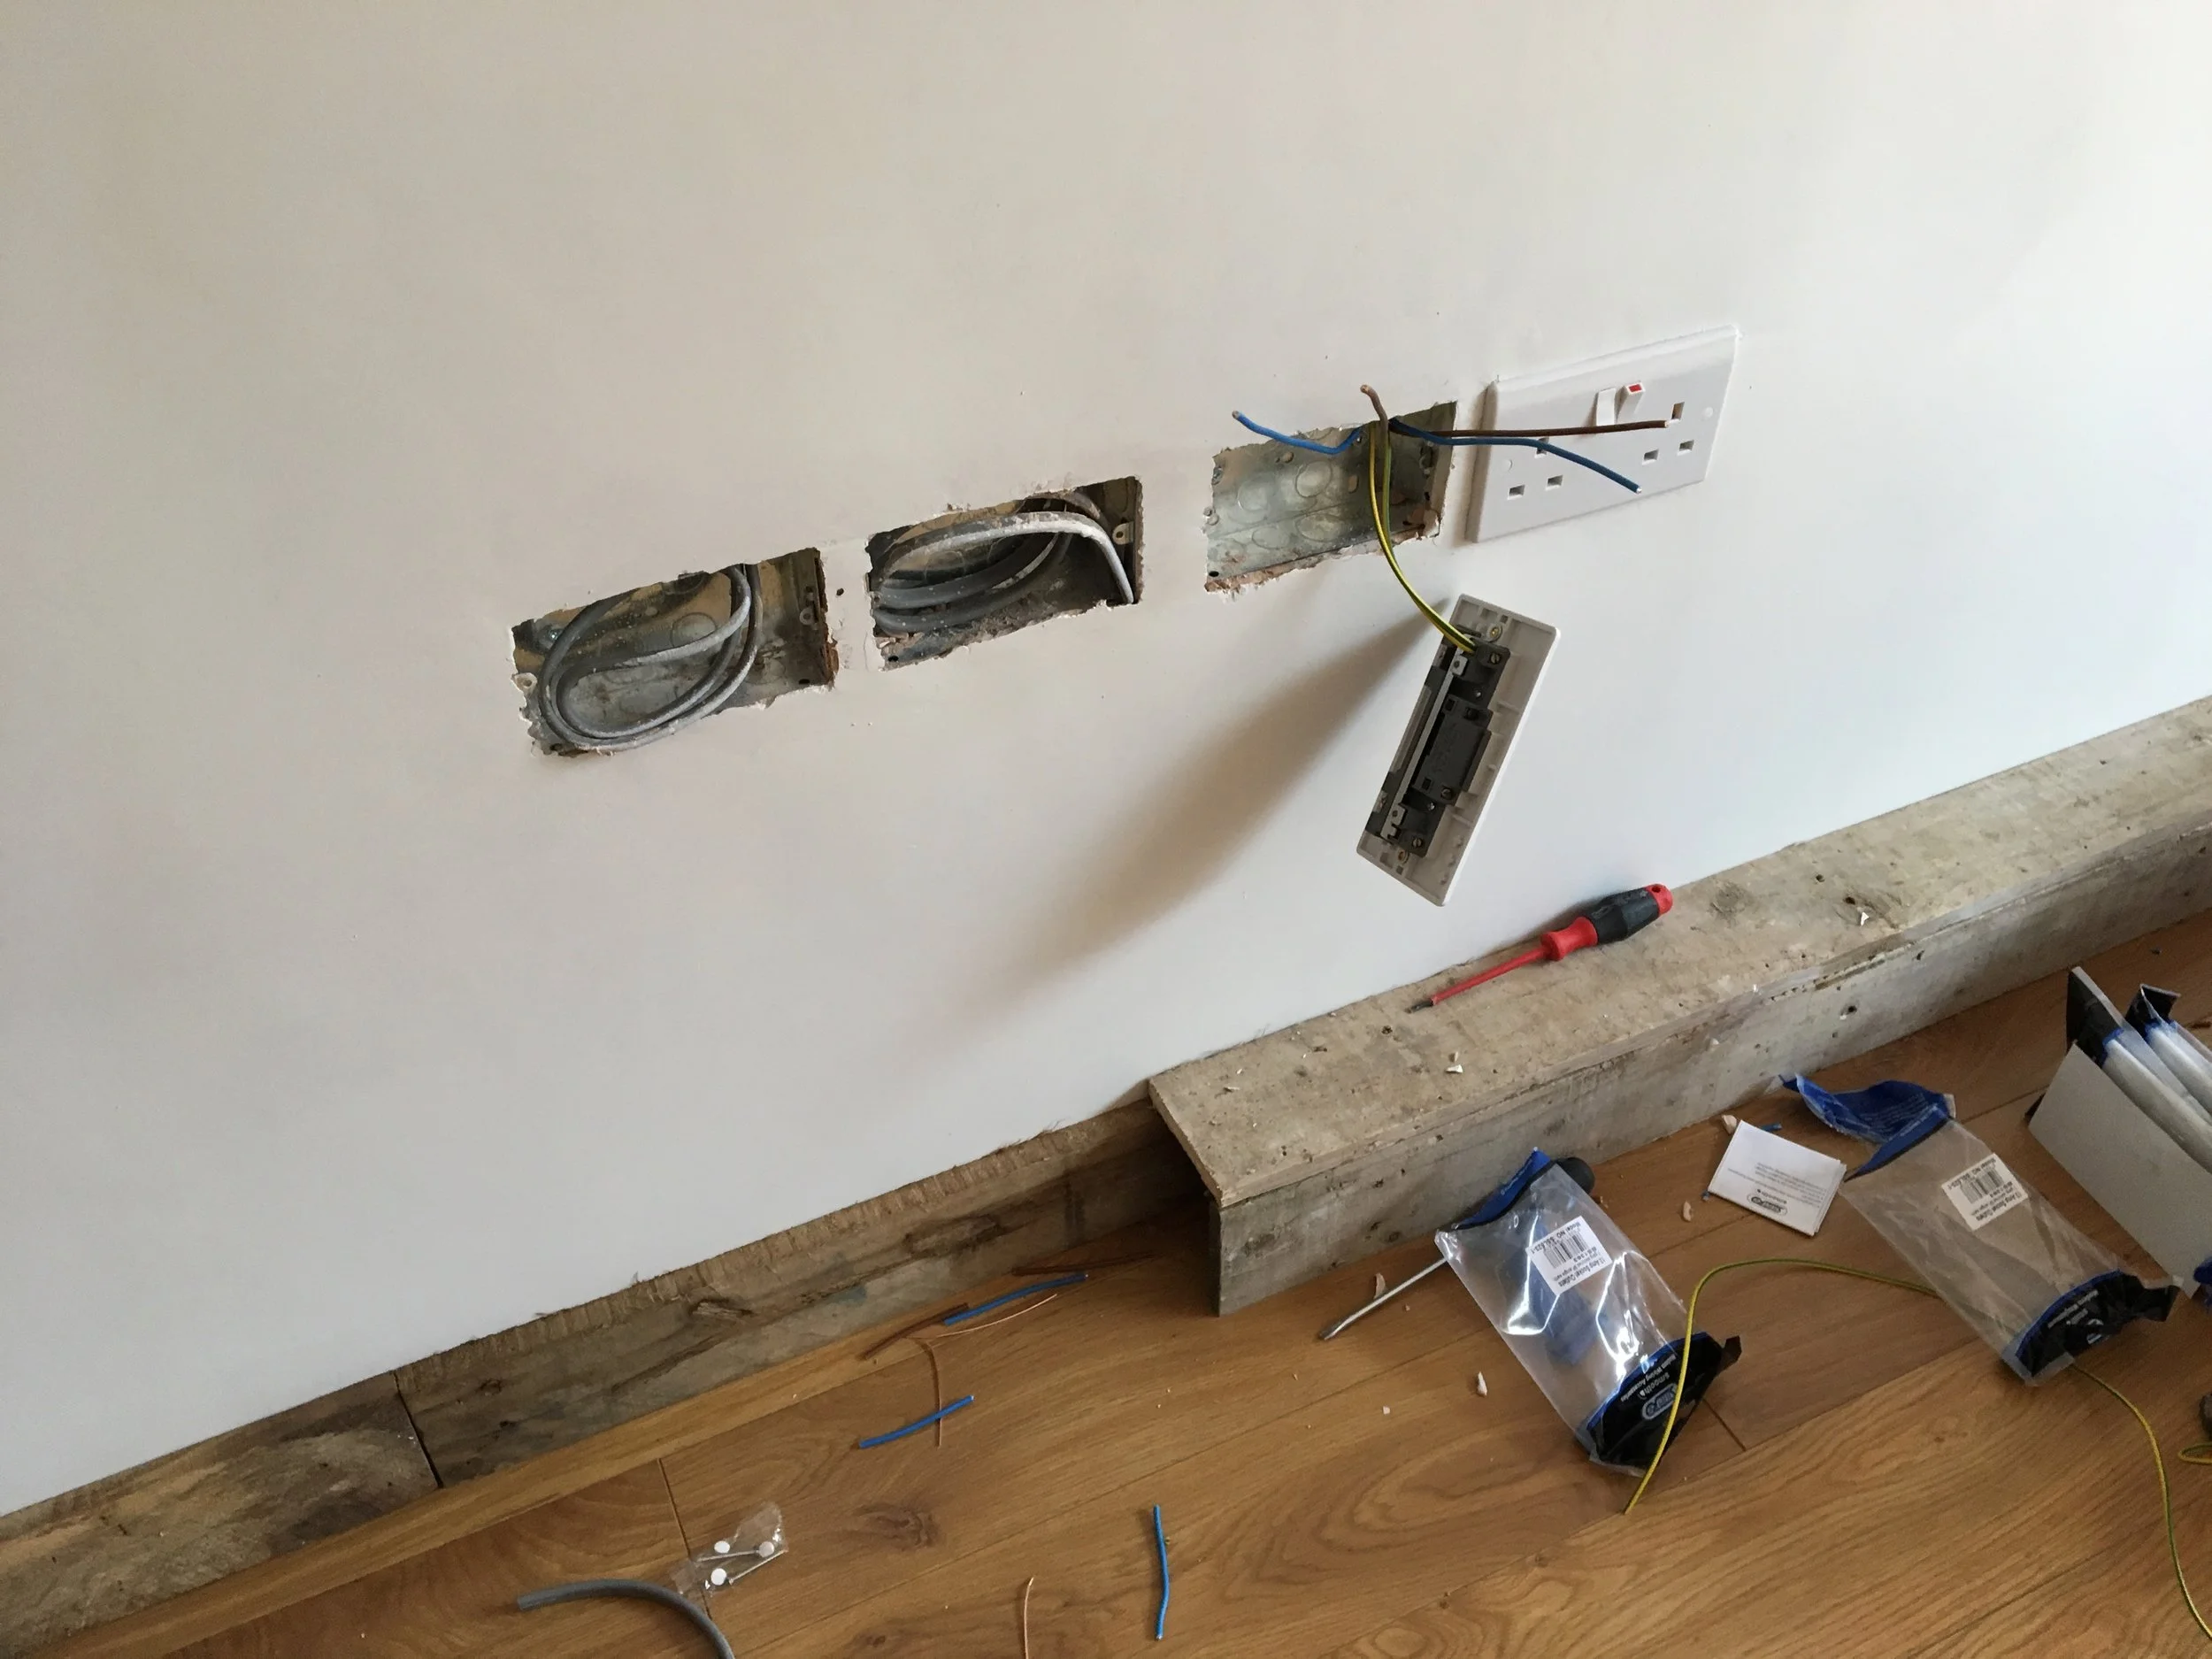
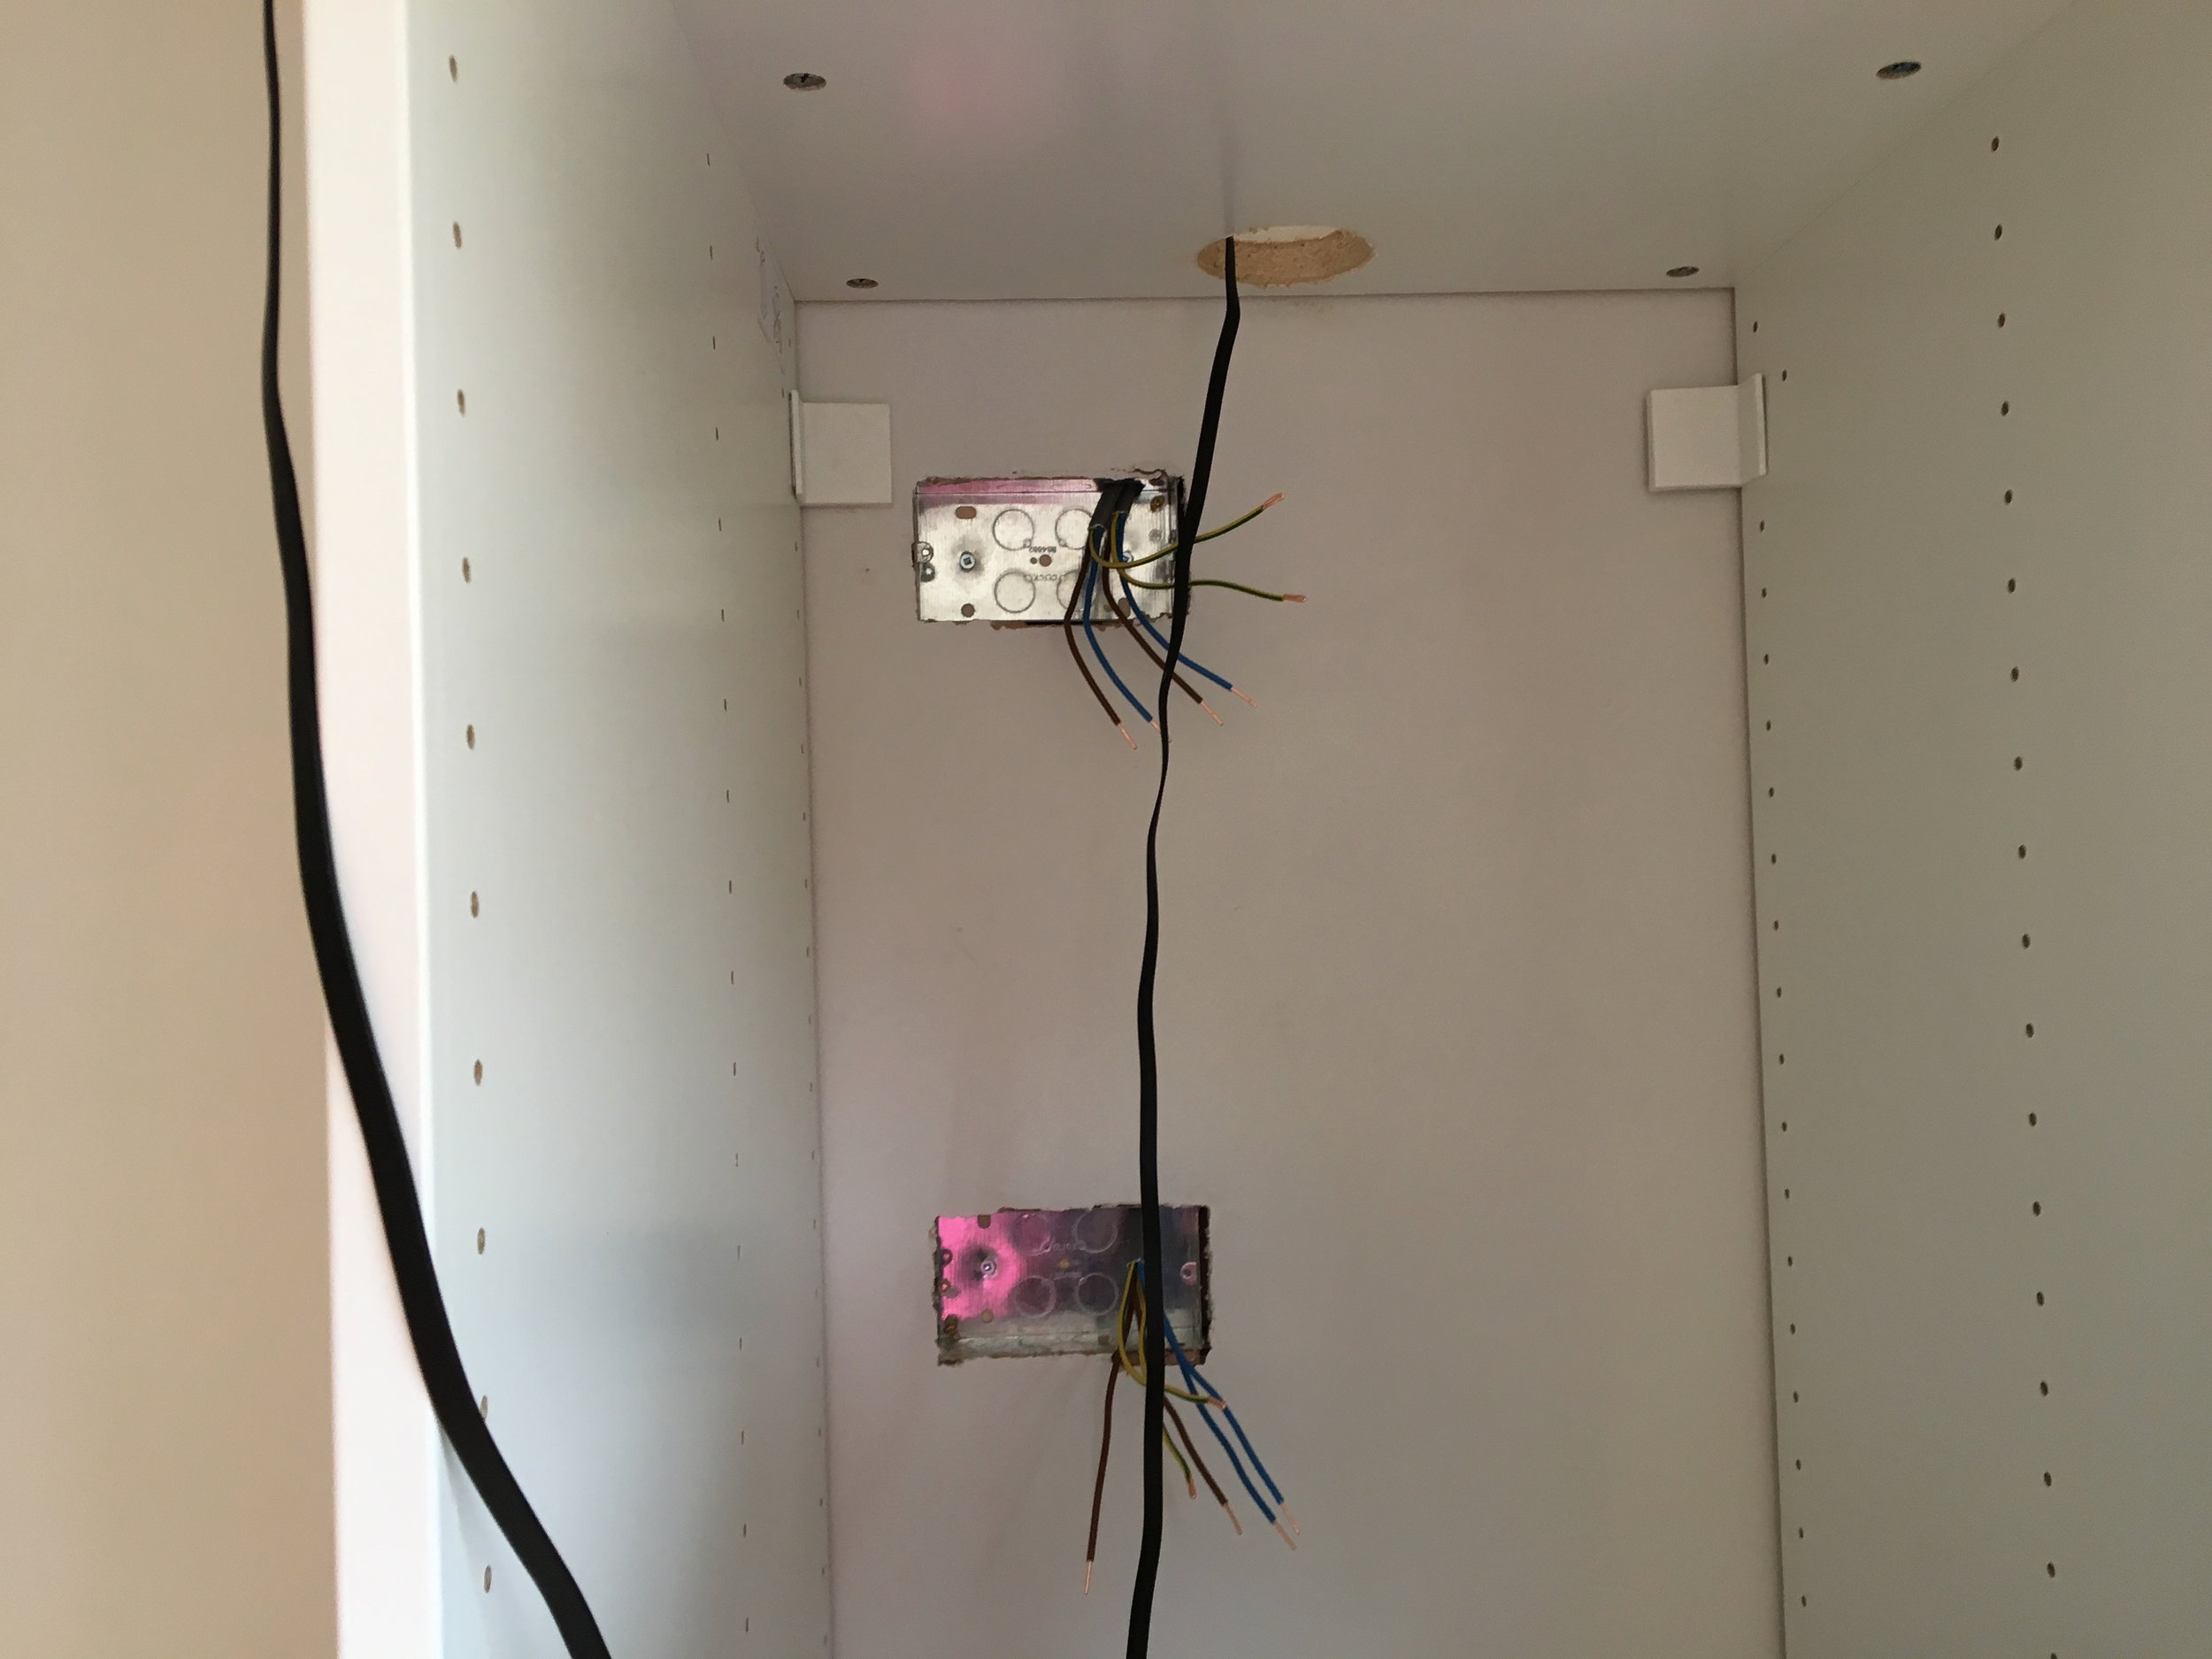
There's a huge difference between wiring a plug and installing electrics that are both safe and noise free, I wasn't going to take any chances and that is why I hired industry accredited electricians to complete the work. The first fix took place before the plaster board was installed and was the simple task of running and labelling wires to wall boxes for outlets, the lighting points in the ceiling and in preparation for the air-con. This was also the point that the new supply back to the main fuse box was installed.
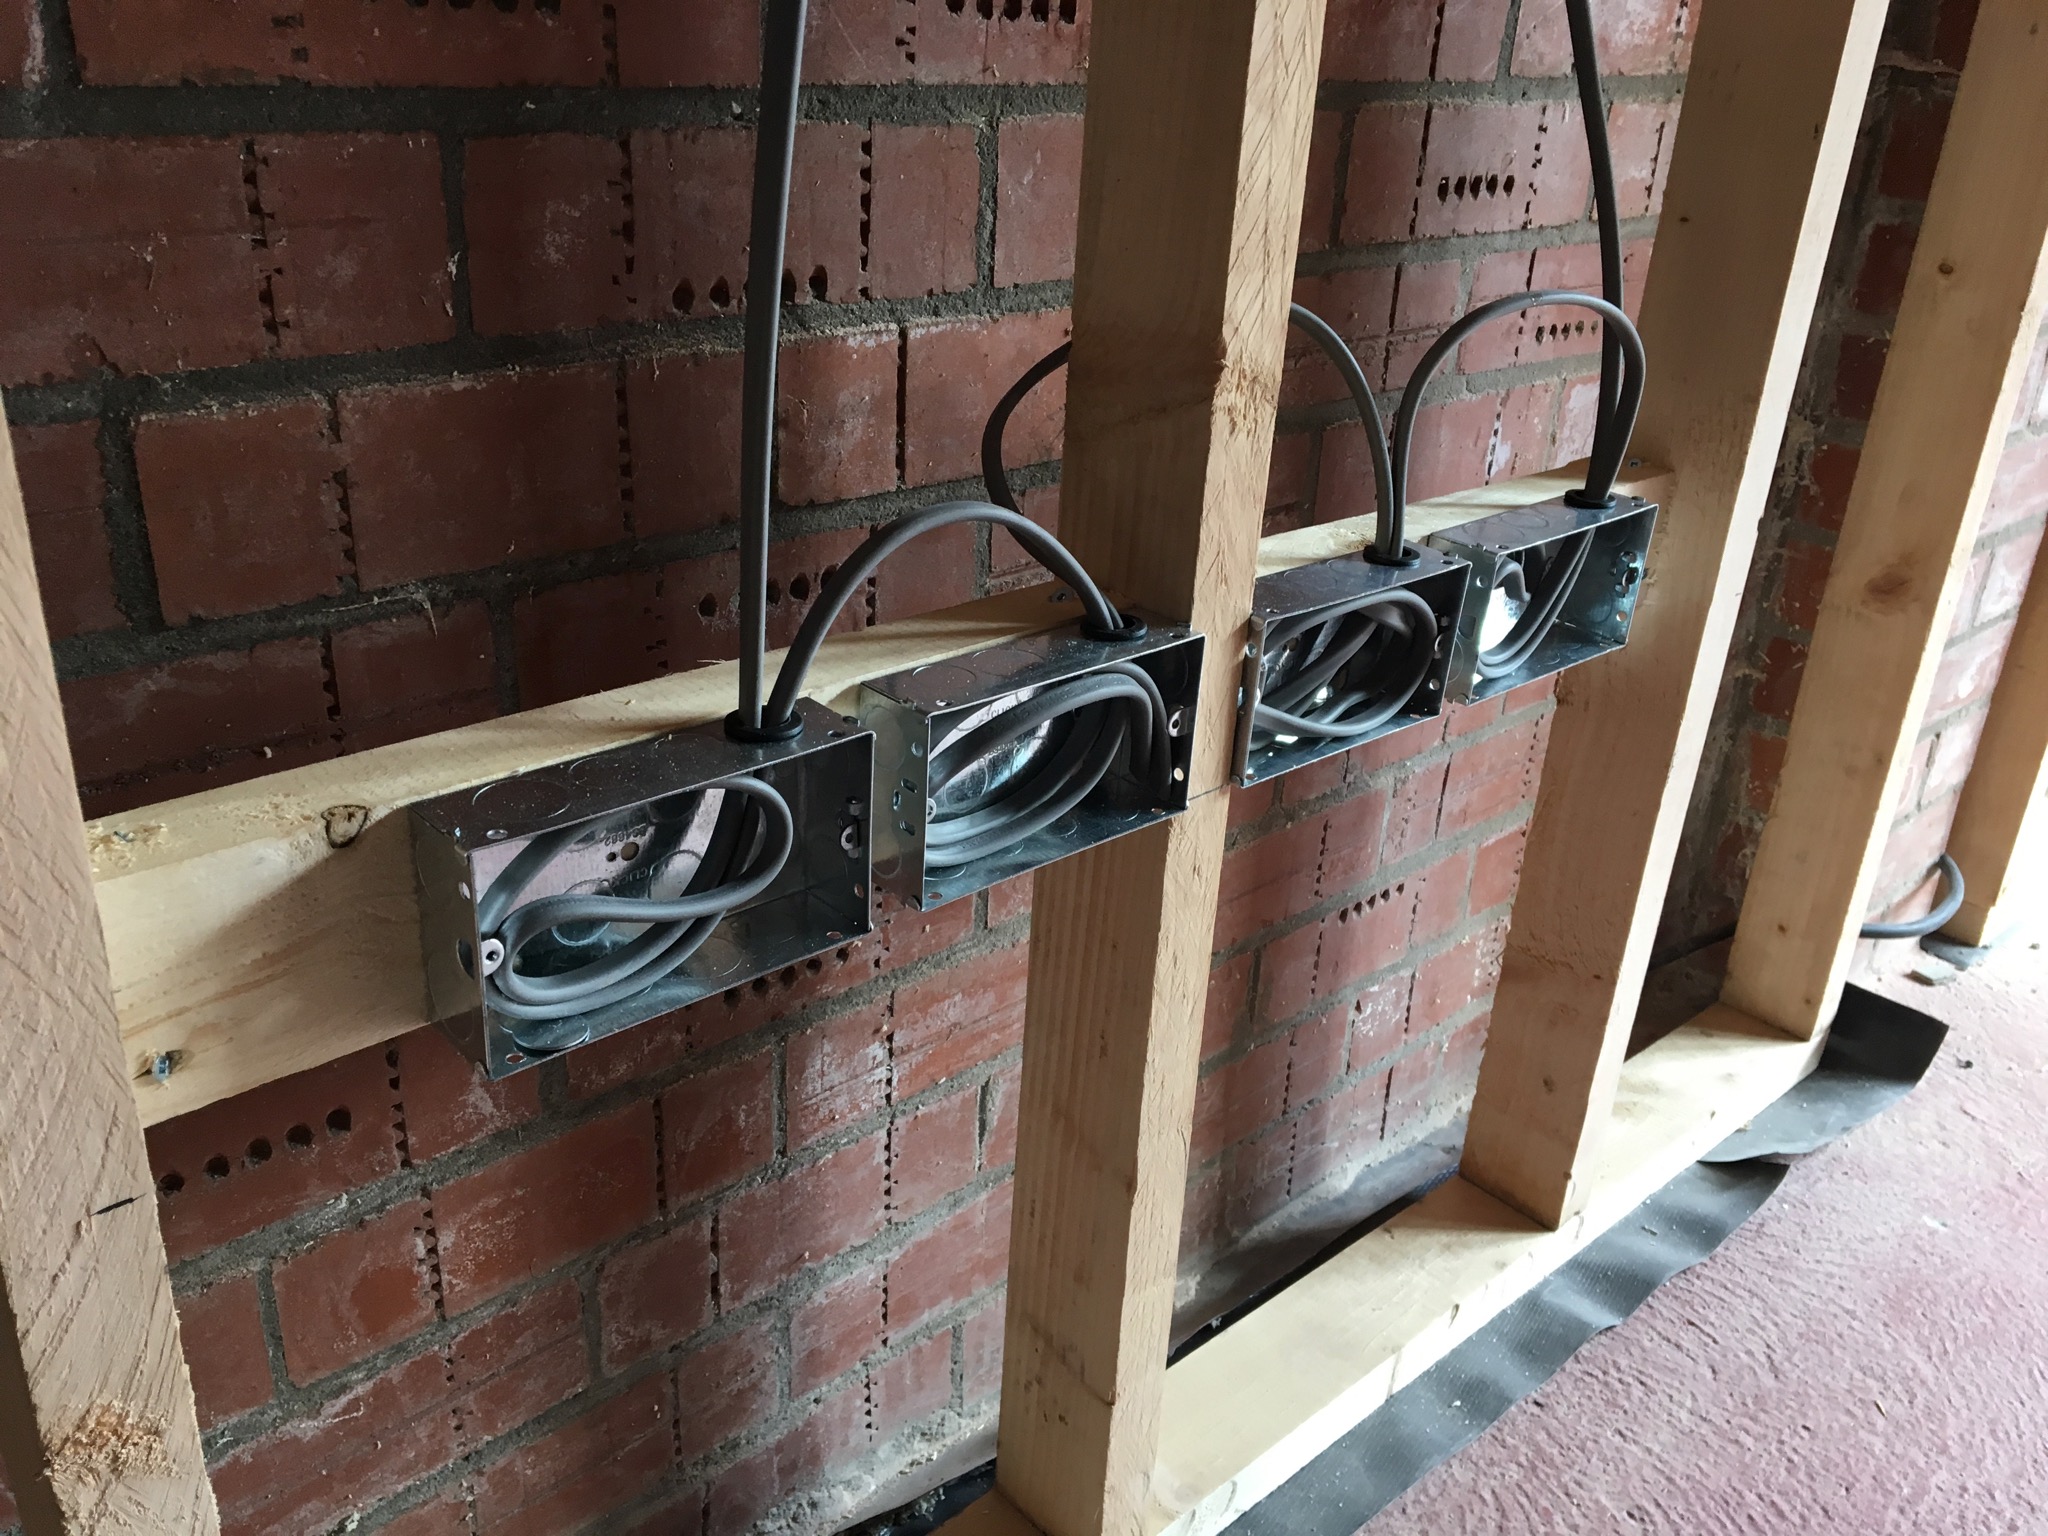
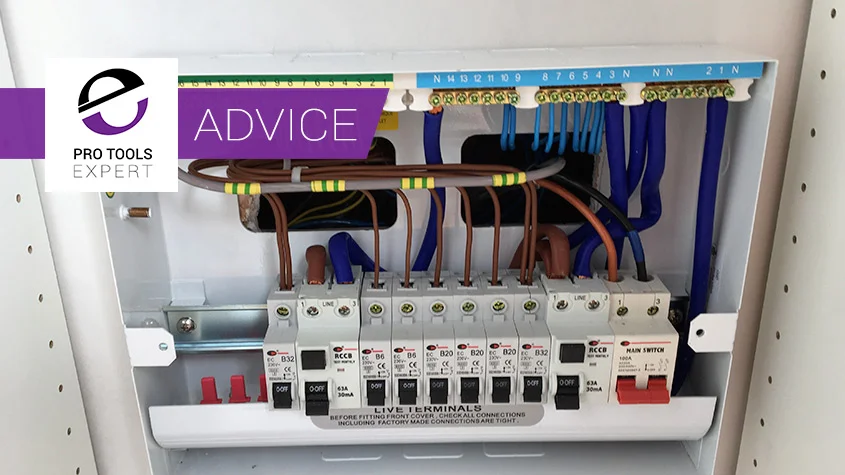
The new fuse board for the studio is installed in my drive cupboard and I have to say is a work of art, the care the electricians took over it was impressive, down to the little things like every screw holding on the wall plates in the room is set at 12-o-clock. It may be silly to some but I appreciate this attention to detail and care.
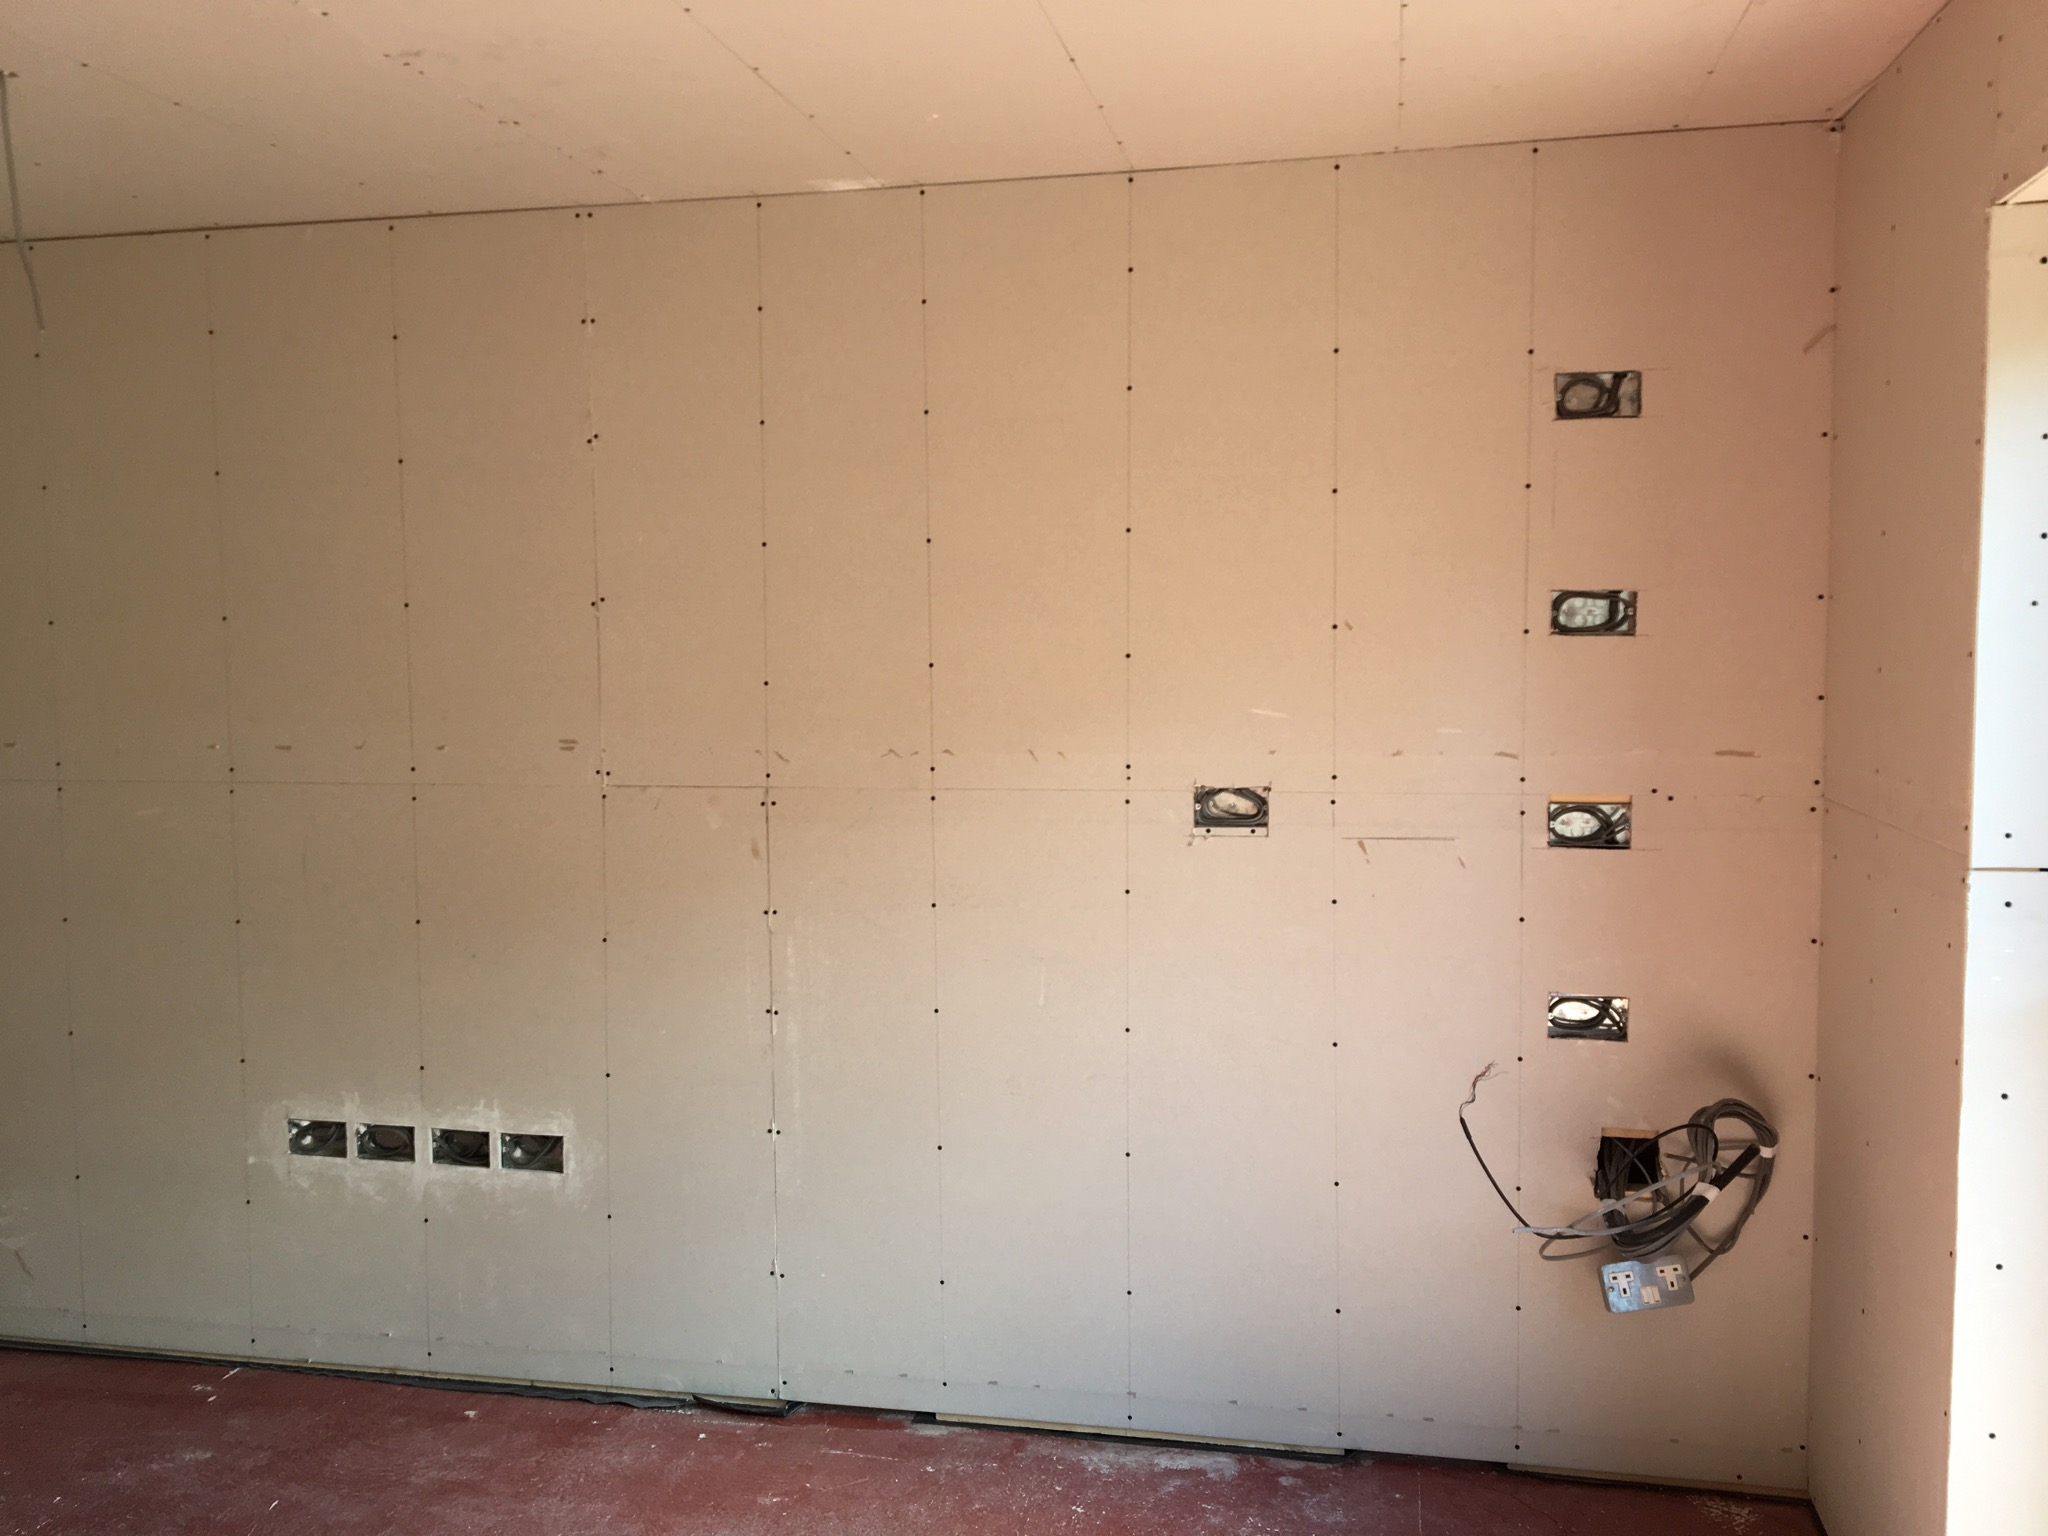
Once the plastering and painting was completed then it was time for the final fix to complete the installation of the sockets and lights - you only get the chance to do this once, so I decided that I would put as many sockets as possible and alleviate the need for endless multi-socket adaptors.
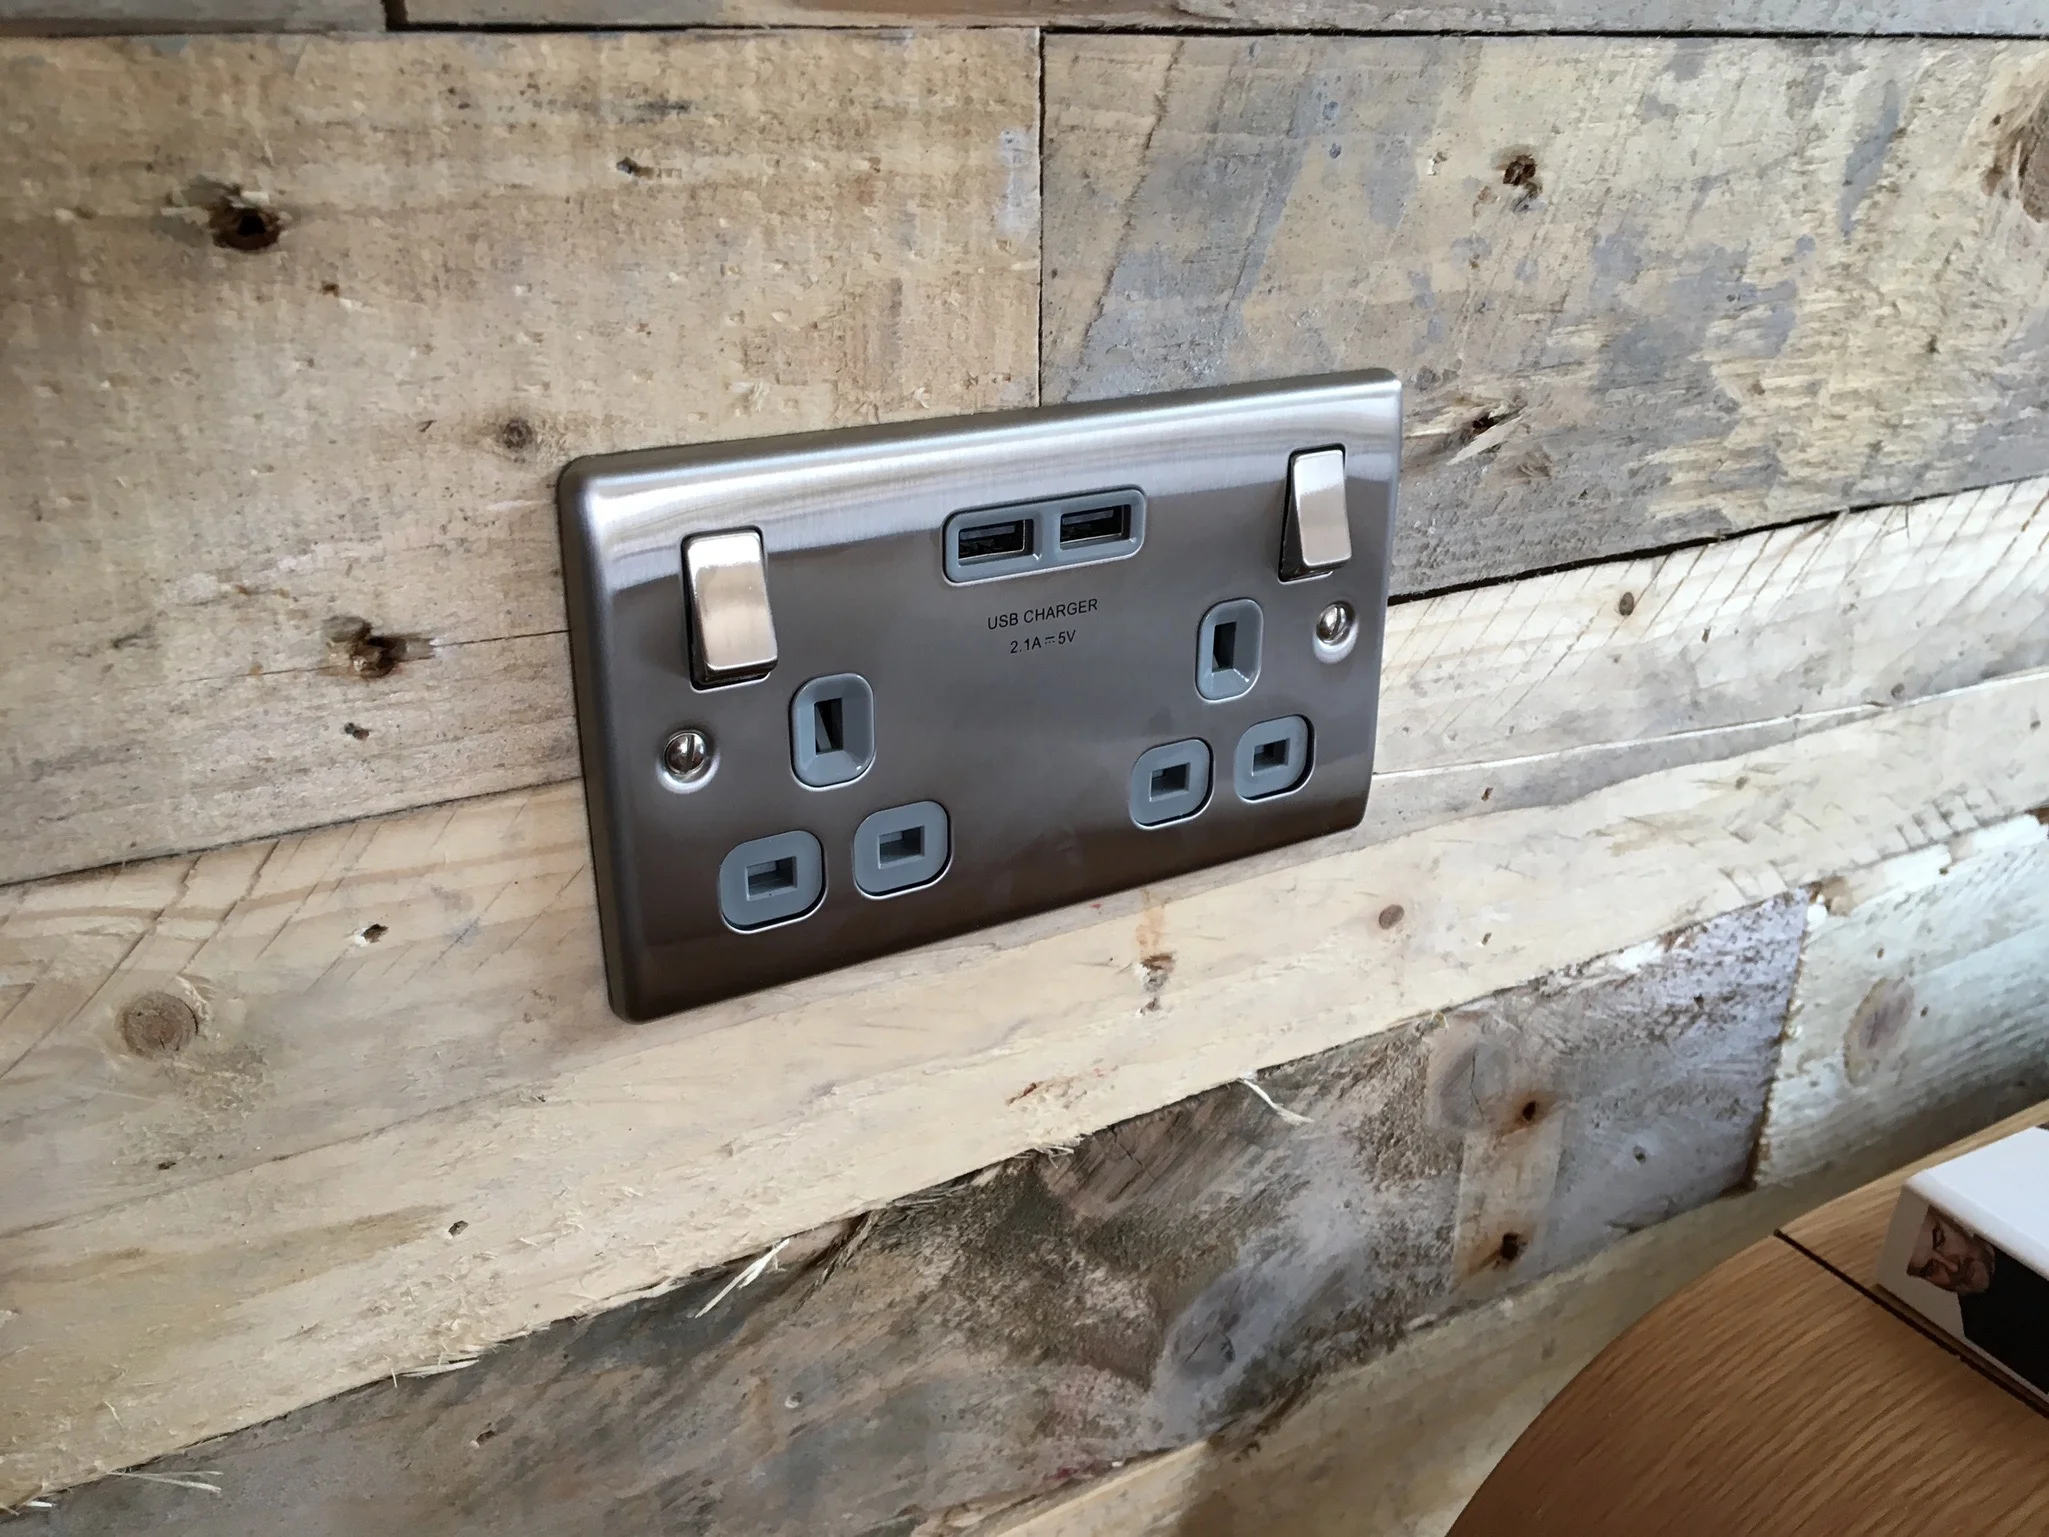
I also added 2 power wall sockets with USB power feeds so that when people visit they don't need to worry about asking if I have a charger they can use. I also have a complete supply of USB power cables to meet the needs of any device.
As most of my studio is contained in a studio desk this was fairly straightforward and simply a case of putting enough sockets on the rear wall behind the desk.
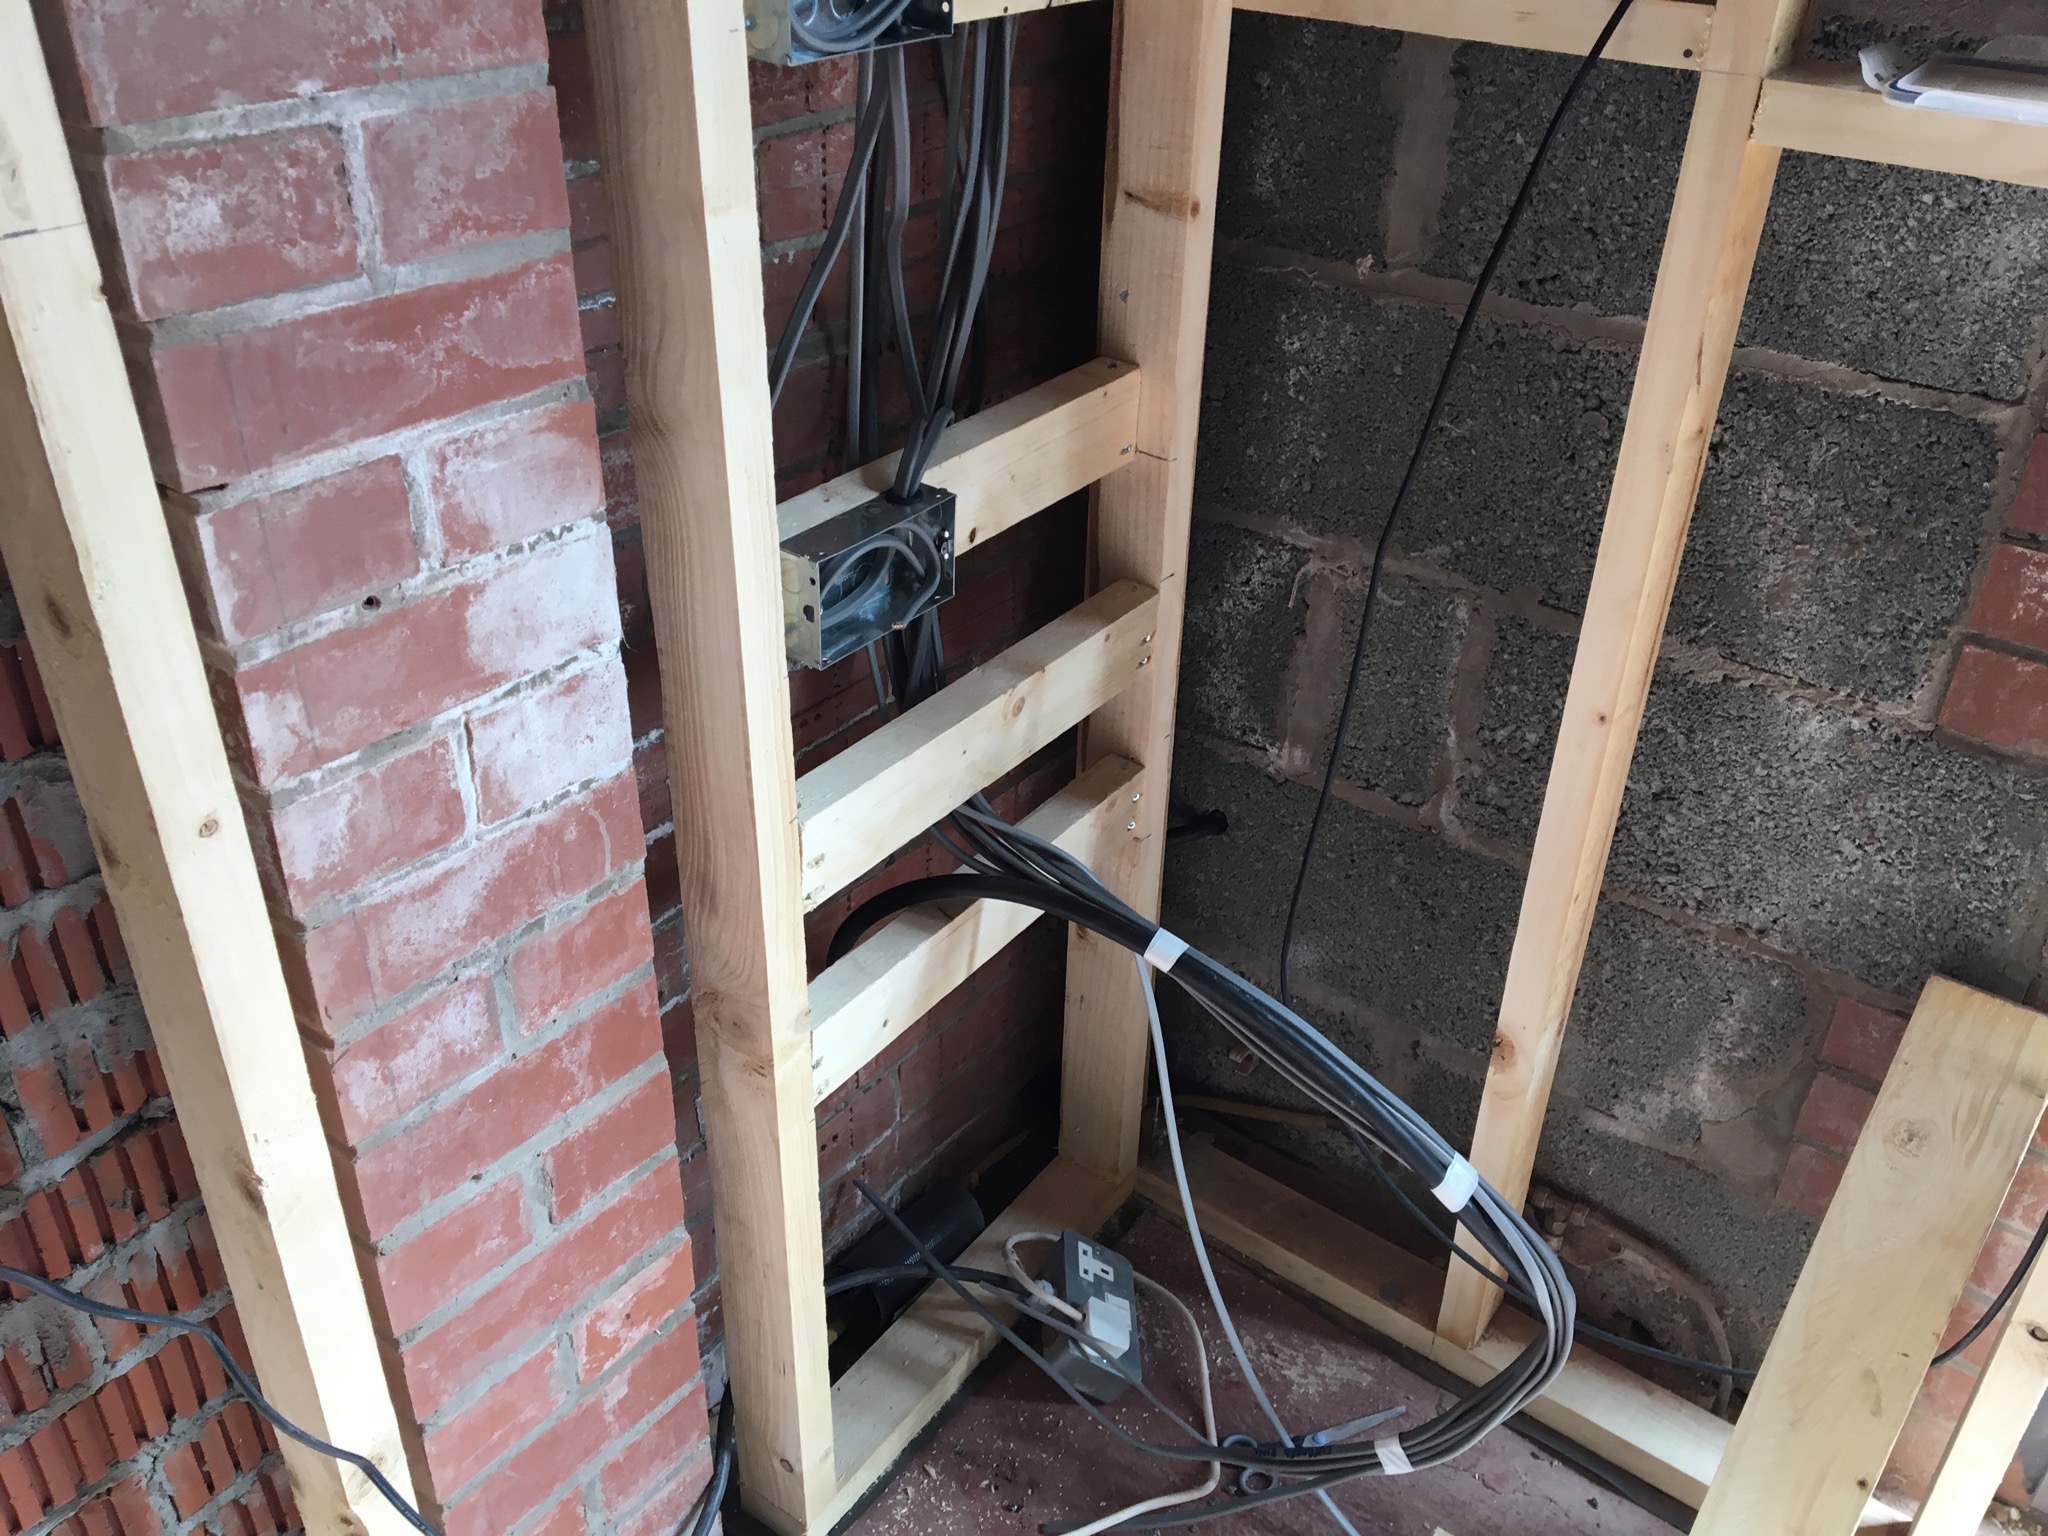
I also wanted to contain all of my hard drives, routers etc. in their own cupboard and so sockets were put in the rear of the cupboard for that purpose, along with the phone and broadband lines.
Getting cables from the main desk to the data cupboard was a simple task of using a single Corning 10M Optical Thunderbolt Cable from the back of the Mac via a simple cable tray on the wall into the cupboard through a small hole and then into my Sonnet Thunderbolt chassis. The chassis contains a UAD Octo card and a card that offers USB3, Thunderbolt and FireWire, this offers me all the connections I need for my extensive drive collection. This is one of the benefits of Thunderbolt as you can daisychain multiple devices without any impact on speed.
Lighting
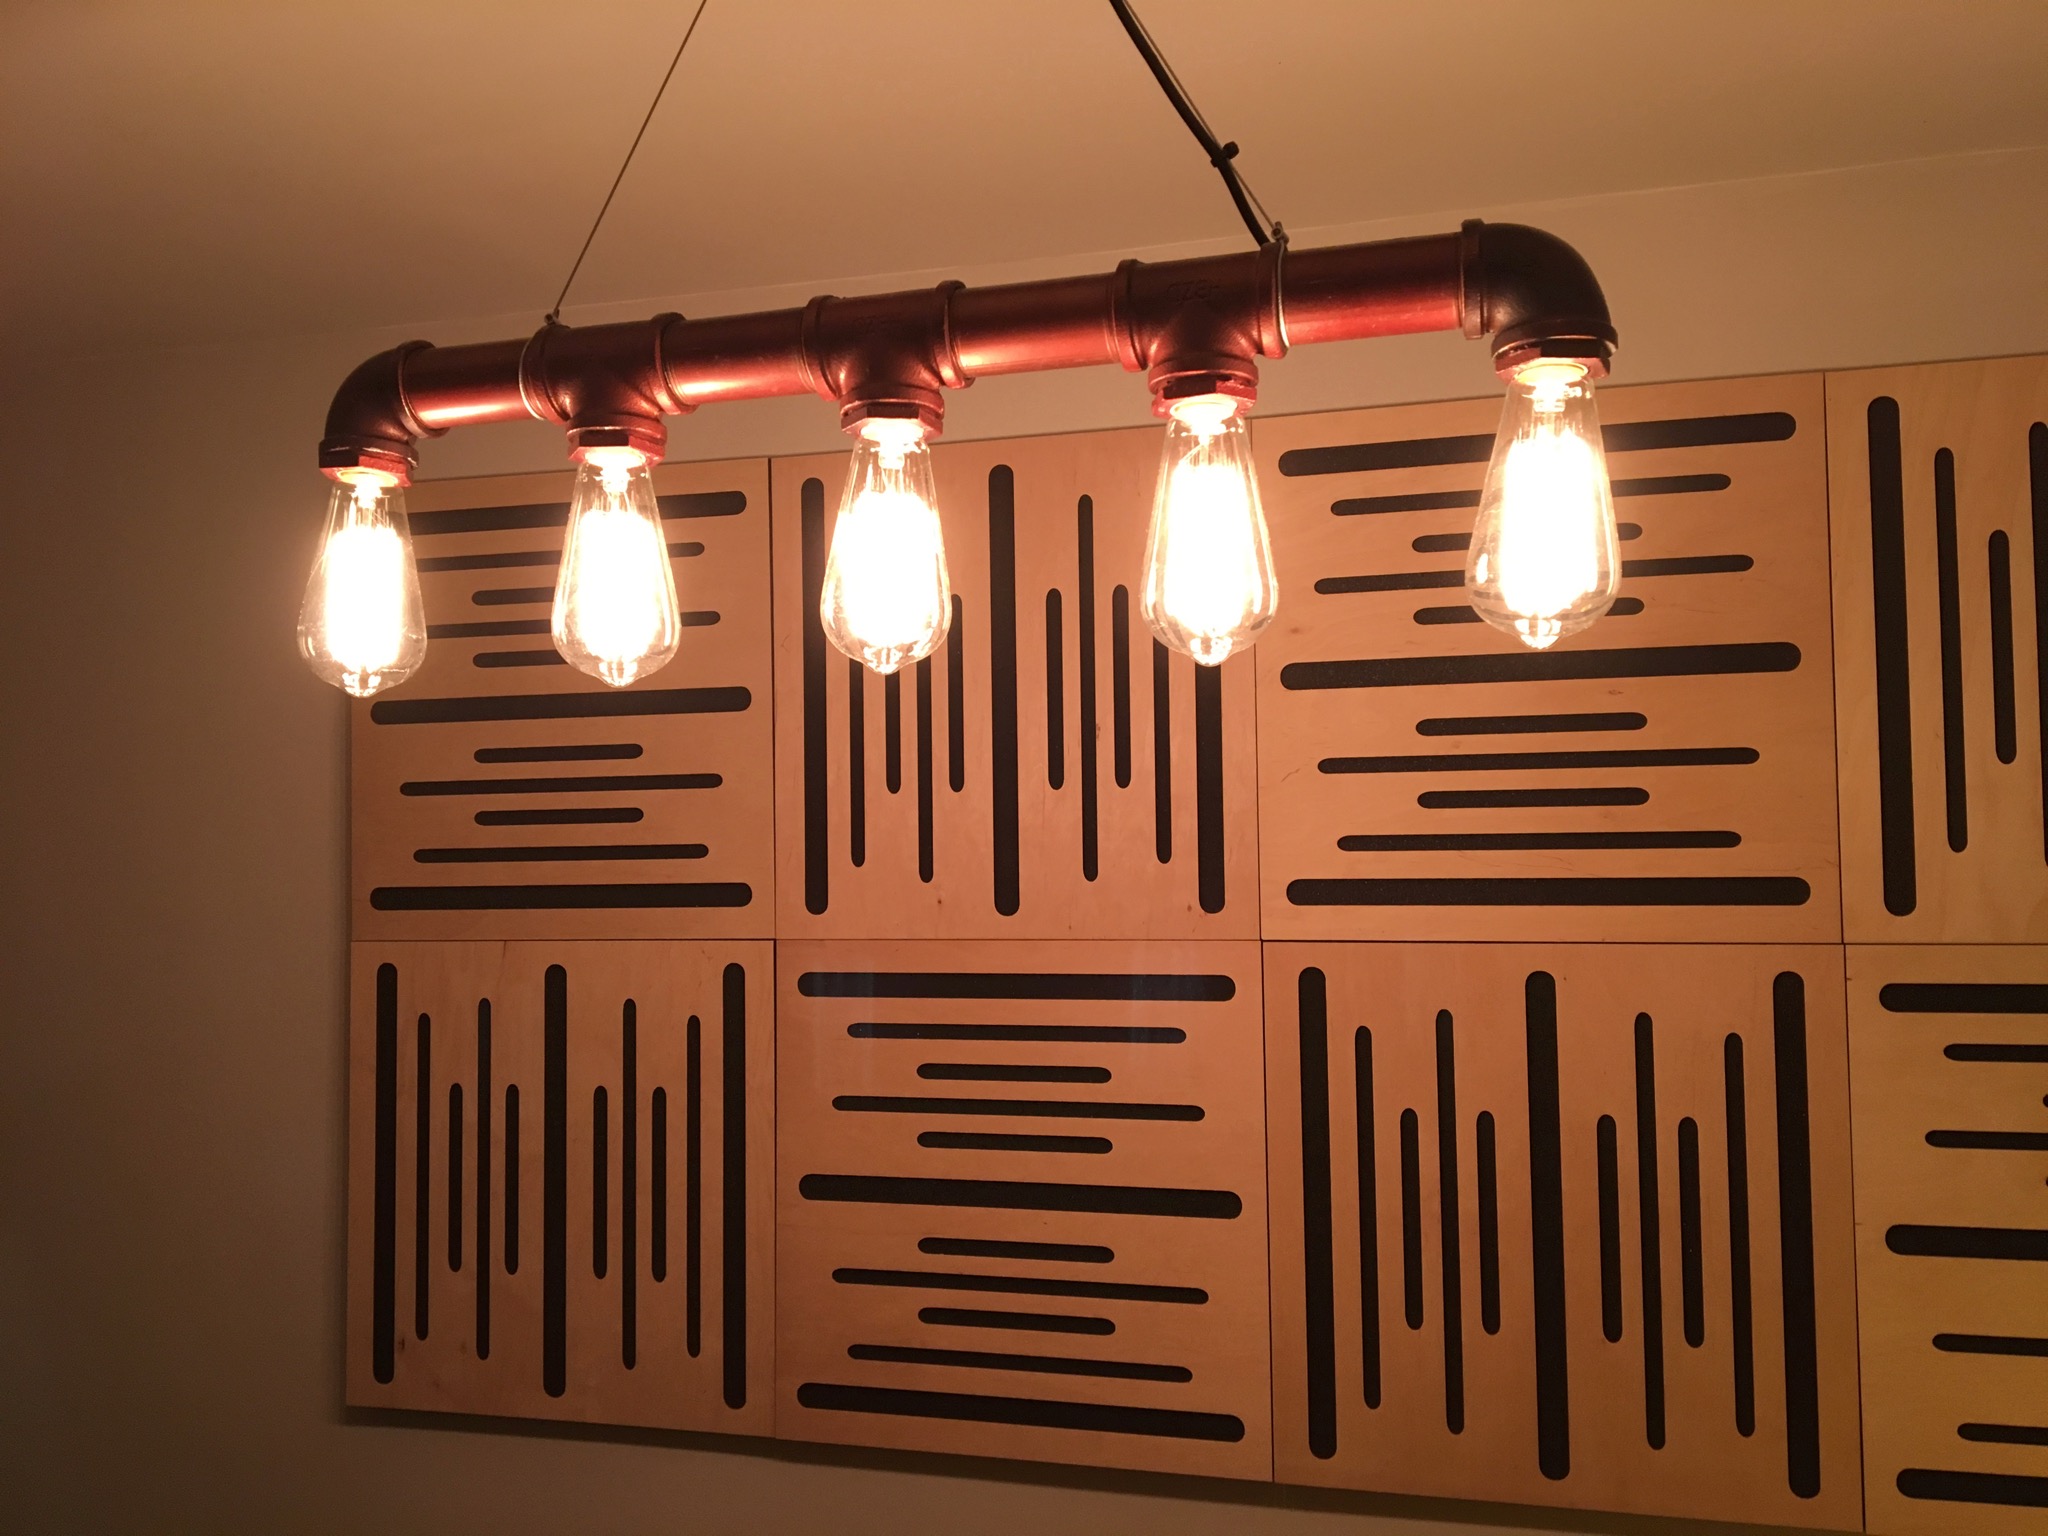
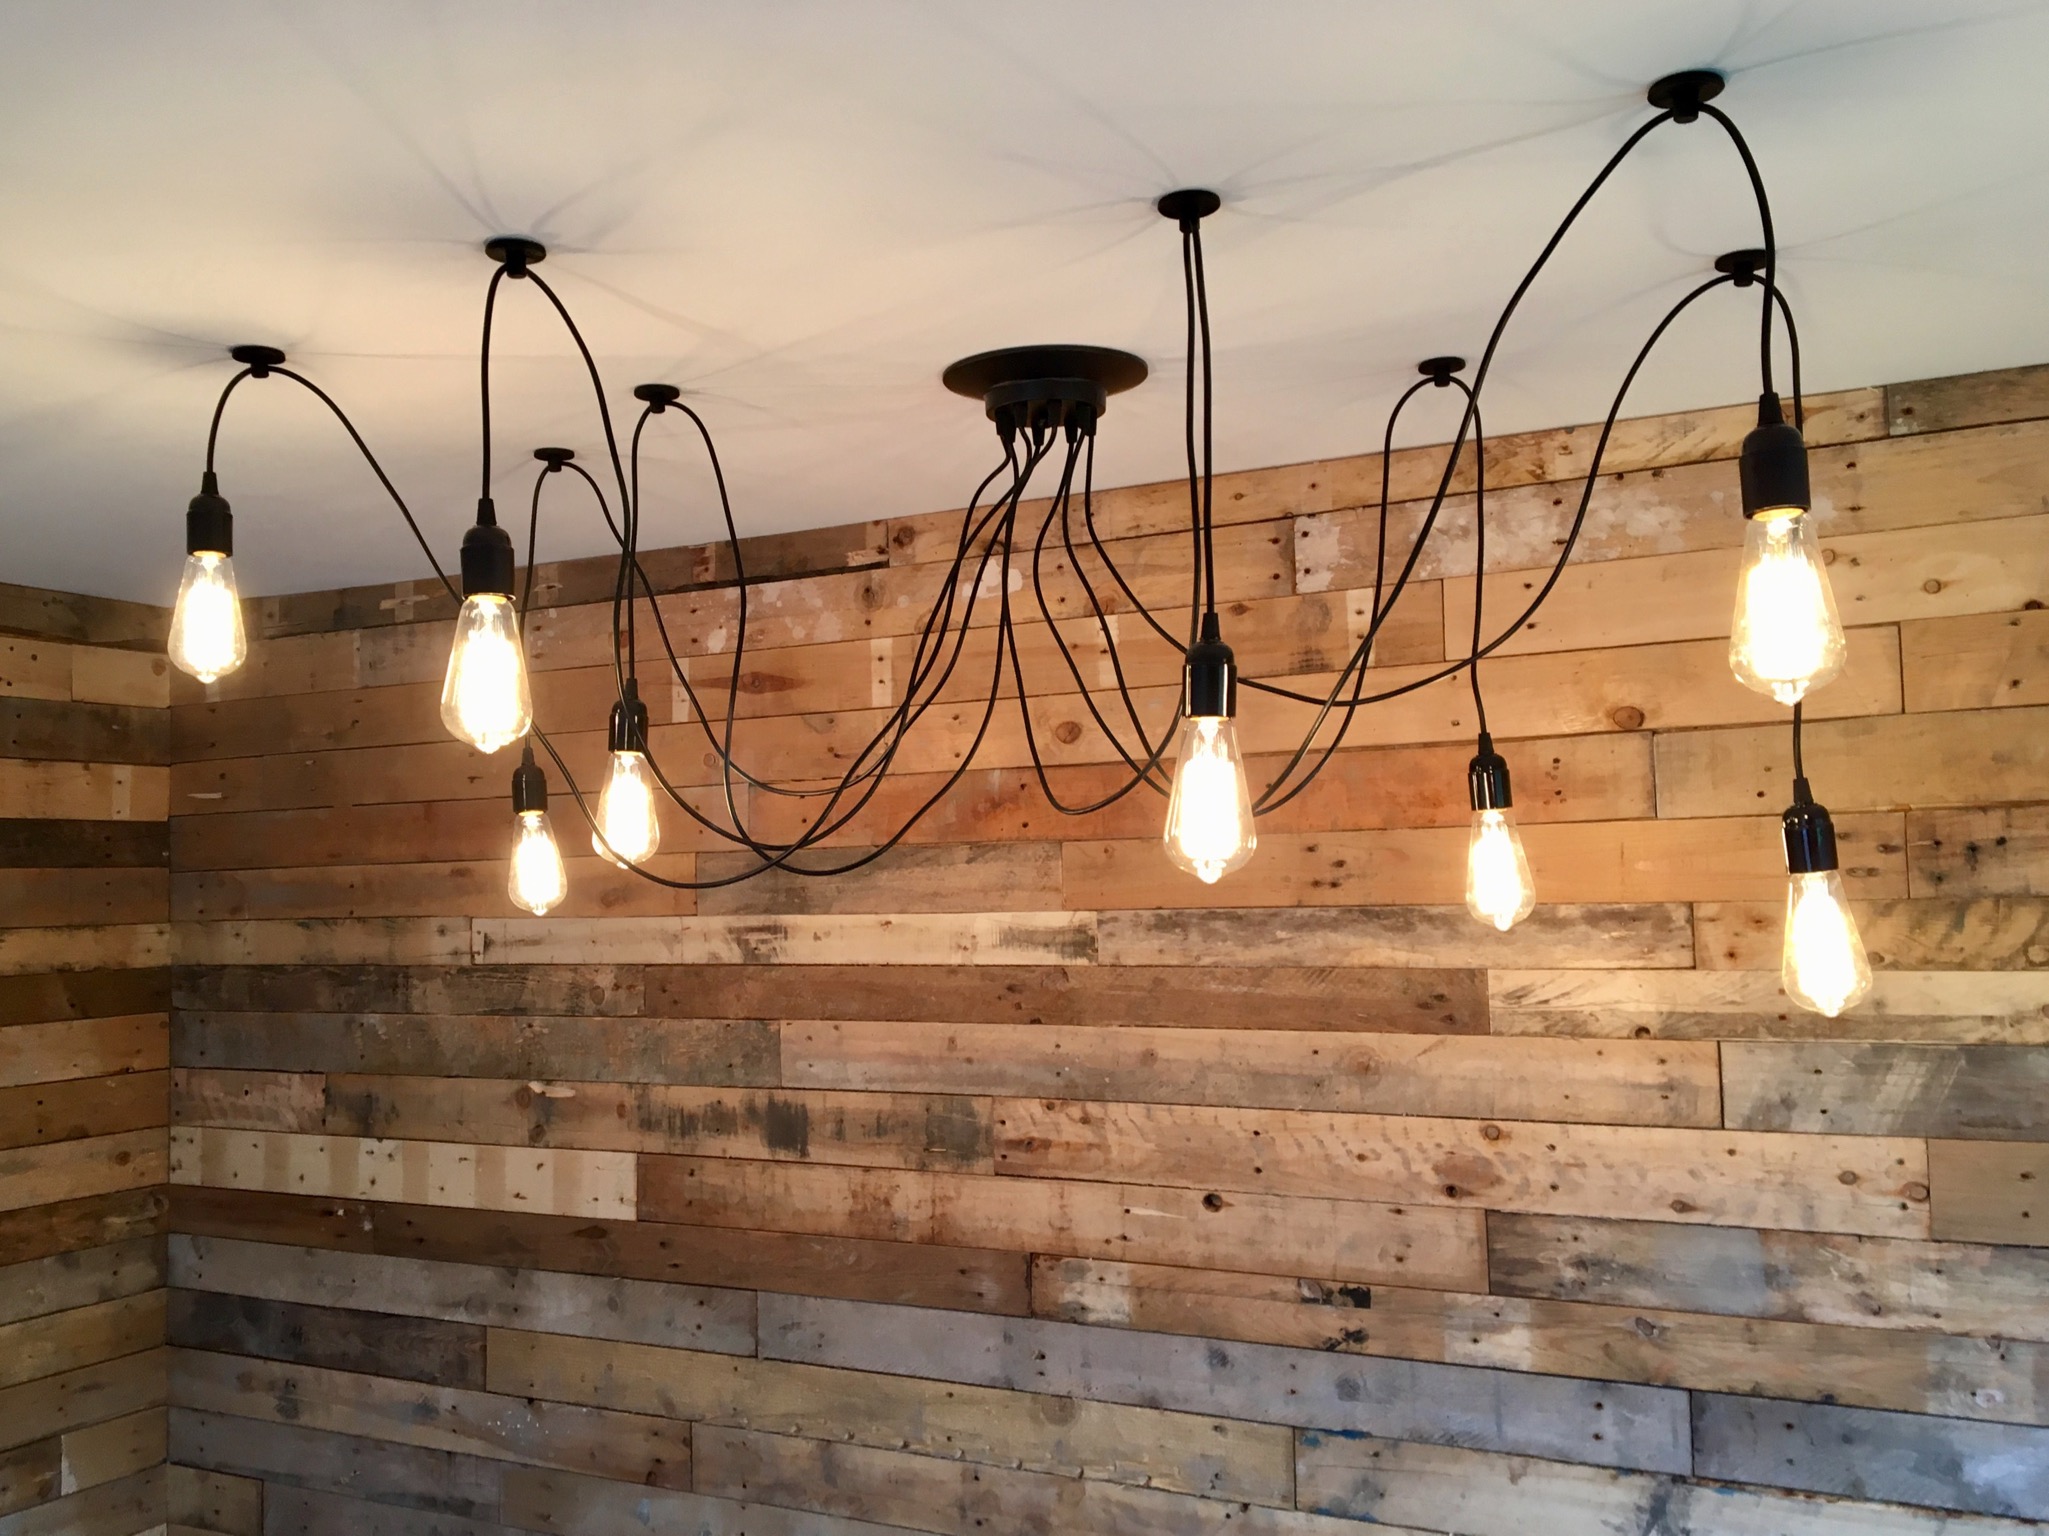
For lighting I wanted to create zones, a main desk area, a writing lounge area and also use light to create different atmospheres within the room. As I said in an earlier post I really wanted the space to have a design led feeling and the lighting needed to reflect that. So for the lounge area a chandelier of 9 retro bulbs was used. Above the main desk a steam punk lamp was sourced rather than the standard spot lights and behind the desk I used 2 spotlights for lighting the acoustic treatment behind the monitors.
Audio
In terms of audio connections as I run a fairly tight ship then it is just a case of either connecting directly to equipment in the rack or via a small 4 XLR/4 Stereo jack stage box that I use to add mics and create headphone feeds to the other end of the room.
I am of the mind the less cables I have running around the room the less chance of interference been introduced to the system. I've had complex cable set-ups in the past and found they can often be a nightmare to track down interference in. I decided on this install to use the KISS principle.
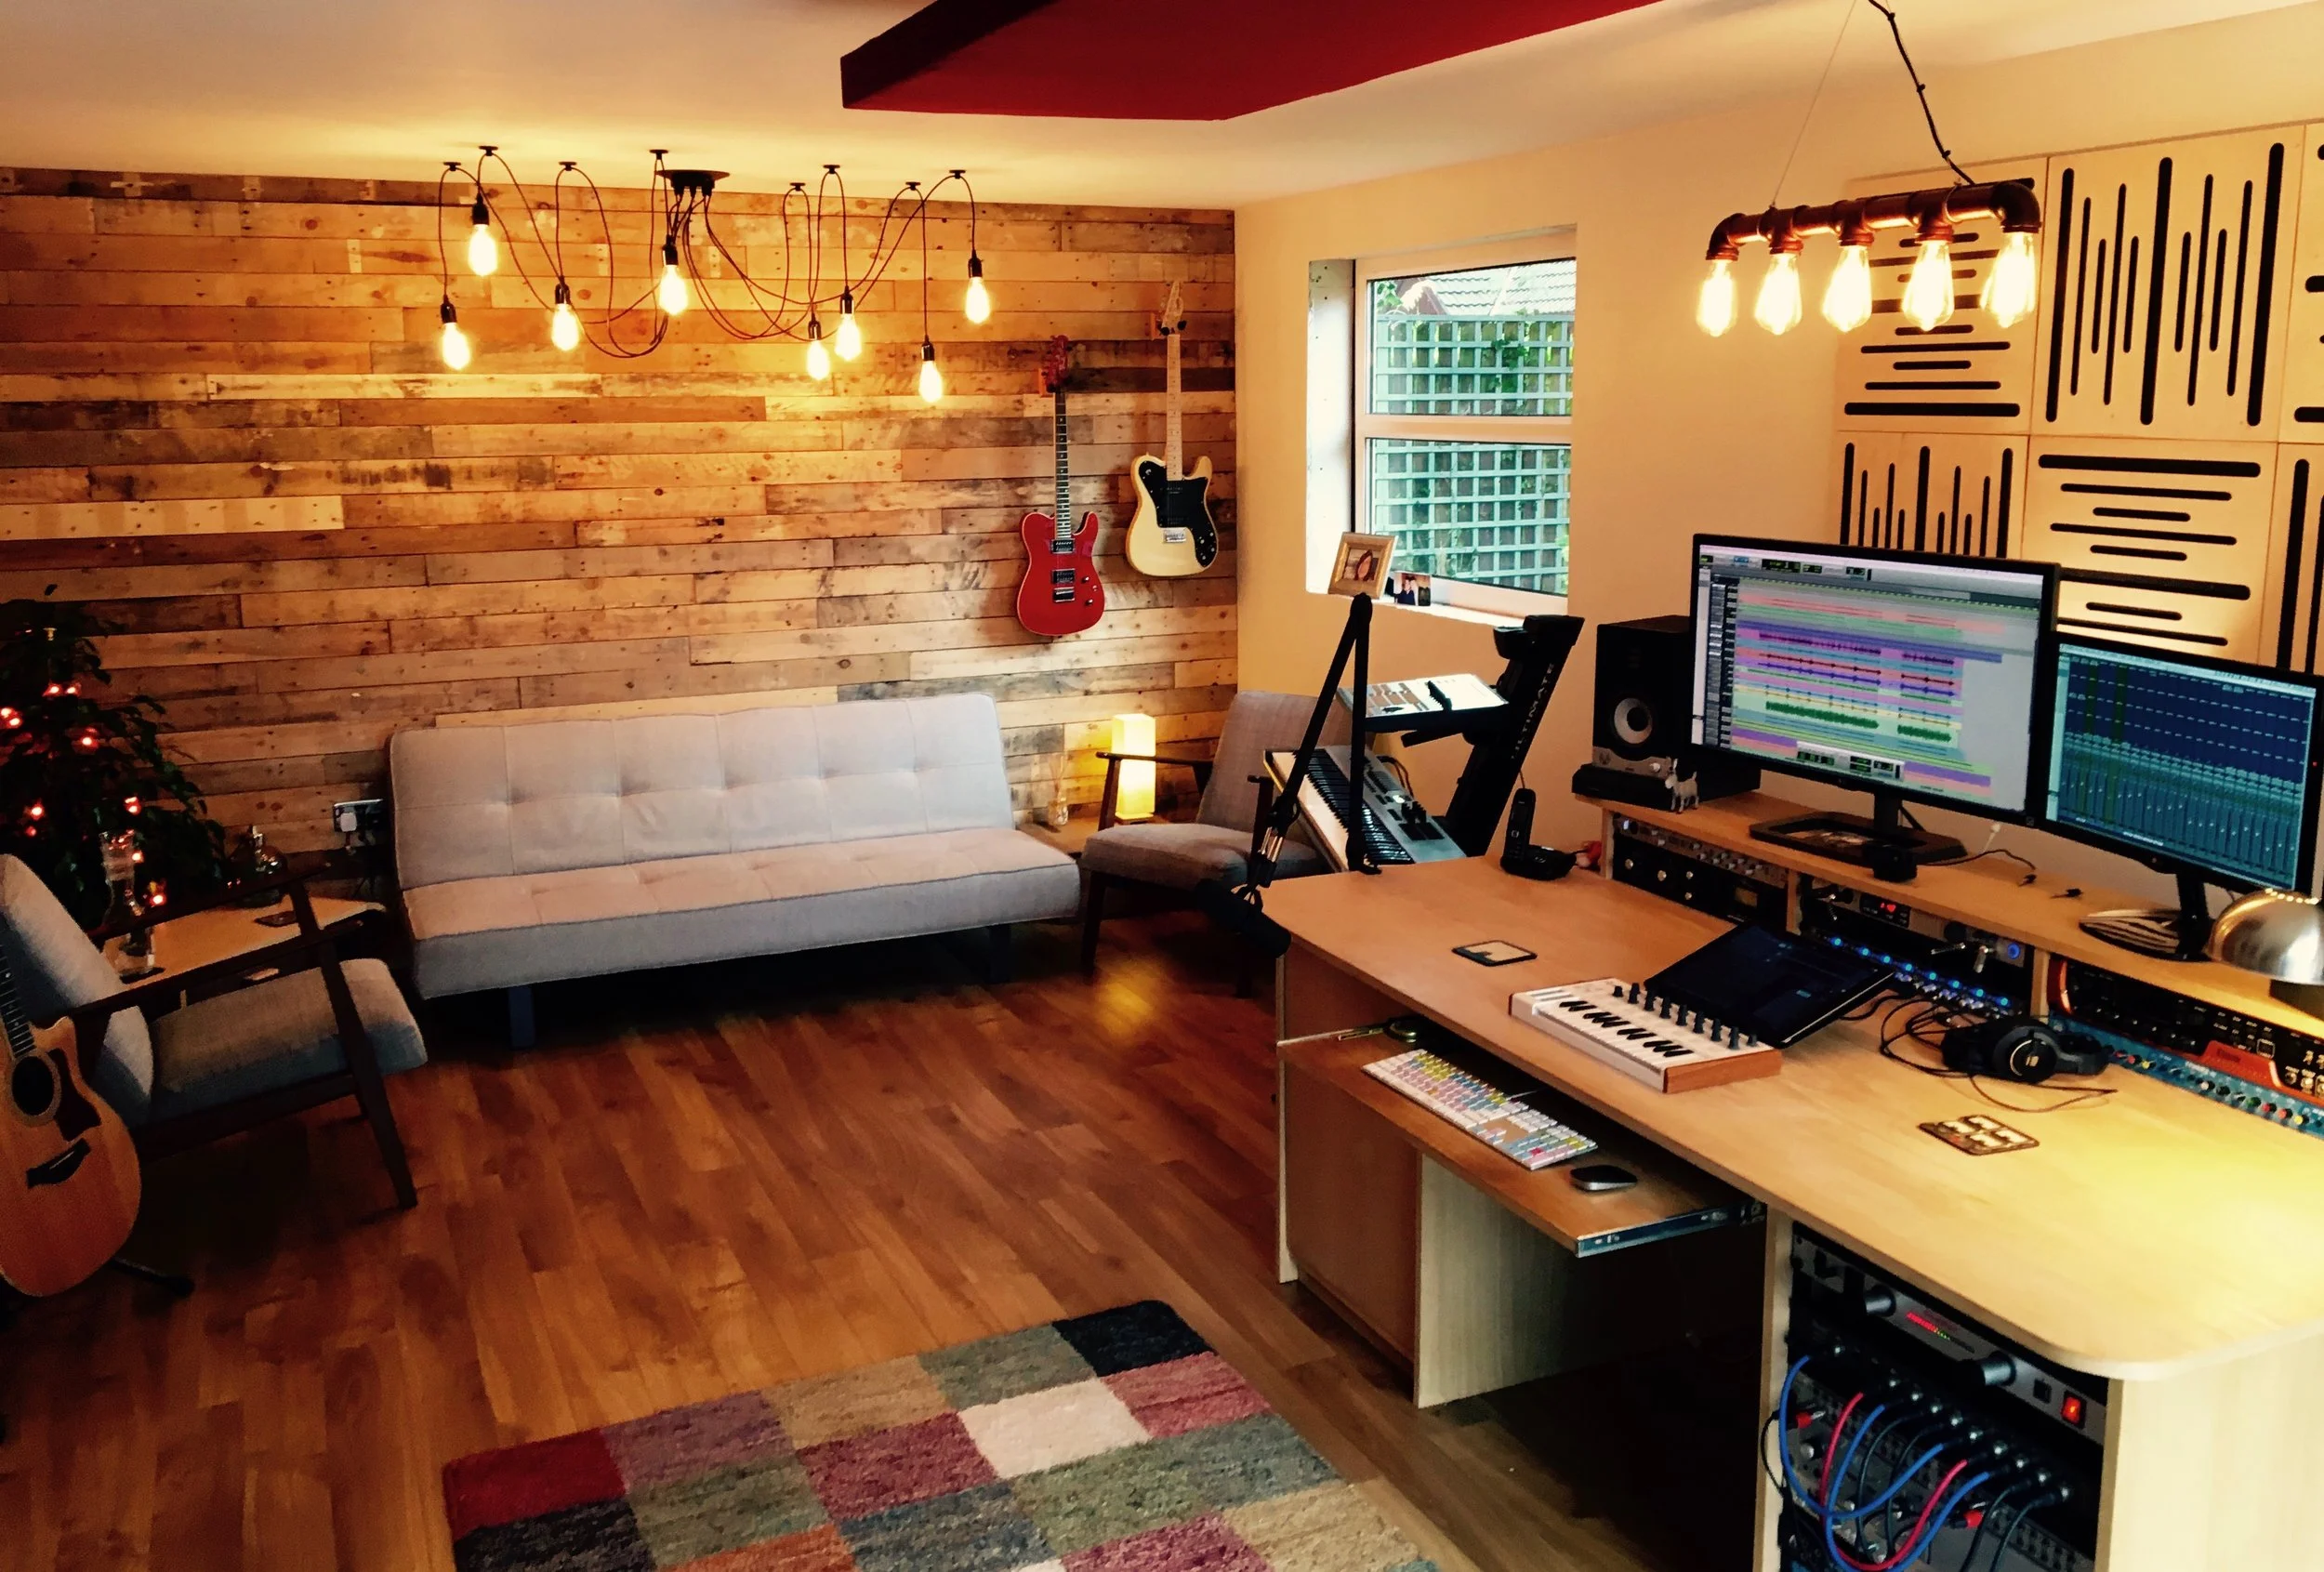
The final lighting effect
Summary
If installing the electrics taught me anything it was make sure you get the fundamentals right, it's no good having an amazing space if the electrics don't work properly or have noise issues. The money spent on hiring qualified people to do this, who by the way then had an inspection of their work passed by their accreditation body, gives me peace of mind.
When it comes to things like the sockets, you can never have enough and when it comes to the fixtures take the opportunity to think outside the box and do something special. After all you don't get a second chance to make a first impression.