
The musical foundation upon which every beat-driven track is built, the tightness and coherence of the rhythm section – by which we primarily mean the drums, bass and rhythm guitar – is not something you can afford to make compromises with. Whether you’re recording, editing and mixing a live band, or programming club-bound dance music, our tips will help you get yours firmly in the groove.
Go Live With MIDI
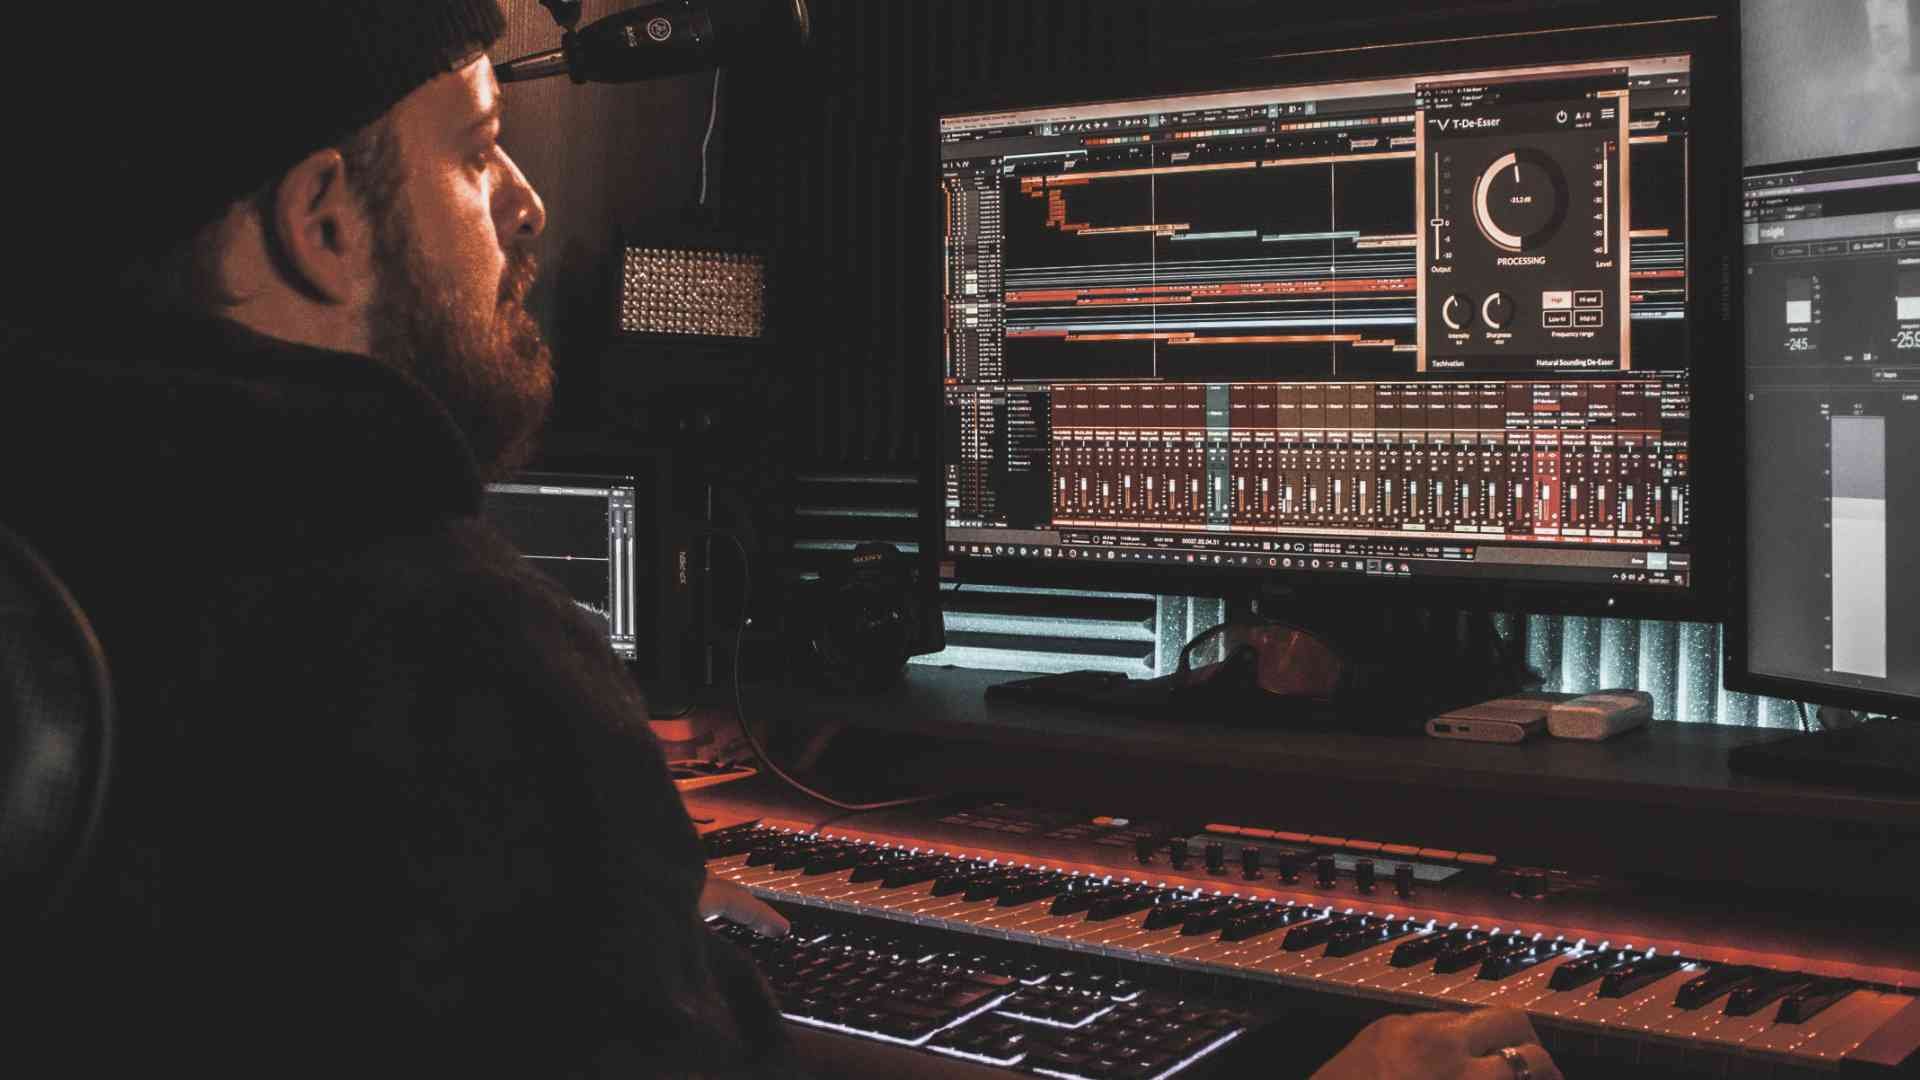
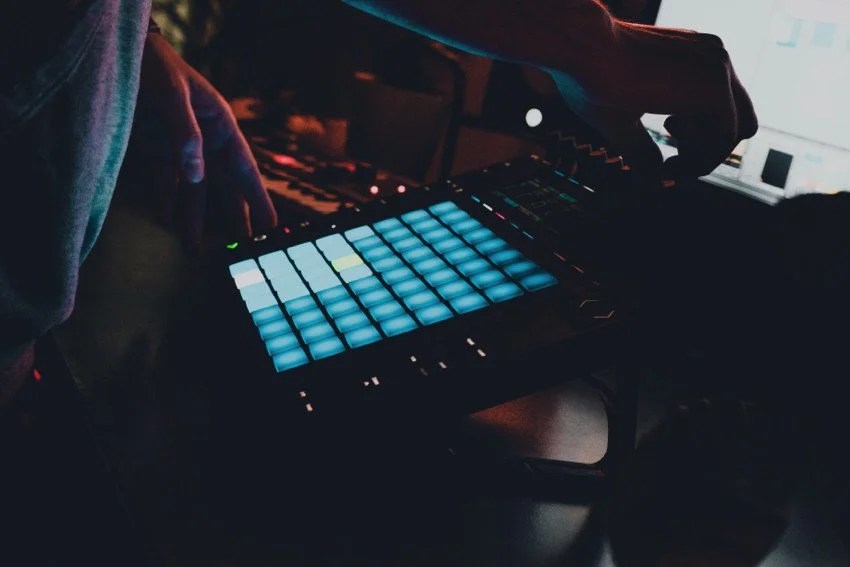
There’s much more to a tight rhythm section than just having all the notes line up squarely across its constituent instruments – it’s all about the subtle differences in relative timing between those instruments, which give a groove its unique character. With that in mind, when working with MIDI parts, resist the temptation to program your beats and basslines in the piano roll editor, locked to the grid. If you really want to put some funk in that rhythmic trunk, playing those parts in ‘live’ on your keyboard, drum pads, etc, is the way to go, even in four-square styles such as house and techno (with the exception of the kick drum in those cases, obviously). If you’re not a great keyboard player or finger drummer, you can simply drop the tempo of the project temporarily to make the part in question playable, and record each drum kit element one by one – kick drum, then hi-hats, then snare, etc. Indeed, even if you are a dab hand on keys, recording at very slow playback speed can significantly tighten those parts up when the tempo is raised again.
Once you have your live MIDI parts down, you’re free to experiment with iterative quantise and groove templates (see below), tightening up or loosening the groove to taste, and make manual tweaks to individual notes if required.
Lock The Kick And Bass
Perhaps the most important thing to think about when recording or programming any rhythm section is the interplay between the kick drum and bass guitar (or synth). You might have heard it said that these two ground-level instruments should essentially sit together, with the bass slavishly shadowing the kick; but while this is sort of true, it’s not as straightforward as methodically stacking them so that they land at exactly the same point with every hit. Again, as touched on above, it’s those barely perceptible timing differences between the kick and bass, and their collective positioning on the timeline, that define the bedrock of the groove and, ultimately, the whole track.
With a real drummer and bassist, hopefully the performances you’ve recorded will be on the money in this regard anyway, but if the audio does need nudging after the fact, make sure you appreciate and understand the vibe and groove your musicians are trying to create, and work to preserve it in any corrective edits you make, rather than inadvertently iron it out in the pursuit of metronomic ‘perfection’. For electronic music, as well as shifting the bass MIDI parts around to achieve the desired offset from full lock, you also have the synth or sampler’s amplitude and filter attack parameters to work with. Also, in both cases, the implementation of sidechain ducking, as provided by a compressor or dedicated plugin such as Cableguys Kickstart 2, can totally transform a groove, giving the kick space to punch through and opening up another vector for adjustment with the onset slope of the bass notes.
Use Tempo/Groove Maps
Every DAW features some form of groove template system, whereby pre-designed or user-generated timing and volume/velocity maps are applied to audio and MIDI clips, conforming them to a particular temporal and dynamic feel. Using these, you can easily extract the rhythmic profile of your drum track, and instantly impose it on the bass, percussion, guitar and anything else you want to tie to the beat. Your DAW will facilitate a degree of control over how stringently the template is applied, so you can still maintain whatever level of laxity suits the track if you’re not shooting for total tightness.
Groove templates also lend you the power to imbue your own rhythm sections with the vibes of your favourites from anywhere in the musical universe. You might be amazed at how effectively an overly rigid rhythm track can be livened up with a groove template extracted from a one-, two- or four-bar James Brown, Chic, AC/DC or Black Uhuru loop, to give a few choice examples.
Add Some Keys
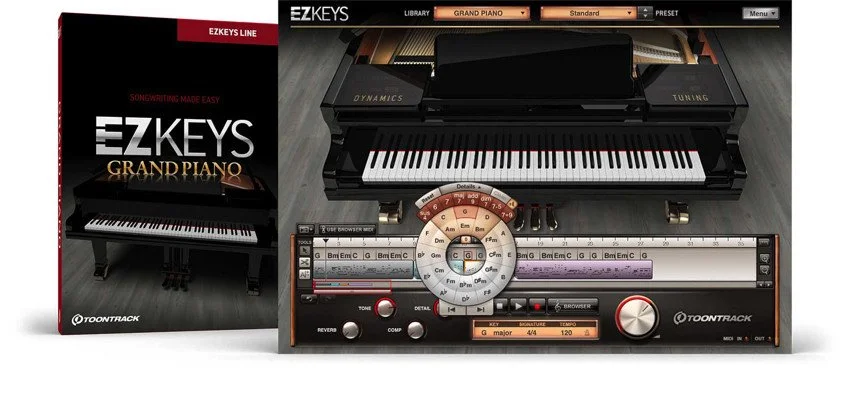
Along with the drums, bass, rhythm guitar and percussion, the other slightly less ubiquitous member of the rhythm section family is the keyboard. Whether it’s an acoustic piano, Rhodes, Clav or synth of some kind, weaving in a layer of the ol’ ivories can dramatically elevate the textural complexity and depth of a groove – so give it a try, being careful not to make the aggregate result too dense or devoid of necessary breathing space. I you don’t have a keyboard player to hand, we highly recommend checking out Toontrack’s superb EZkeys range of keyboard libraries, which make adding authentic riffs and lines in a variety of styles a snap, and sound incredible.
Tailor Your Compression Envelope
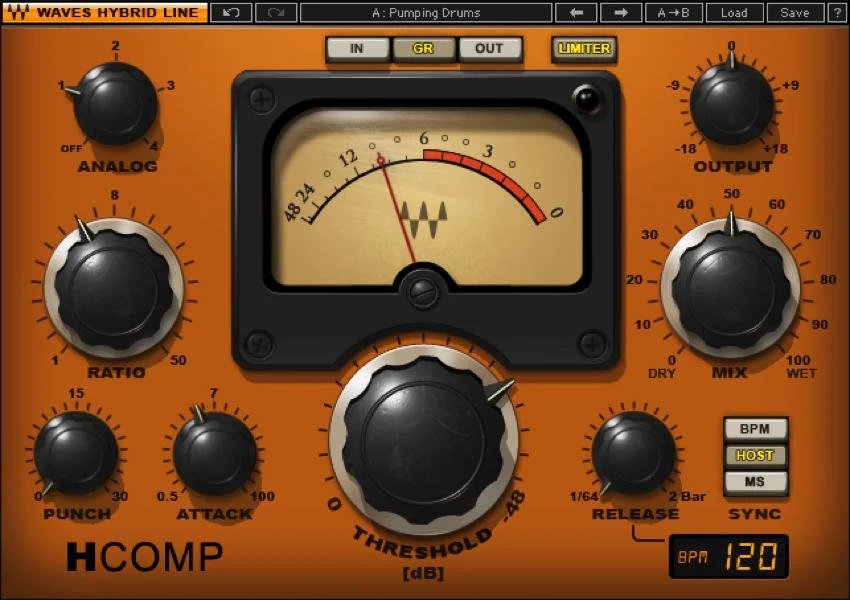
A certain amount of the tightness of a rhythm section comes from the production and engineering it’s been treated to, and one of the most significant factors here is the envelope timing of any compressors involved. Whether you compress your drums, percussion, bass and rhythm guitar individually, on one or more busses, or both, will come down to the specifics of the mix. In all cases, though, compressor attack settings should be made to allow an appropriate amount of the rhythm-defining transients through, while the release times for drum and percussion compression, especially, should be set to match the tempo of the track, so that the pumping sound of the compressor disengaging (ie, the volume returning to its uncompressed level) becomes musically integrated into the groove. A few compressor plugins, including Waves H-Comp and HoRNet Plugins’ SyncPressor, actually let you directly sync the release time to the host DAW’s timeline; but if, as is highly likely, yours doesn’t, you can calculate the duration of a quarter-note in milliseconds by dividing 60,000 by the project tempo, then subdivide that to establish the ms value of any shorter note values – eighths, 16ths, etc.
Do you have any rhythm section-related wisdom to share with your fellow groove merchants? Spill your brains in the comments.
