This article could easily have been titled “the great studio spring clean of 2019” as one of the major issues I had to deal with was a mass of extra cables in my rig. You know the sort of thing that was not really installed properly to “fix” an issue or in my case an additional reason, to add a piece of gear for a demo or review session. But the main reason for this studio overhaul was to install not only a new piece of kit, but also a new and exciting way of working. Introducing the Patch, a digitally controlled analogue patchbay by Flock Audio.
Clearing The Racks
I’d like to think that I am not one of those people who can do a half baked job of anything, so with that in mind, there was only really one way I could approach this task - strip it all out and start again from scratch and I have to admit that I find something quite therapeutic about doing a studio clear out. My workflow has changed quite a bit in the two and a half years since I installed my Audient ASP8024 console (the last time I did a full re-install) and I knew that there would be a ton of cables in the rig that would not longer be needed.
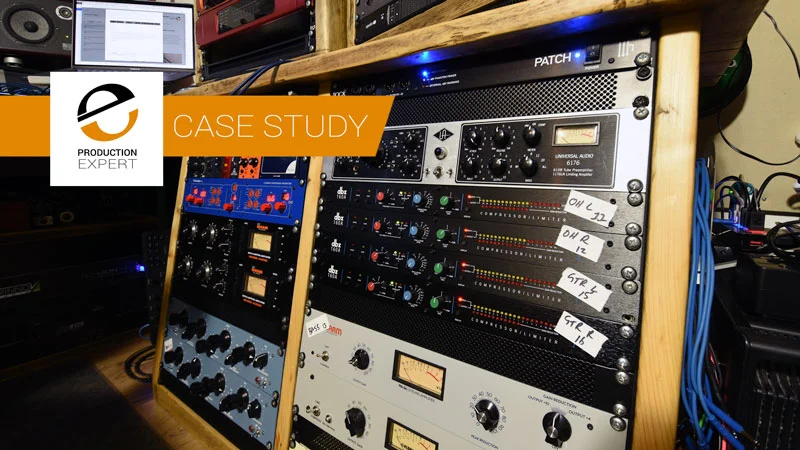
Below you can see my 2 x 16U studio racks with the 2x 6U rack pods above. Thanks to Guy at Chunky Studio Furniture for making me fantastic racks from very eco-friendly reclaimed timber.
One of the more complex parts of the installation of the Flock Audio Patch would be the integration between the Patch and the Audient’s more conventional bantam patch-bay. However, first job was to clear it out. This wire patch was about 2 years in the making and 5 minutes in the clearing.
Did Someone Say Cables?
Ask anyone from any band I have ever played or worked with what my number one pet hate is and they will all shout back “messy or badly coiled cables”. The mess behind the rack with all the hardware removed was beyond biblical. In total it took 6 hours to strip out all the gear, clean and tidy the cables and clean up ready for the re-installation. Tea anyone?
The Right Tool For The Job
I think I was working for Avid at a trade show when I acquired/blagged this very handy little Black & Decker cordless screwdriver. Yes you can use a normally sized power drill or manual old-school screwdriver but this thing has never caused me to run a screw head off or miss thread a rack-nut. It is just the perfect speed for mounting rack gear and the battery lasts for ages.
How To Layout The Toys In The Racks?
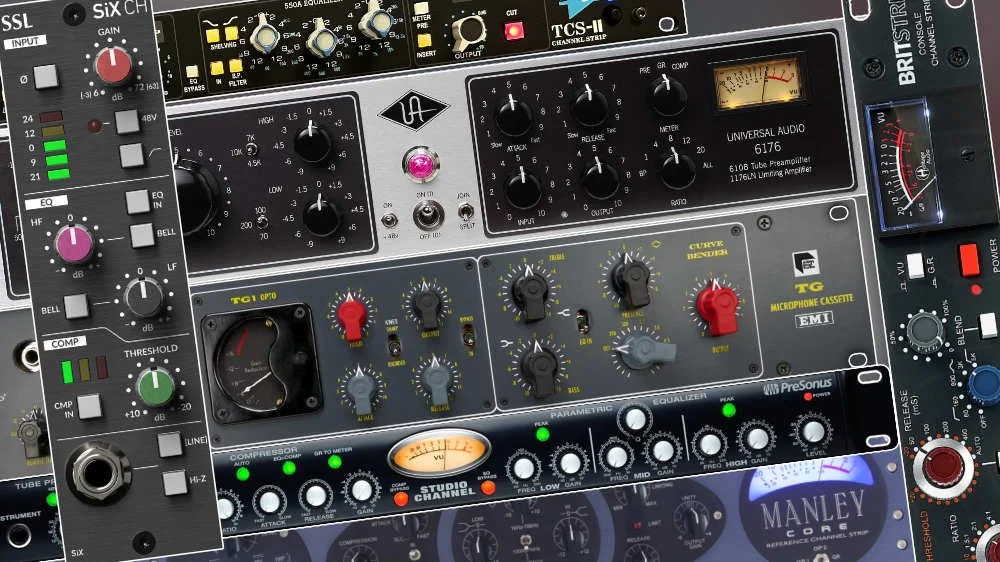
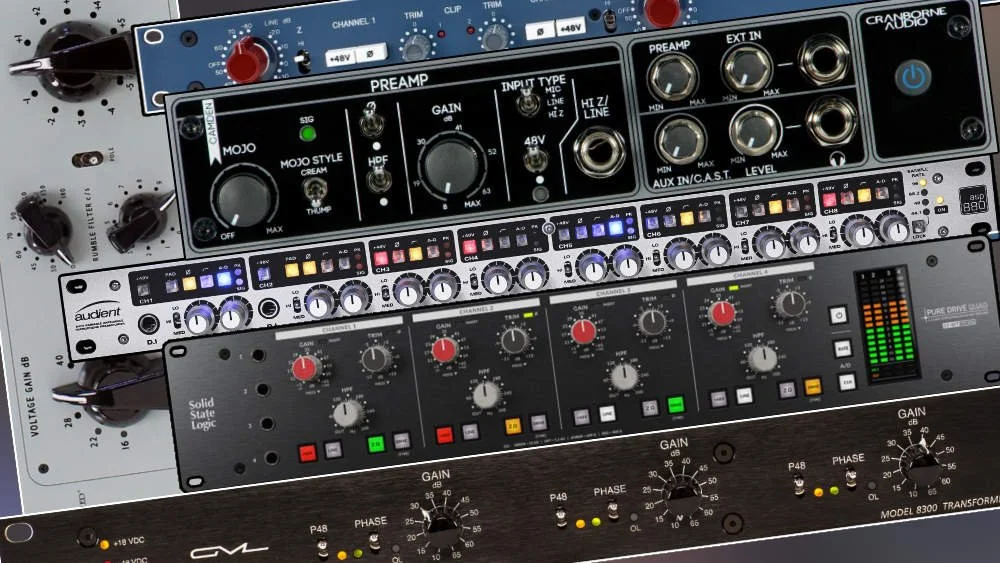
All 4 racks together give me a total of 44U of rack space and I have 38U of rack goodies to put in them. Plenty of space right? Well, not really. Practicalities and ergonomics of gear layout aside, one of the issues I really want to consider with the new rack layout is heat. Officially the very old Ticket Powerline II power distribution unit should have 1U of space clear above it, as should any valve (tube) gear. So that means I lose 1U above each of the wannabe LA-2A units, 1U above the UA 6176 and 1 each above the Warm Audio Tube EQ units. All of a sudden I’m all out of space and then some.
I decided to meet half way. I will put a 1U vented spacer in above the Ticket PSU and one above the UA 6176. I’ll then pair up the “LA-2As” and the Tube EQs and leave 1 space above each of these pairs.
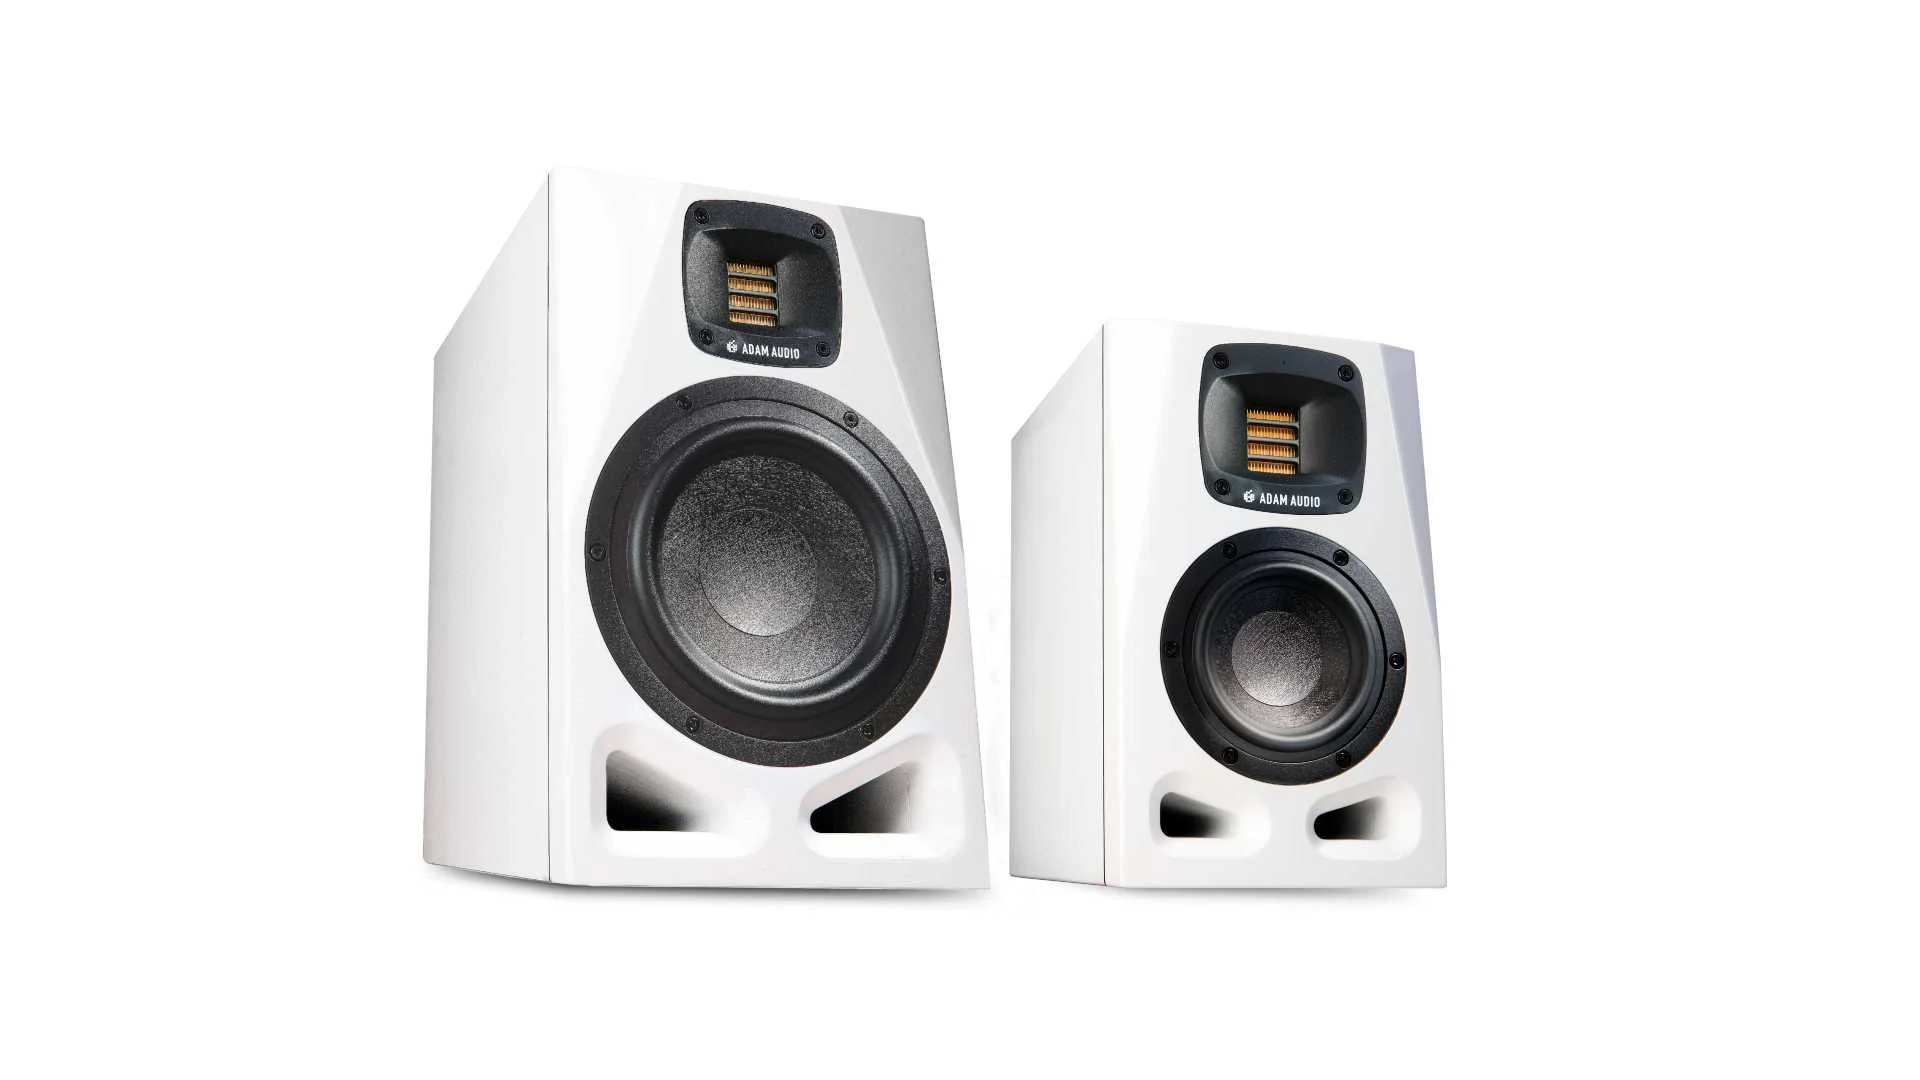
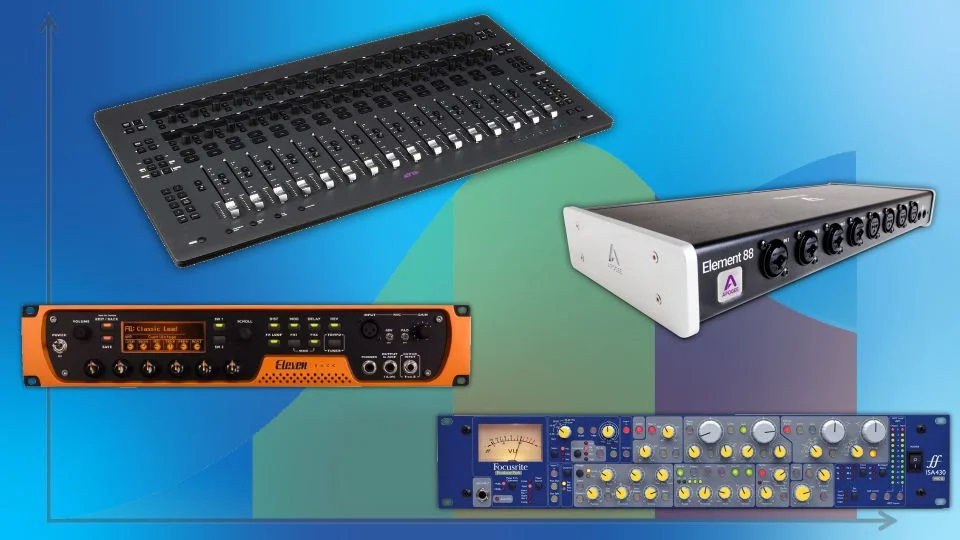
I can then keep one of the 6U rack pods exclusively for interfaces. Having these on top means I can easily change the units and their connected cables as and when I need to or when reviewing new kit, which happens quite a bit in my world.
The Flock Audio Patch
I’ve been talking to Darren from Flock Audio since I first saw a prototype of Patch at the winter NAMM show in 2018. In my hybrid studio world, working with both in-the-box with a DAW, an analogue console and a reasonable collection of outboard gear, the Patch 32 channel digitally controlled analogue patch bay, or as it should accurately be called “routing system”, sounded like the answer to my studio prayers. It’s all very well having nice gear but you have to be able to use it with minimal effort or fuss, otherwise it’s just something else to gather dust between very rare studio cleaning days. Needless to say, I was very excited when I knew a Patch was on it’s way to me.
I decided to put the Patch right at the top of the right hand rack. If I did need to get to the back of the unit for any reason, this would be one of the easier places to get to, without major computer and furniture moving. Also the top space on the rack still allows me access to the 2 stereo pairs of connections on the front of the Patch but, as this is not a unit I will be reaching out to often, it does not need to be in an easy to see or easy to reach position, making the top of the right hand track the ideal place to put it.
The Rules For Rack Layout
As far as I can tell from much reading and research, there are no “official” rules as to what should go where in a studio rack. Just go with what you use most often closest to you, which is why I try to keep my guitar amp heads within easy reach on top of the rack pods. With a little bit of trial and error I came up with the final layout of the 2x 16U outboard racks. Heat has been considered and I think I have left enough air-flow around the hot stuff and all the stuff I reach for and tweak often is nicely to hand.

In the next article, I will cover the connectivity and software set-up between the Flock Audio Patch and my system and show you how easy it can be to make the very best use of all your studio hardware.