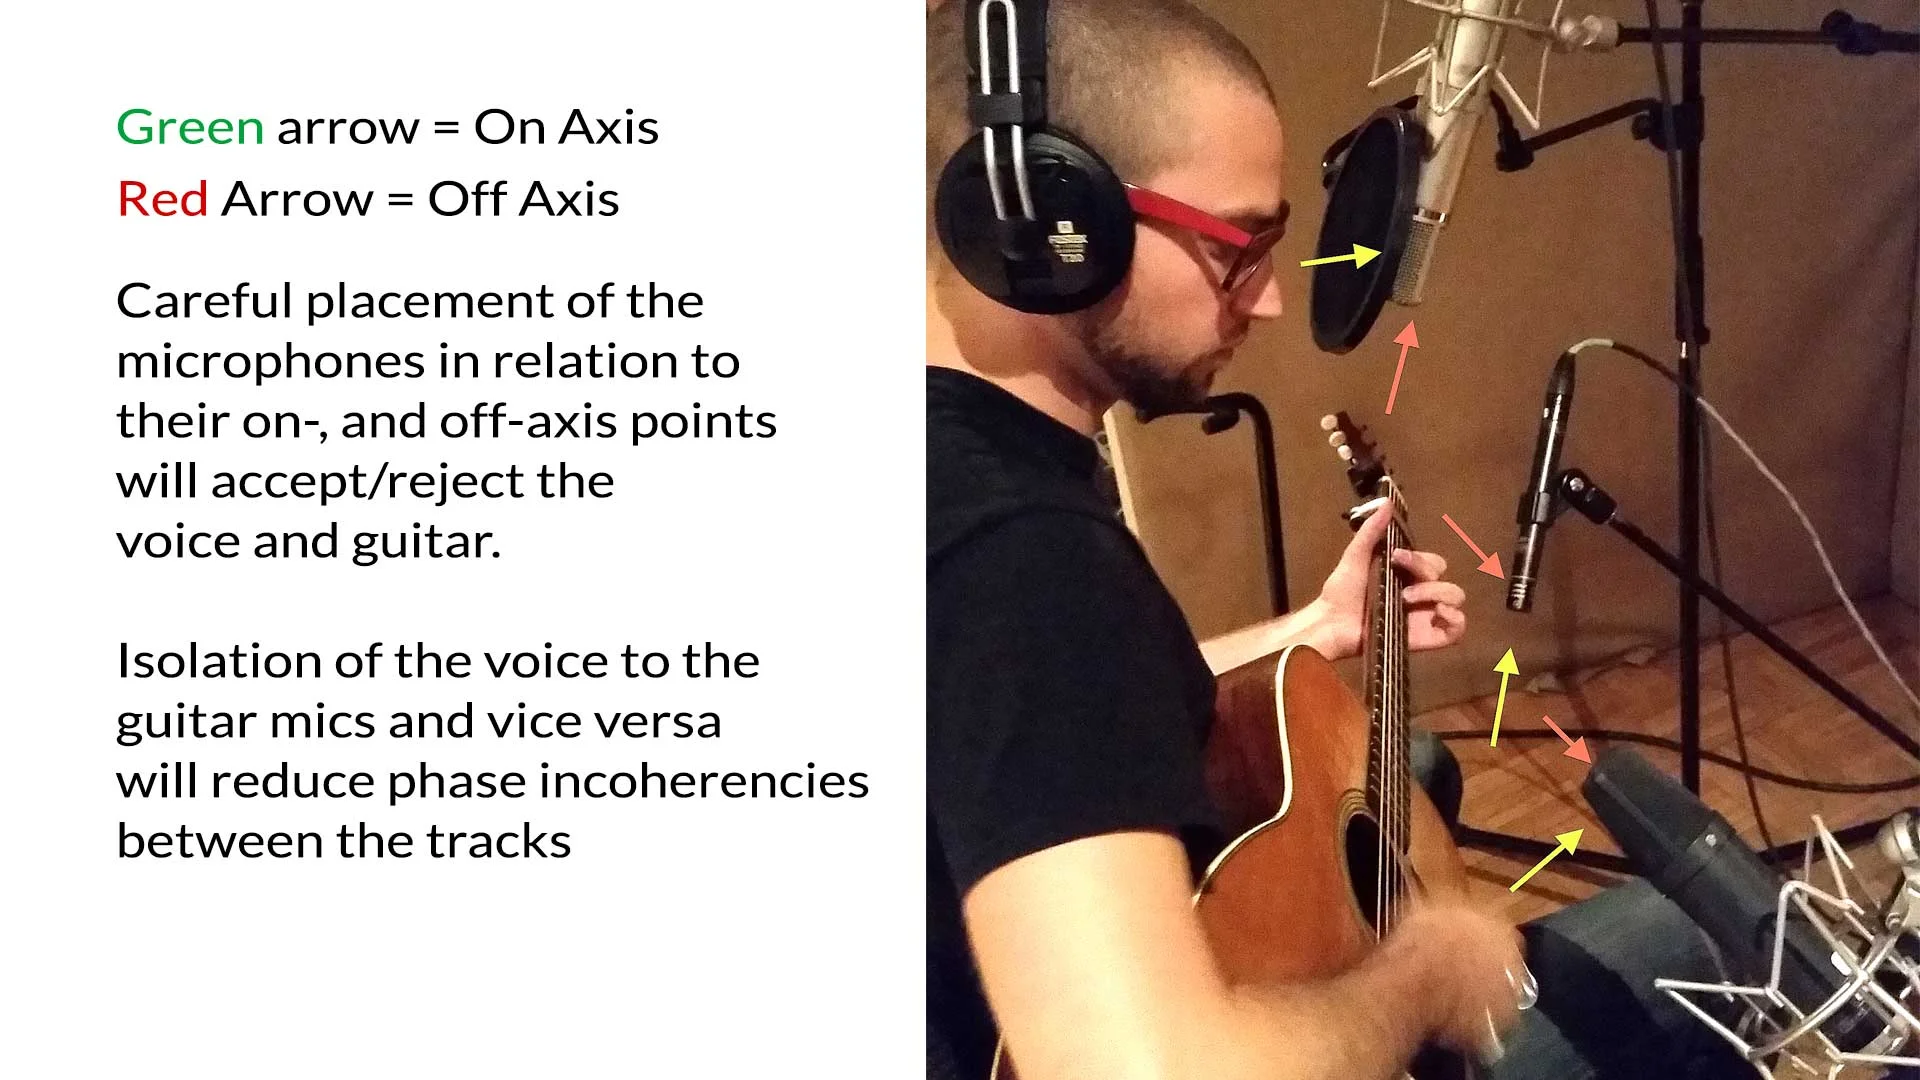
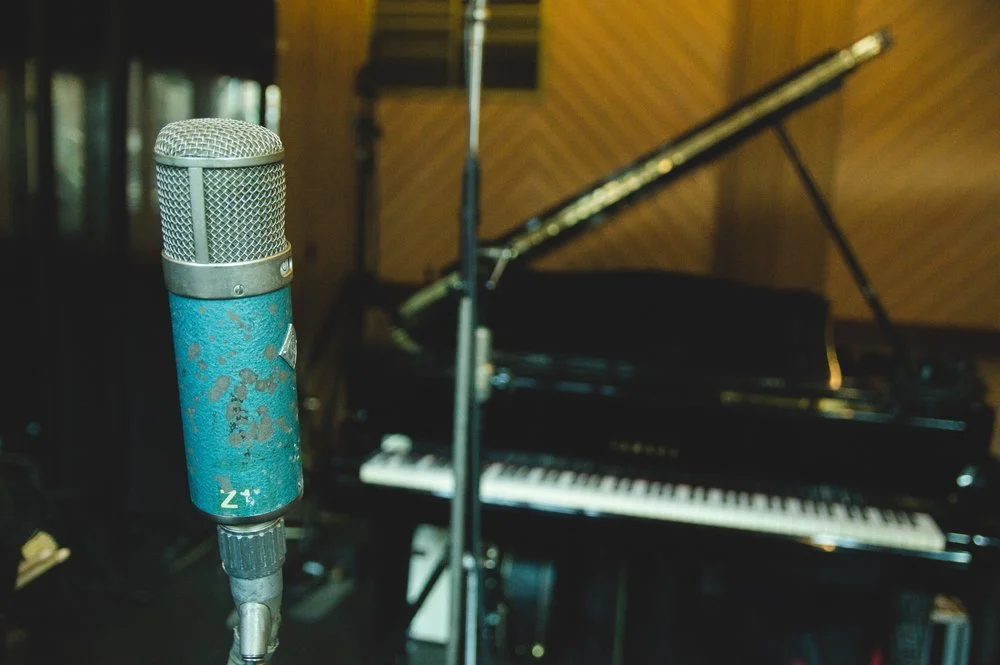
When recording vocals and acoustic instruments together in the same room, leakage can be your worst enemy. But by choosing the proper microphone and pattern, then placing them with care you can end up with usable tracks that don't fight each other. The recording in the picture above was made in Studio C at Blackbird Studio in Nashville, TN. It was designed to be a "room without walls." Having such acoustic luxury is rare when recording in studio but you needn't worry. The audio example below was made in a more common environment, the round ISO in Blackbird's Studio A. The annotated photo at the bottom explains the placement used to get the excellent separation in the recording.
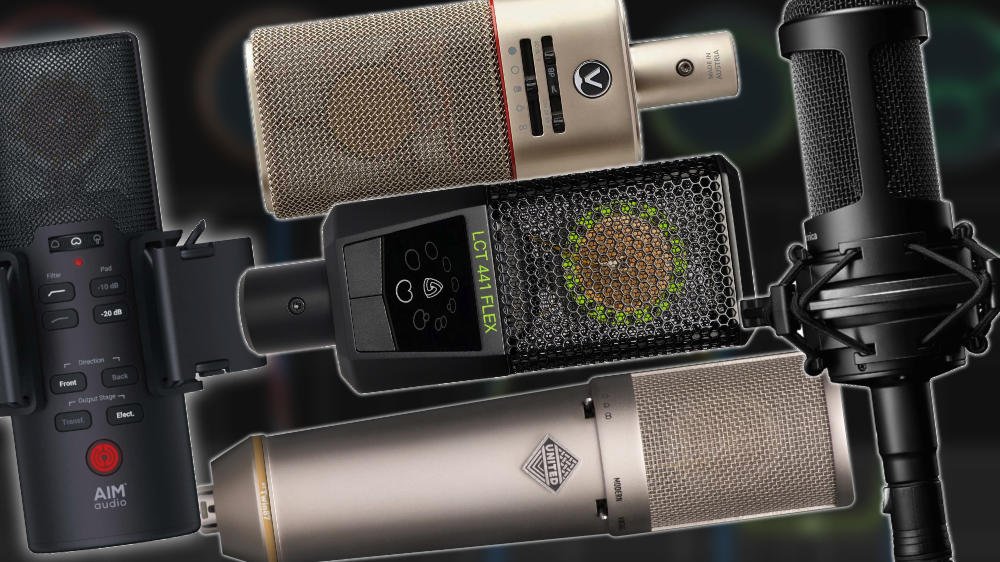
Which Mic? Which Pattern?
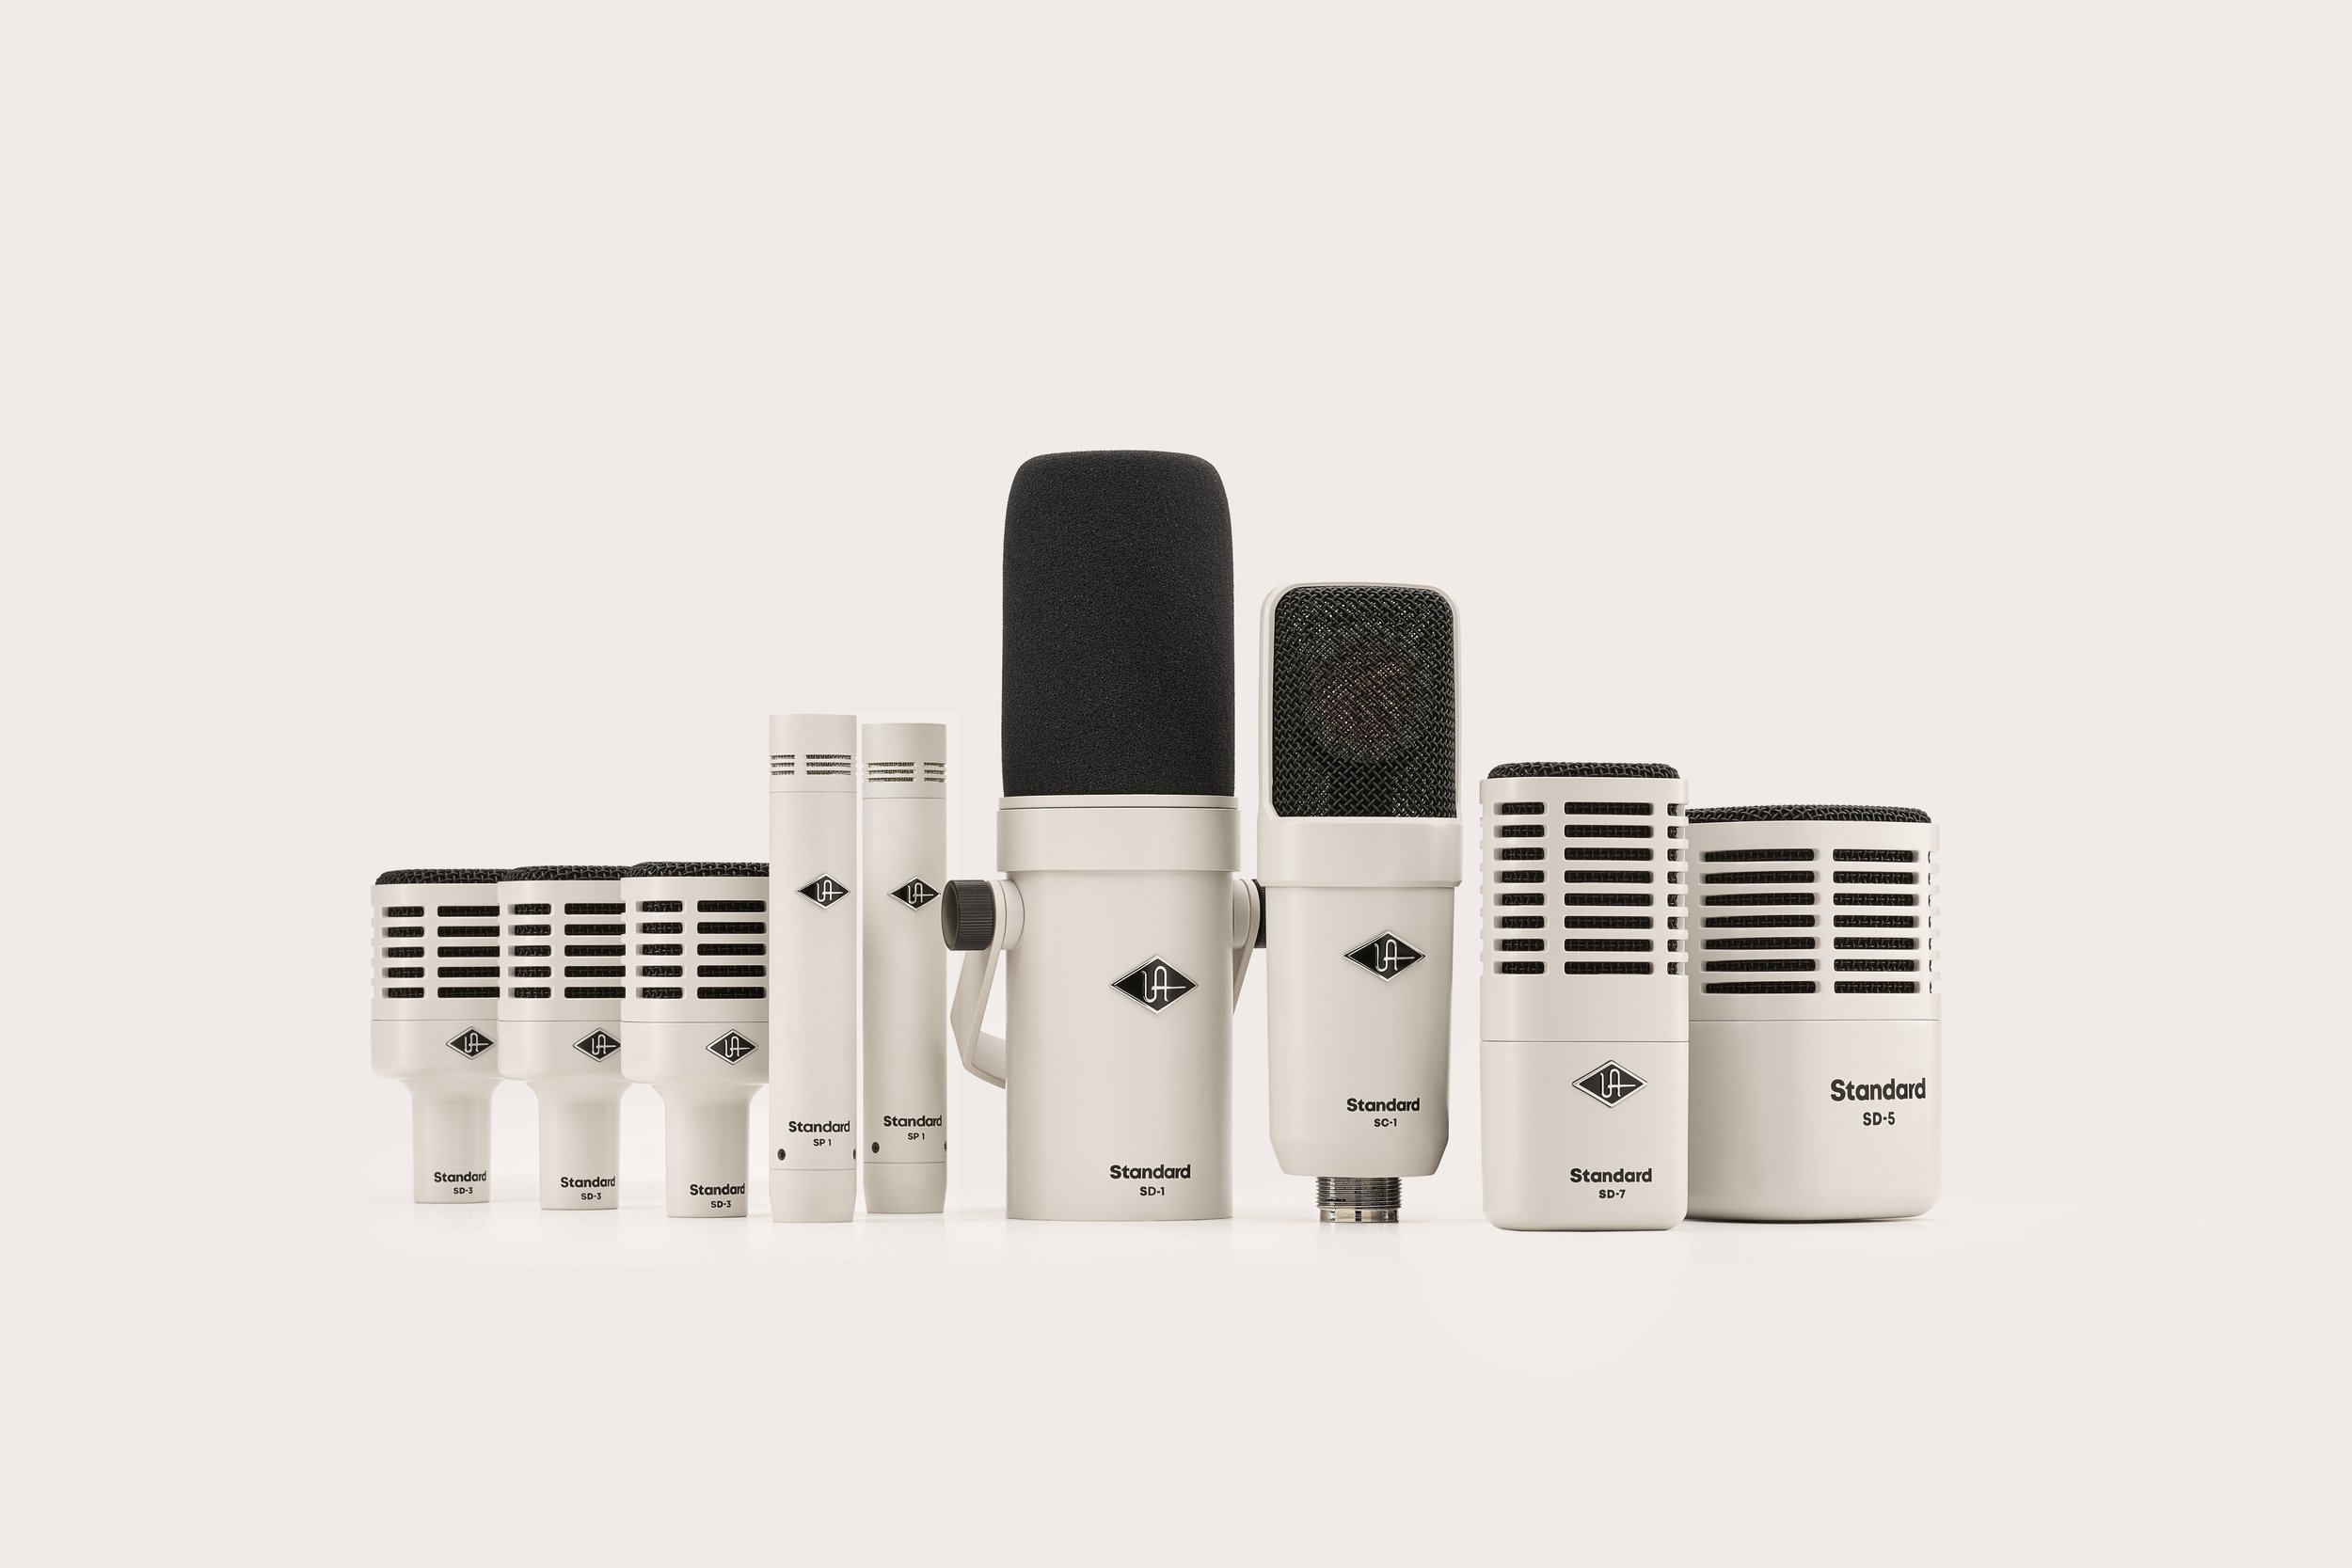
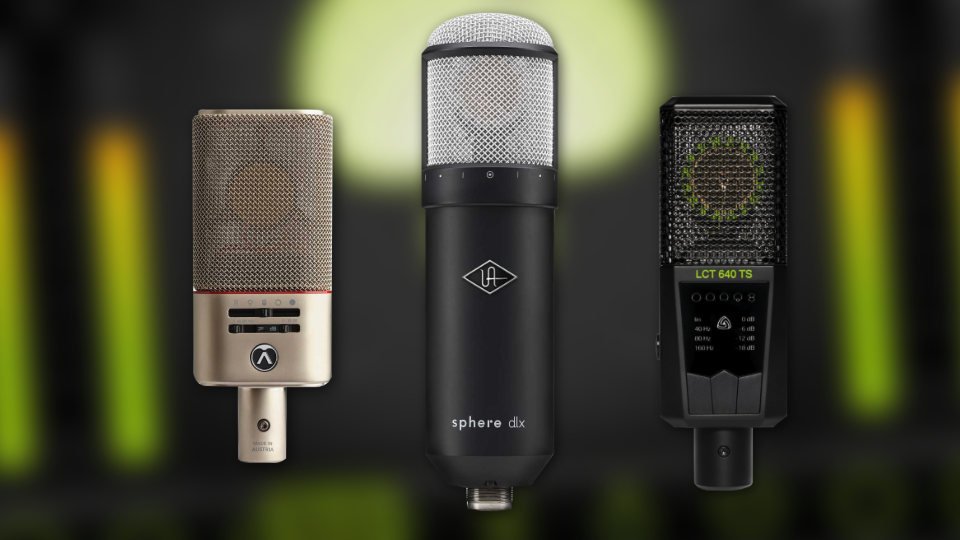
Using microphones offering cardioid, super-cardioid, and figure-of-eight patterns is the key to rejecting leakage. Many multi-pattern condenser microphones will give you the pattern options and quality you need for a great recording – a ribbon mic can be used as well.
Ribbons are dynamic mics that exhibit figure 8 patterns by nature. But when should you use one pattern over the other? A general rule of thumb is to use a cardioid pattern when you wish to reject off-axis leakage from the rear of the mic and a figure 8 pattern when you wish to reduce leakage from the side of the mic. But remember, the mic is equally sensitive from both the front and back so if you've got room reflection issues, a cardioid pattern is a better choice.
Visualize The Pattern
How you think of your mic can help you place them properly. For example, an omni pattern mic can be thought of as a beach ball of sensitivity around the capsule picking up sound from all directions – clearly not what you need if you're looking to reduce leakage. Here's where a cardioid pattern can be a better choice. It can be visualized as the beam of a flashlight with the on-axis (front) being the most sensitive and providing the most "light" on the subject at hand. In this case, the rear of the flashlight is where the least light is available and it's the same with the mic – the back of the mic is far less sensitive than the front. A figure 8 pattern could be visualized as two beach balls, one at the front of the mic and one at the back with gaps at the sides. To further fine-tune the visualization think of these beach balls being squished at the sides making the figure 8 pattern narrower than cardioid. The hypercardioid pattern is between a cardioid and figure 8. Think of it as a figure 8 with a smaller back lobe. The bottom line? Figure 8 and hypercardioid rejects the sides much better than cardioid, while cardioid rejects the rear in a way that figure 8 cannot.
Placement Tips
Using what we've learned about so far, it's just as important to visualize where you're pointing a mic as where you're not. In other words, placed to capture the best quality at the same time you're placing it to reject the sound you don't want. As you can see in the photo below, the on-axis points of the cardioid patterns are pointed at the source while the least sensitive areas (off-axis) are rejecting other sources. By placing first, then doing a test recording you can fine-tune your placement to perfection.
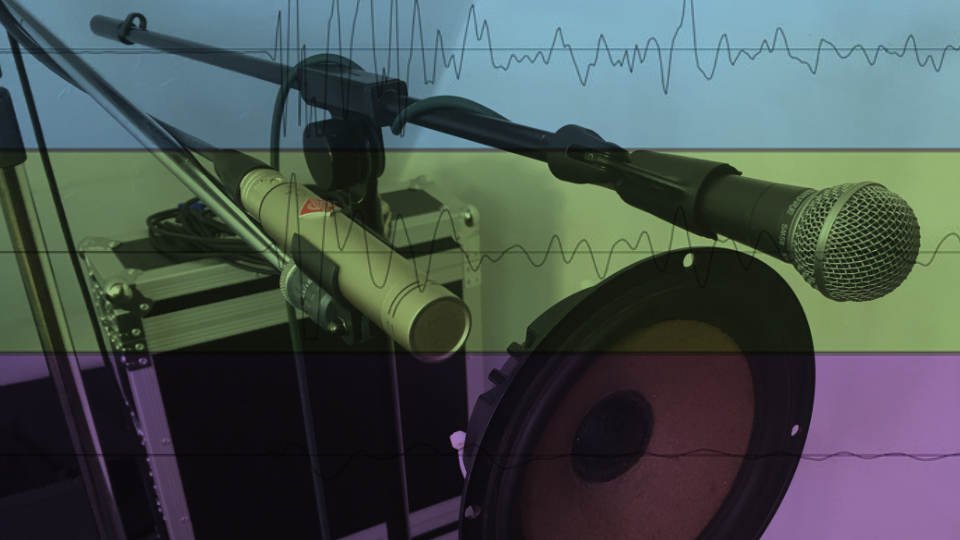
Listen to the two high-res audio files below to hear how well the goal was achieved. Compare the level of the guitar in the Vocal Example and vice versa. Use these comparative levels as a guideline when cutting your own tracks.