If you own or have access to a cherished tube condenser mic, it's important to protect your investment and keep it in tip-top shape. Besides everyday wear-and-tear, the thing that can cause mic failure is operator error when handling the mic before and after a session. Below are time-tested techniques for the proper setup and tear down of tube mics developed by The Blackbird Academy located at Blackbird Studio in Nashville, Tennessee.
Tube Mic Setup Order
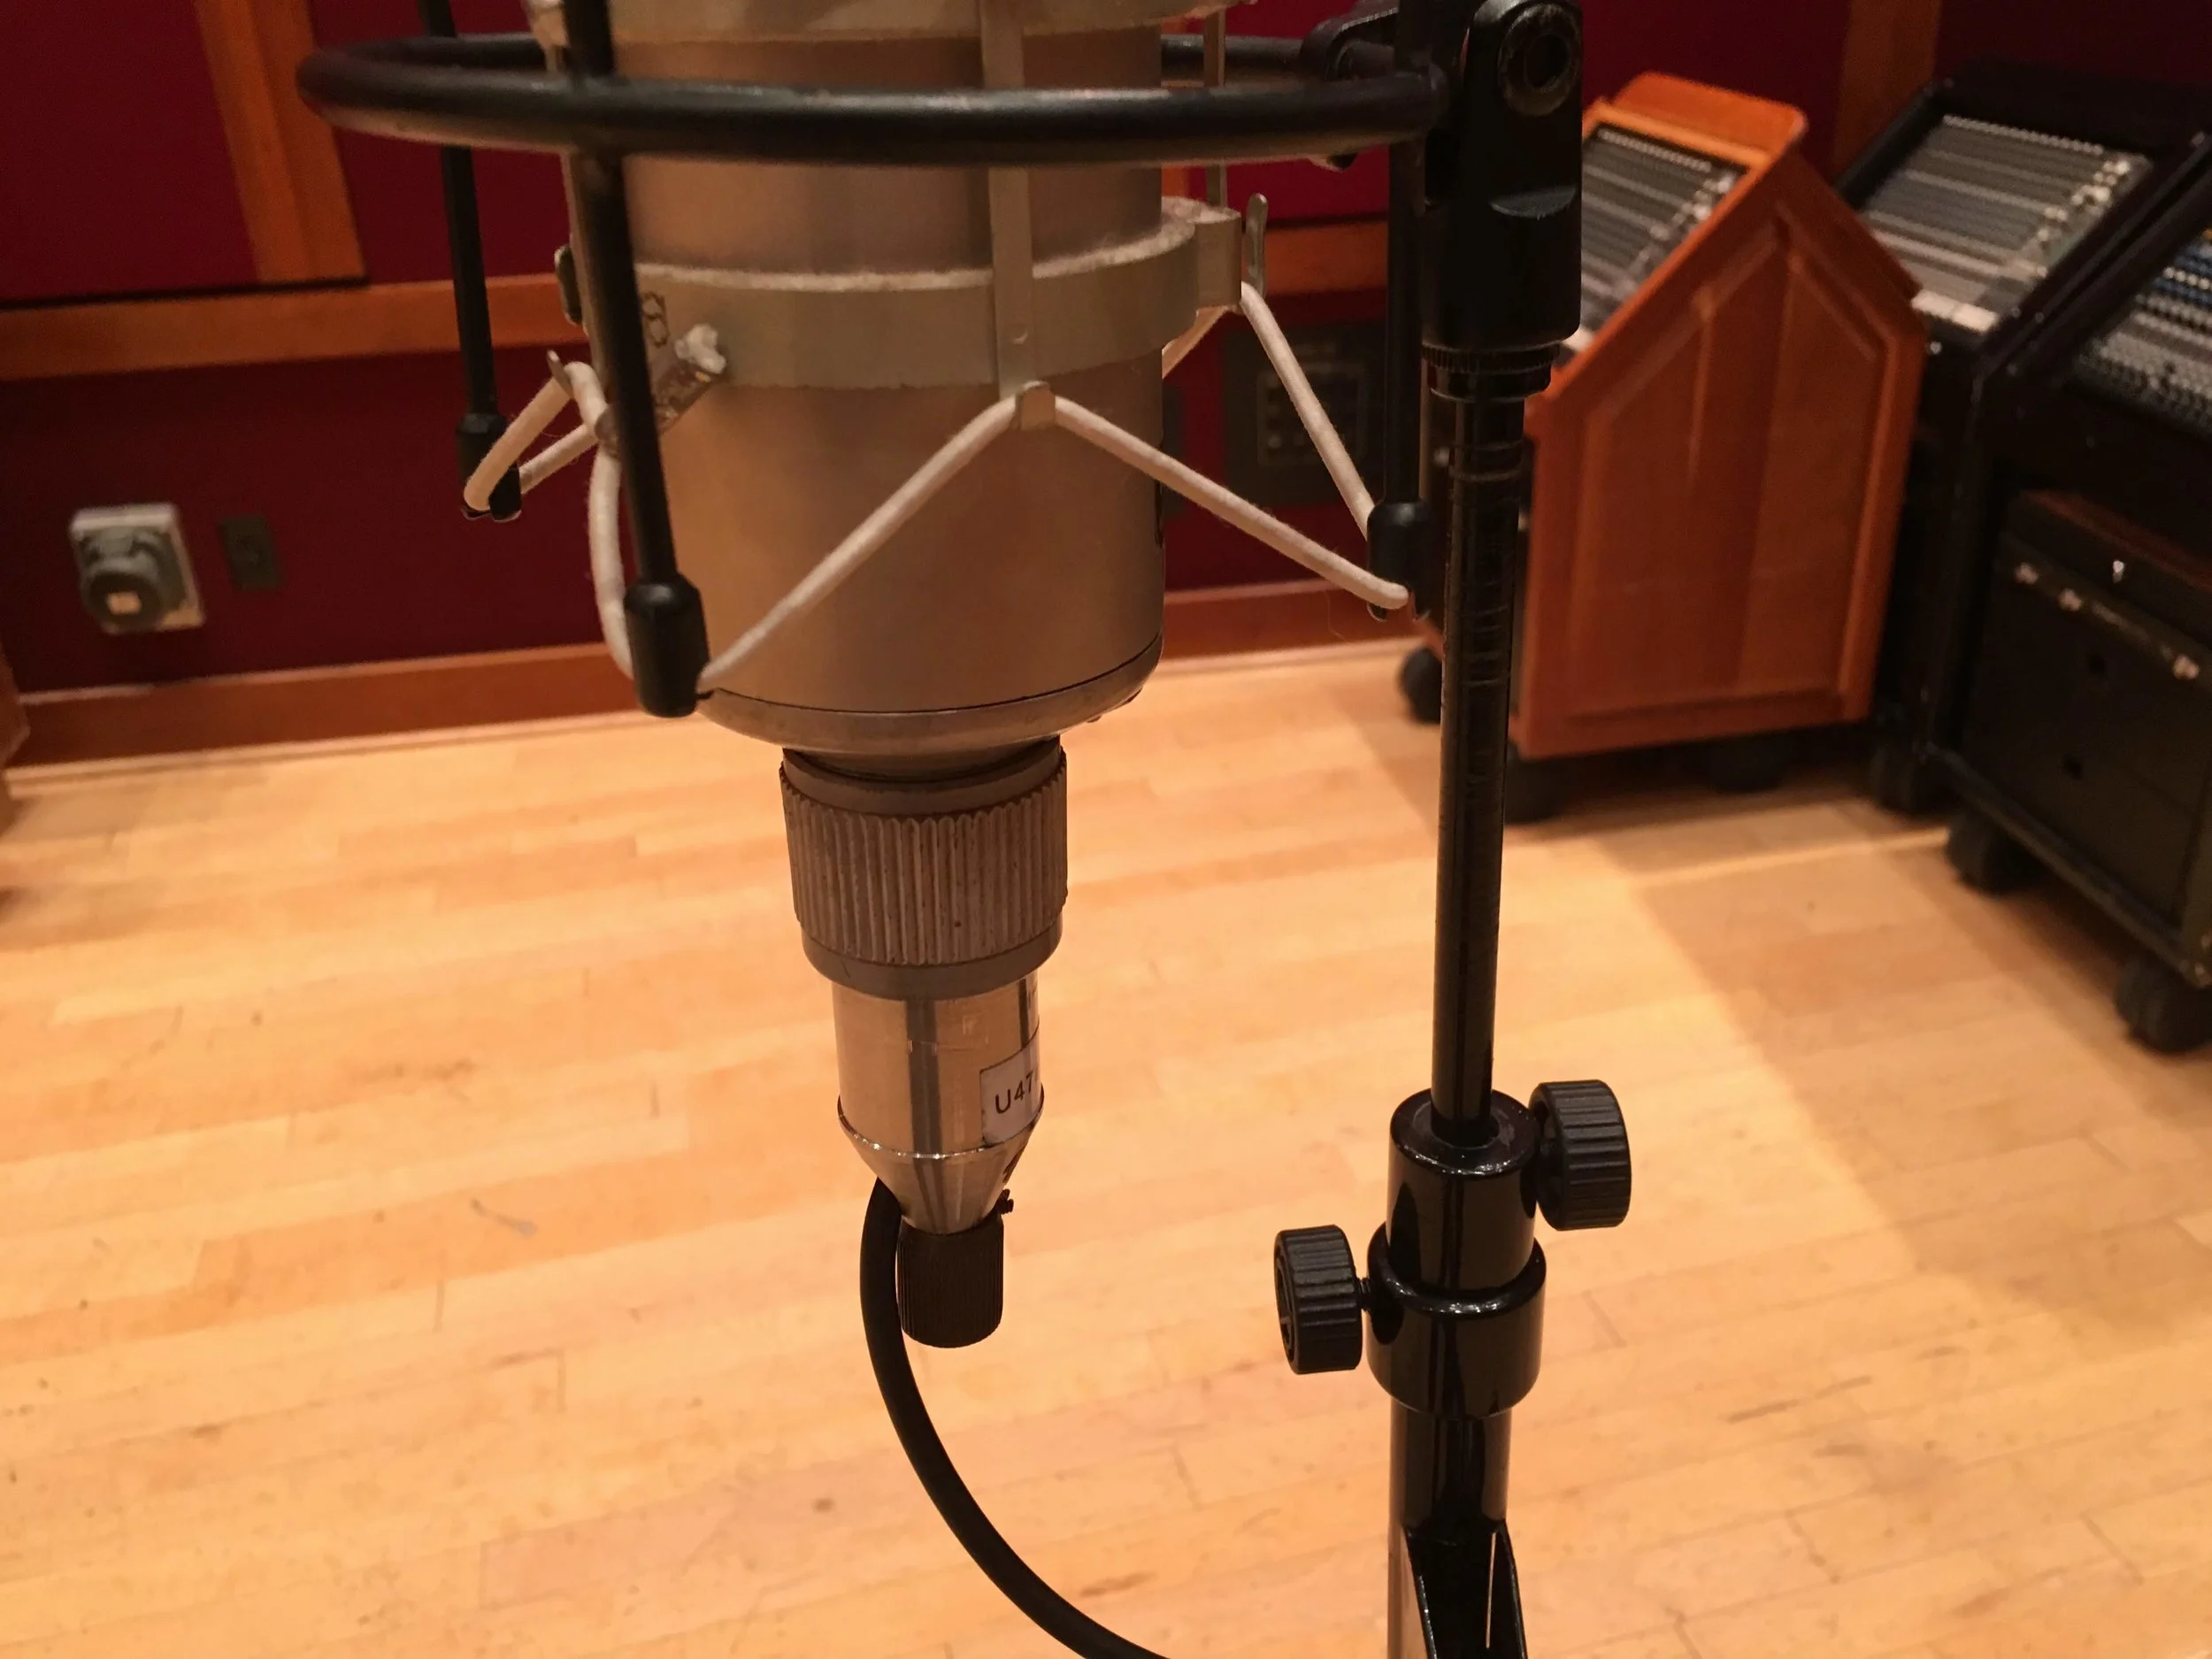
The journey starts with the simplest first step by making sure your shock mount is attached to a sturdy stand with a heavy base. All mic stand booms and clutches should be in good shape and the mount should have all bands properly attached to the hooks.

Next, attach the mic's cable to the power supply, stretch out the cable and pool the slack at the bottom of the mic stand. Having the slack close to the stand allows you to move the mic later with out having to pull cable from the supply across the room.

Place the mic in the shock mount and close the clasps being sure it’s secure before you let go.

Plug the cable into the microphone being careful to line up the pins properly. Don't over tighten the rotary screw adjustment – easy does it.
Now that the mic is secure in the mount and the cable is attached you can focus your attention on the power supply. Plug the output of the power supply's audio connection into the wall panel then plug the power cable into the power outlet.

Turn on the mic's power supply. For best results it's a good idea to let the tube warm up for up to 15-30 minutes before recording.

Tube Mic Tear Down
Turn off the power supply and take the mains plug out of the wall (after removing power, let the mic sit 3-5 minutes to dissipate residual power in the line before proceeding)
Remove cable from mic
Remove mic from shock mount and put it back in the box or case
Remove audio cables and the power cable from power supply and coil them properly for storage
Remove shock mount from mic stand