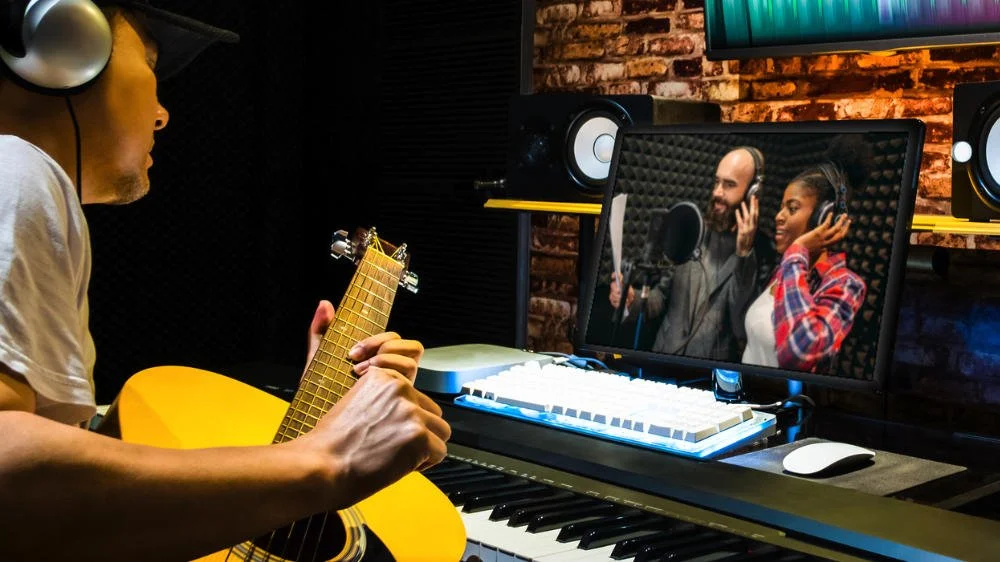
Singer-songwriters make up quite a large percentage of my clientele. They are often vocalist guitar players who on occasion request we record their songs in a one-take performance meaning the guitars and vocals are played within the same take.
From the perform’s point of view, there are a number of benefits to recording this way. Some songs don’t necessarily have a set tempo or meter which can be a challenging when let’s say a vocal track needs tracking over a pre recorded guitar track. Capturing a guitar/vocal performance helps the performer get both the vocals and guitar parts in time and in relation to each part. I’ve found that some performers deliver their best vocal takes while playing their instruments as they are not either that experienced or comfortable singing solo into a microphone.
A rule of thumb I’ve always worked to is enable the performer to be comfortable in the studio, this has always delivered great results. If an artist wants to record their guitar and vocals at the same time I don’t shy away from it, if I believe this approach will get the best results.
There are a number of ways in which we approach these styles of recordings. Some techniques are great for getting performances down fast but can easily trade off in terms of quality of recording while other methods, which take some time to set up, can become challenging for some artists to perform comfortably in.
In this article we show you a number of methods for recording a vocal/acoustic guitar performance along with some benefits and pitfalls of each that you can experiment with the next time you find yourself with the responsibility of recording a one-take performance of an acoustic guitar and vocal arrangement.
DI Acoustic Guitar & Single Vocal Microphone

This is by far the easiest acoustic guitar/vocal recording option but it doesn’t produce great sounding guitar tracks - You have been warned! DI’ing an acoustic guitar from a built-in guitar pickup produces thin, harsh and compressed sounding parts. Pickups don’t generally capture natural resonances and full-bodied tone of the instrument which are qualities you want in acoustic guitar recordings. Instrument pickups have their place in live performances as they provide performers with a quick and easy plug & play convenience but in the studio the sound from pickups just don’t cut it. Use this method if you have no other option available to you such as only having one microphone available at your disposal to record with.
To touch on the poor quality of the DI acoustic guitar tracks again quickly, you may get lucky by capturing a good acoustic guitar sound from the guitar bleed into the vocal mic that could blend a little with the DI track but that may or may not work out that way.
One other option is to treat the DI recording, if you have a UAD interface or DSP, using the Sound Machine Wood Works plug-in for UAD-2 and Apollo interfaces. You can learn more and watch our review in our A to Z series on UAD when W was for Wood Works.
Pros:
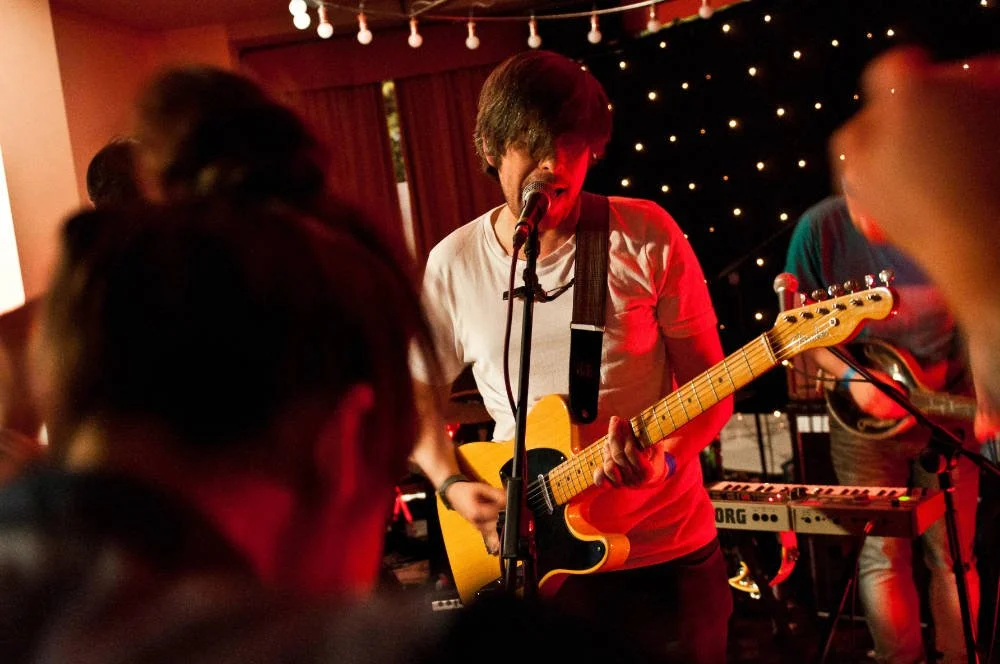
One close mic on vocal is easy to set up and will feel very comfortable and familiar to the performer who may be used to this kind of setup based on their experiences of performing live on stage.
Useful if the performer wants to later re-record their vocal line as the vocal bleed into the pickup may either be very slight or not present at all.
Cons:
The DI acoustic guitar recording will sound harsh and compressed unless you use a plug-in like the Sound Machine Wood Works plug-in from UAD.
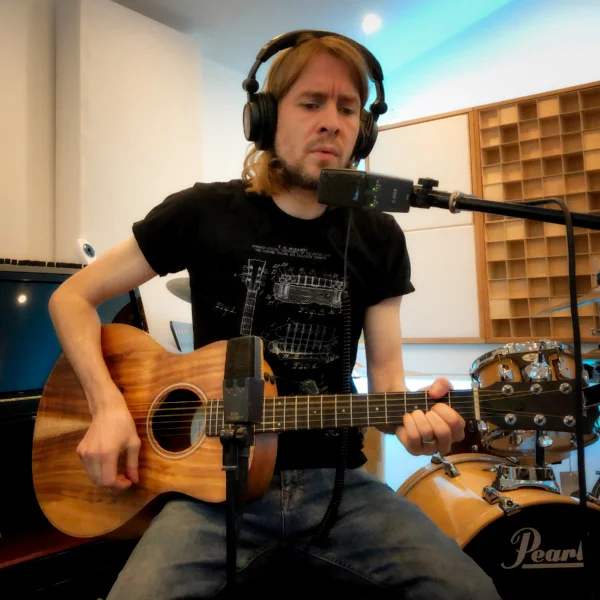
One Microphone Captures All


Simple is sometimes the best option. Use one microphone in a position that best captures and represents the tonal characteristics of both the vocal and acoustic guitar. There is no one-size-fits-all to this technique. Move the microphone up, down, left and right until you get a good balance of both instruments coming down the microphone. You may need to offer some dynamic guidance to the performer to ensure their voice isn’t either overpowering the acoustic guitar or vice versa. The further the microphone is placed into the room away from the performer the more room tone you will inevitably get in your recording. This may sound tasteful so don’t place the microphone too close to the vocalist otherwise you’ll get a vocal heavy take.
If you’re getting the right vocal sound coming down the mic but you find you are not satisfied with the guitar tone then you can instruct the performer to angle their guitar on their knee to vary the tone a bit but do make sure that whatever position the guitar ends up in is a comfortable position for the performer.
Pros:
If positioned tastefully the results can sound very good indeed.
Using a single microphone instead of two mics eliminates any phase cancelation problems in the mix.
Cons:
Does require the performer to have a fair amount of dynamic discipline.
You will not be able to change the vocal balance in the mix after the recording which puts a lot of pressure on the performer to get the dynamics of both instruments right at source.
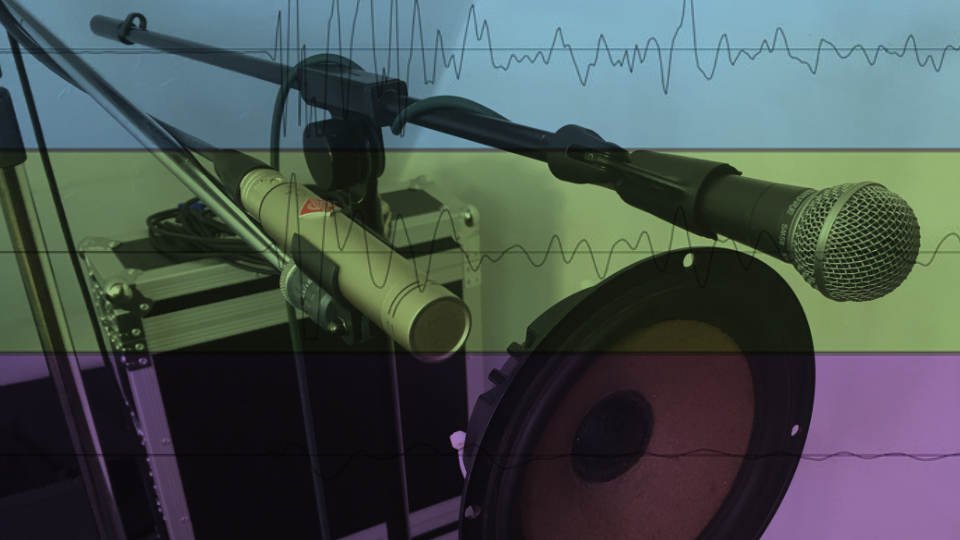
One Microphone On Guitar - One Microphone On The Vocal
For this technique I like to set the vocal microphone to a Figure of 8 polar pattern with the microphone positioned on its side. This setup helps to reject a good portion of the guitar from bleeding into the vocal mic. The guitar microphone is set to cardioid in this example but figure of 8 with the mic on its side could have been used here to help reject the vocal from coming down the acoustic guitar mic. As a rule of thumb I like both microphones to be at similar distances from the performer to minimise phase cancellations. The key to getting great results from this setup is to ensure the vocalist points their mouth at the vocal mic throughout their take and not at the guitar fretboard.
Pros:
Captures clear and natural takes from both instruments.
Both instruments can be rebalanced in the mix.
Cons:
Can cause slight phase cancellations due to time delays between the mics. Setting equal distances of both microphones from the performer will minimise this.
Two Microphones On The Guitar - One Microphone On The Vocal


Using a set of microphones on the guitar is great for tracking stereo guitars which in turns gives the vocal a nice spot to sit within the stereo image but you need to watch out for a couple of things that can cause you problems later in the mix.
If you arrange a spaced pair of microphones on the acoustic guitar then you need to watch out for the vocal bleed shifting across the stereo image. Some performers tend to move their heads around a bit when they sing which you will hear move about the left & right guitar microphones. This typically happens when the singer looks down at their fingerboards and up again at their vocal mic. This is avoidable if only one mic is used on the guitar but if you require a stereo image from the acoustic guitar I recommend using XY (coincidence stereo). This technique offers many advantages over a spaced pair as performer head movement isn’t so easily captured and phase cancellations are dramatically reduced as the two microphones are set at the same distance from the guitar.
Pros:
Stereo guitar tracks make space for the lead vocal track in the stereo image.
The guitar sounds fuller and more natural.
Cons:
Spaced pairs can sound too wide.
Head movement when performer is singing can wander between the left and right guitar microphones - This can be contained with an XY configuration.
Watch our premium video tutorial to learn several techniques in which you can use two microphones to recording acoustic guitar - Watch this and hundreds of other videos like this with a 7 day free trial.