In this extensive series, we showed you how we took a humble timbre garden cabin and converted it into a soundproof recording studio. In this first episode, we gave you a guided tour of the cabin before any of the building work took place. We talked about our initial ideas on how to approach this build along with some thoughts on design.
This video was the first in a series on how to soundproof a home recording studio in which we walk you through the entire process of the garden cabin recording studio conversion.
Listed below are three fundamental aspects we discussed in this video and what we ultimately set out to achieve in this studio build.
Maximise Internal Space
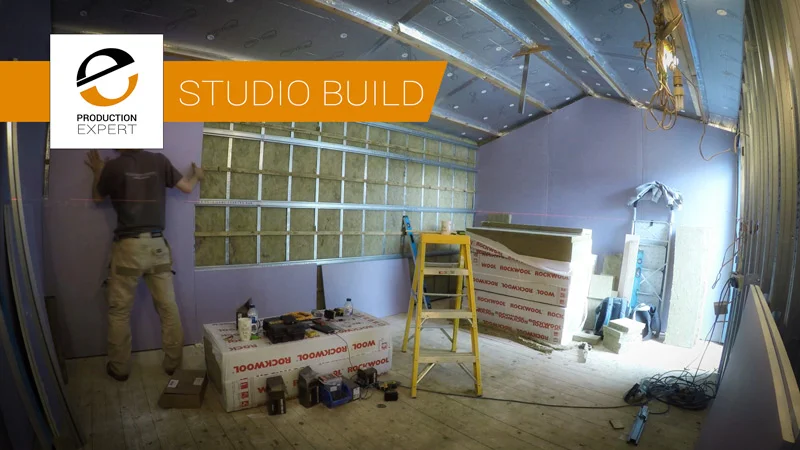
Adjusting the shape of the cabin from it's current uneven layout to a rectangle was the first critical stage. The garden cabin had a porch that protruded into the room, reducing a significant portion of usable internal space. The porch was planned to be removed (inverted) so that a symmetrical rectangle could be built making the internal workspace larger.
Soundproofing
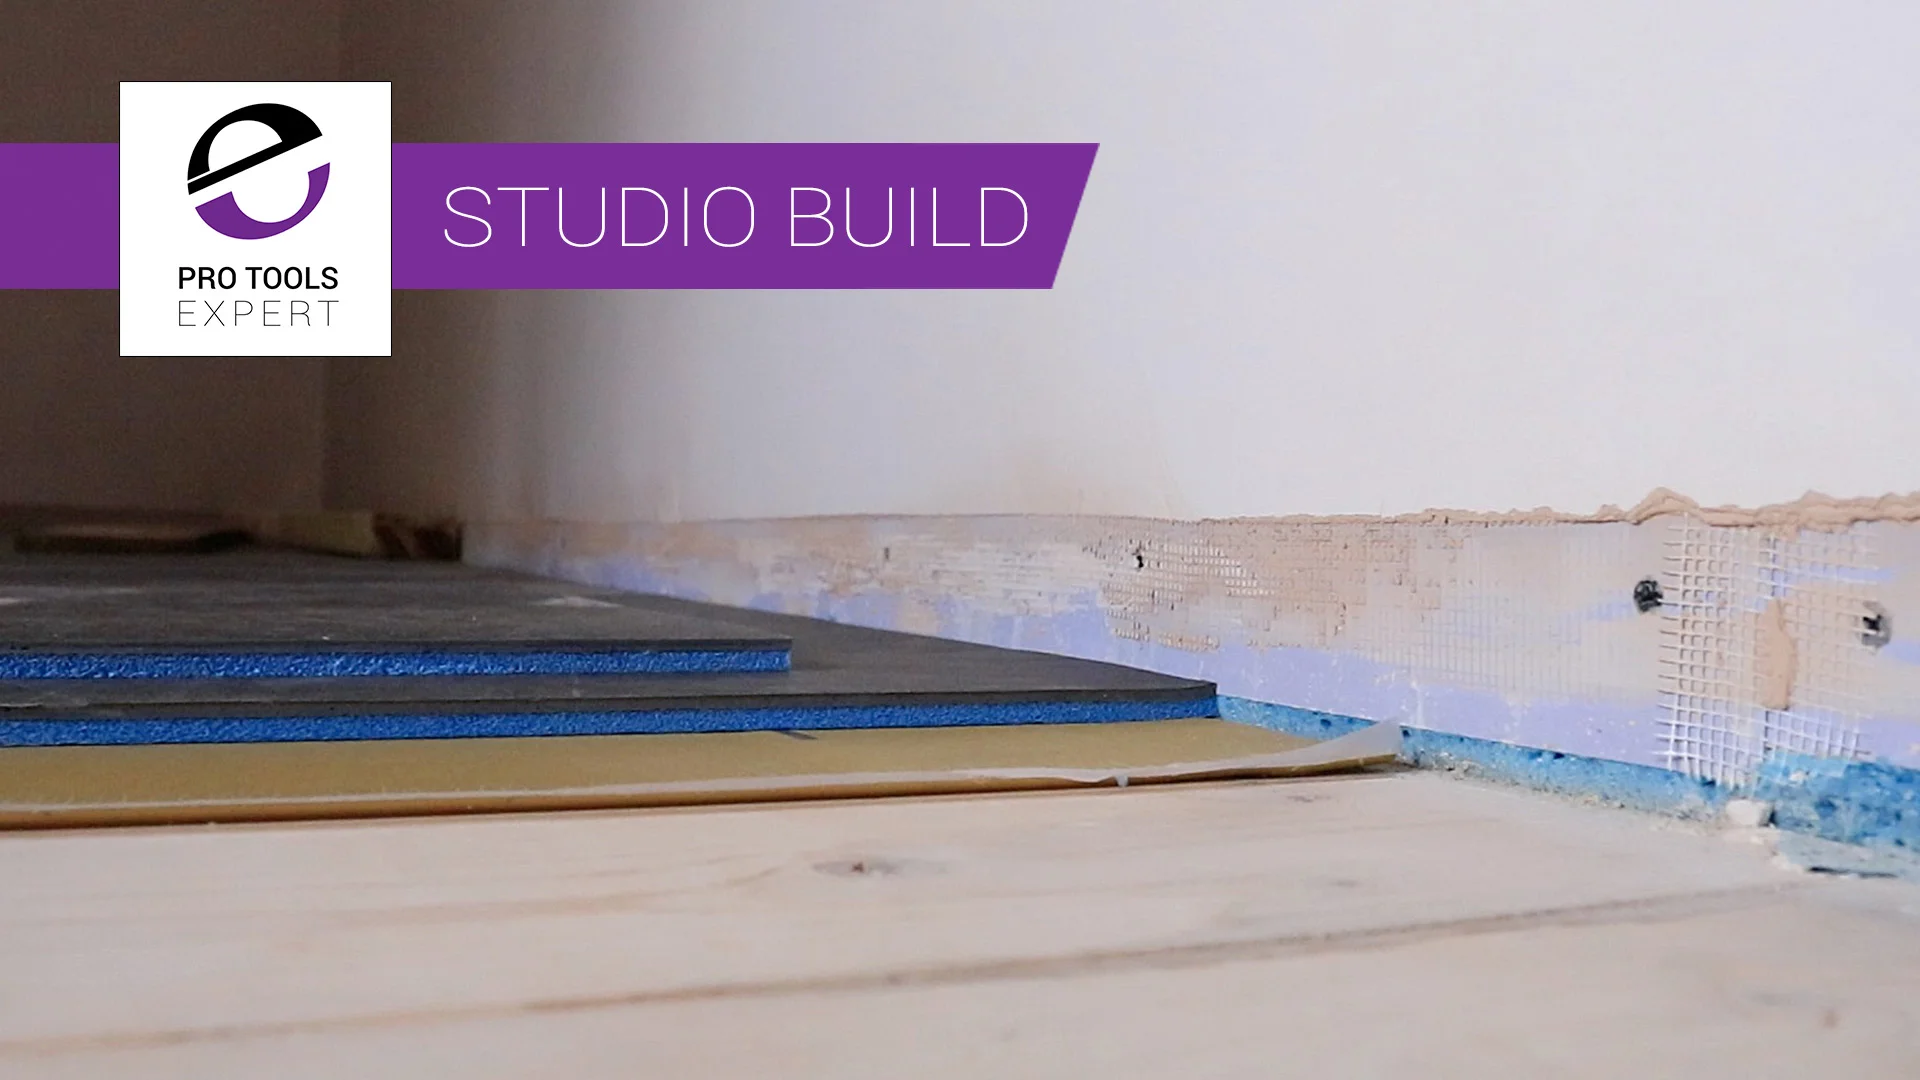
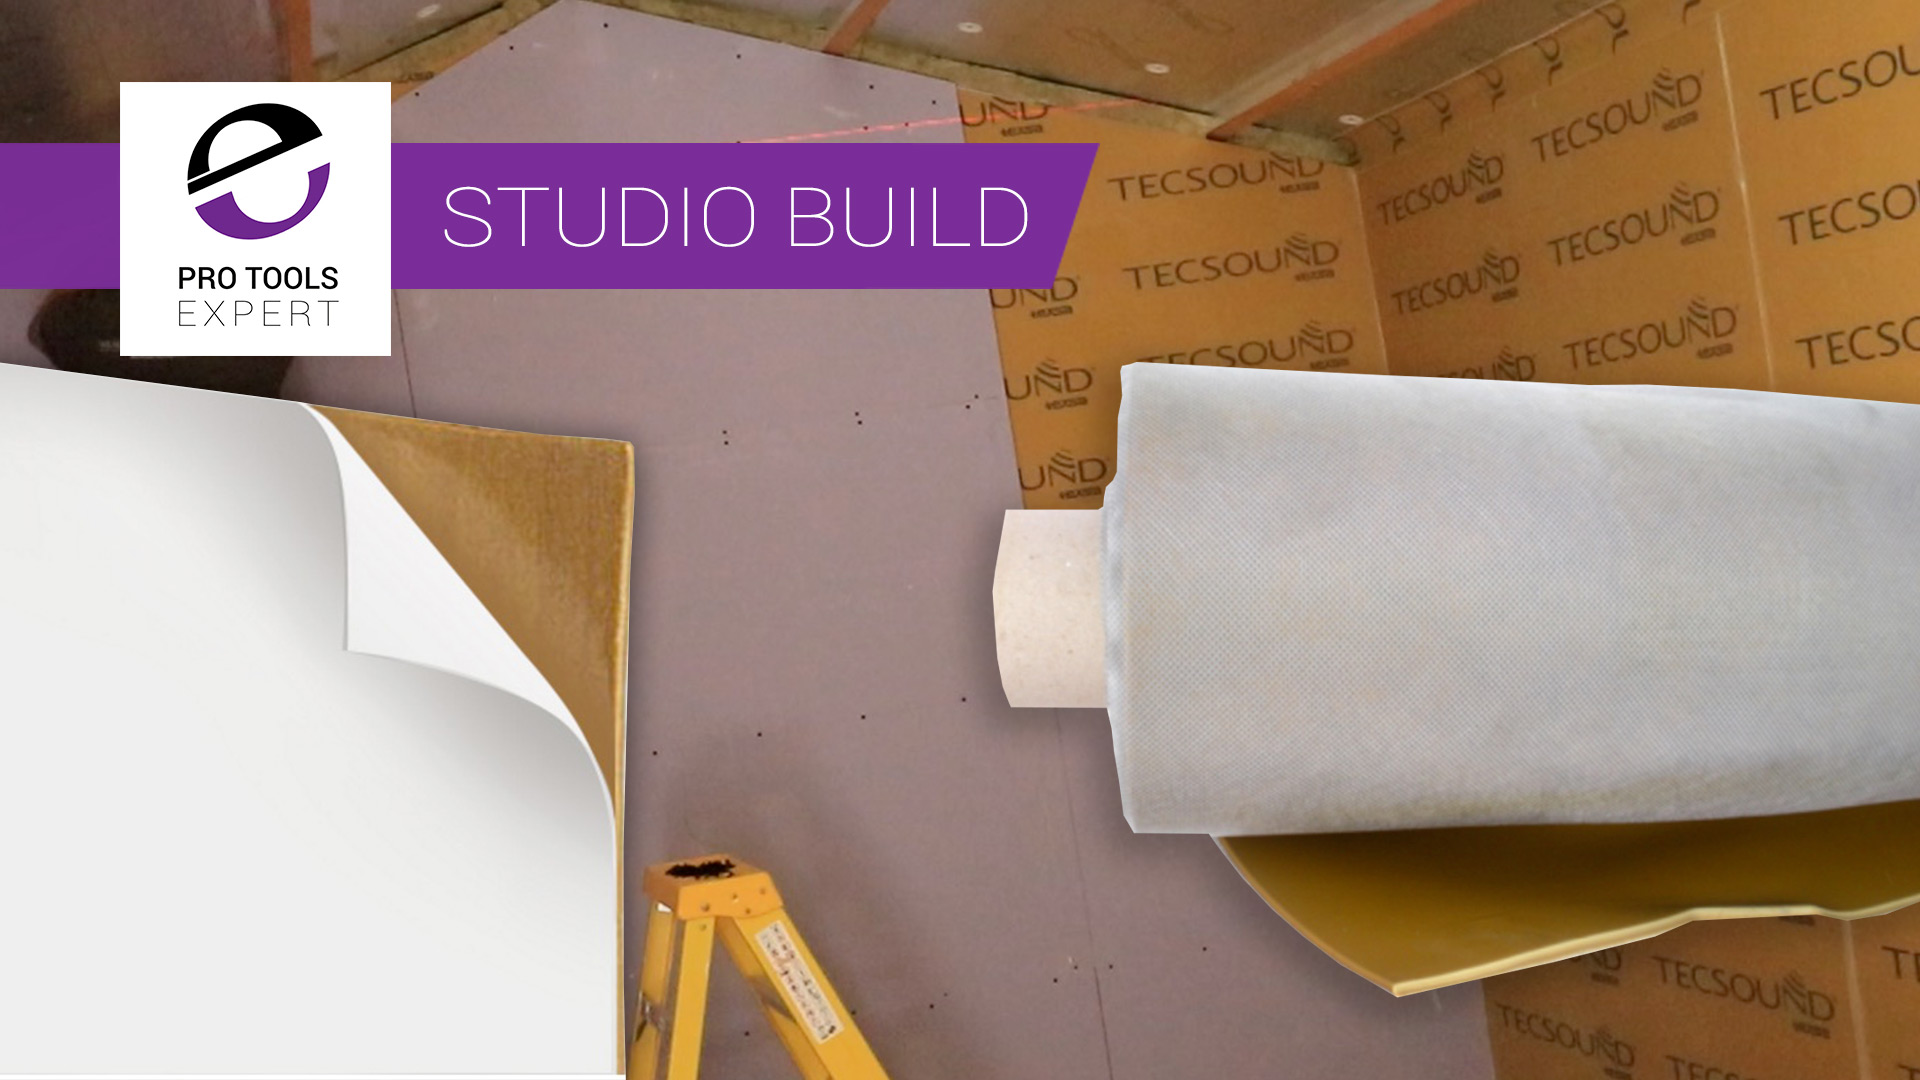
Getting the soundproofing right was one of the most challenging and essential aspects of the studio build. We didn't want to hear the neighbours in their gardens, they didn't want to hear us recording and mixing. The room within a room method was chosen for this build. It's a tried and tested way of reducing sound transmission between the outside world and inside the studio.
Studio Security
Getting security systems installed can easily be overlooked. Never doubt the importance of having an all bells and whistles security system. Thieves are smart these days and generally attempt to break in when you are not around, that's when a security system pays for itself.
Below you will find the other articles in this series as well as the final studio build video showing you how we approached this entire project from start to finish.
This article includes all the research Production Expert team member Dan Cooper put into his studio build along with a full walkthrough video showing you how he designed and built his soundproof studio step-by-step from start to finish.
We have finally completed our home recording studio build. The studio gear has been moved in and we have settled in nicely. Rather than post an article talking about how we designed and built the studio we decided to share some before and after pictures. In the coming weeks, we will post an in-depth video showing the full studio build timeline.
In this article, I explain how we constructed the studio floor system. We decided early on not to go the "floating floor" route as we would have had to tear up the existing floor structure and replace it with a completely new decoupled (isolated) frame from scratch.
Dan Cooper explains how to install studio lights without compromising the integrity of a soundproof studio construction.
One of the big studio design decisions I had to make was whether or not to install a trunking system for electrics and sockets. In my previous studios, electrics were buried behind stud walls and sockets cut into plasterboard. For this build, I chose to go with a trunking system. In this article, I share what I believe to be the benefits of electrical trunking systems in recording studio designs.
GenieClips are a component that simply screw into internal timber or metal stud frames. When installed these provide a platform for furring channel to clip to. The clip itself decouples furring channels from stud frames and ceilings. Plasterboards screw into these furring channels. GeniClips feature rubber on both sides that reduce airborne and impact noise.
In the pursuit of creating my dream creative space, I ended up putting my heart on my sleeve. This made me susceptible to all manner of emotions. I didn't prepare myself for the emotional rollercoaster as I didn't expect my emotions to yo-yo so easily.
Before reading this article I want to make one very important point that needs to be understood if you are considering building a soundproof recording studio - Building a purpose built or retro fit soundproofed studio is not for the faint hearted. Renovating typical rooms are much easier to plan and build when conventional building methods and materials are used, budgets are also more predictable and easier to plan. As soon as the term "soundproof" is thrown into a build specification the costs suddenly get scary, fast.
One option that I didn't initially consider before planning the studio build was to demolish the garden cabin and build something new completely from the ground up. It took a few YouTube comments questioning my decision to build my studio inside the garden cabin that made me realise that I needed to consider every option. That way, I would know in my heart of hearts that I was about to embark on the right choice. I had to research alternatives to garden cabin studio idea before I did anything else.
The log cabin in our garden was constructed with timber 40mm thick so we needed soundproofing materials and a plan to get the soundproof system right. If you don't plan a soundproof system properly you run the real risk of spending a whole bunch of money on a room that will not work as a soundproof recording studio.